I asked my mother what she wanted for her birthday (in 2020).
Her first response isn’t worth repeating. 😉 It wasn’t something I could give her anyway.
But the second one was an apron that had pockets for her garden shears, the weeder, and her phone so that she could have all three with her as she did gardening work.
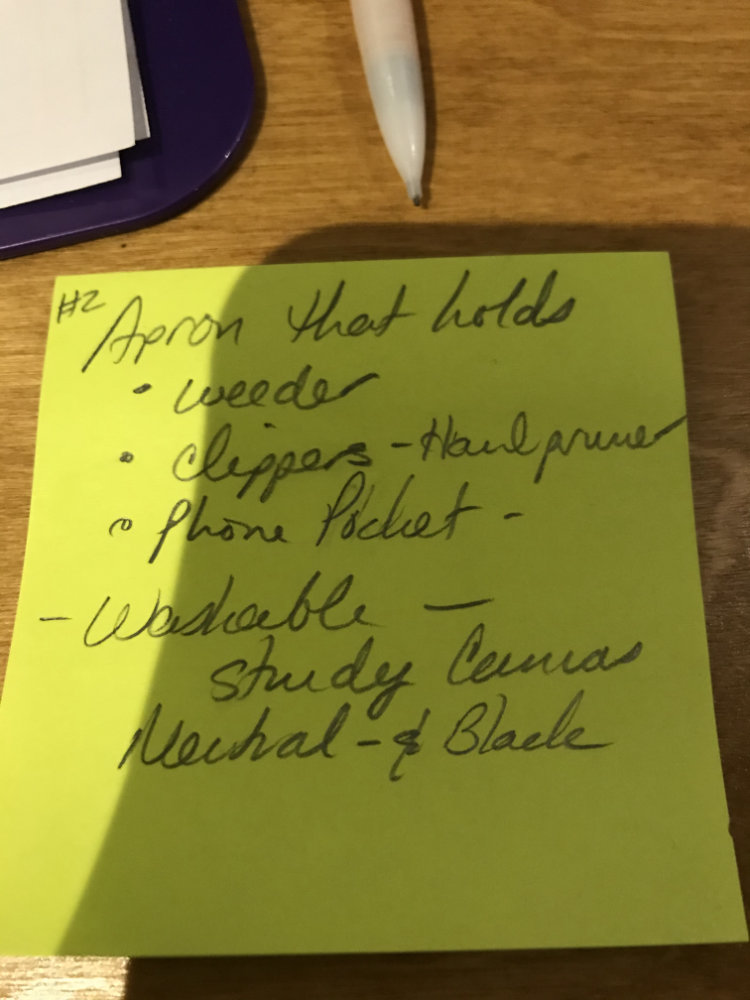
As I was on the phone with her, I was asking some questions about it and taking notes. Mom sounded skeptical to me, so I took a photo of my notes to send to her so she knew I was taking her seriously.
Yeah, she couldn’t read my writing either.
But, I could.

Designing the Apron from Scratch
I know there are a lot of patterns out there for aprons. But, even if I were to buy one, or have one on hand, would it have the pockets necessary? Or the right thing for a weeder tool?
Probably not.
I remember back in Jr. High in home ec class, we had to make an apron. And it was made in such a way that the strap was one continuous piece that looped through the armholes and around the neck. This made it adjustable for taller or shorter folks. And you could wear it where you wanted to (higher or lower).
Unfortunately, I think my folks still have that apron, so I don’t even have it on hand to make a pattern from.
So, I had to wing it.
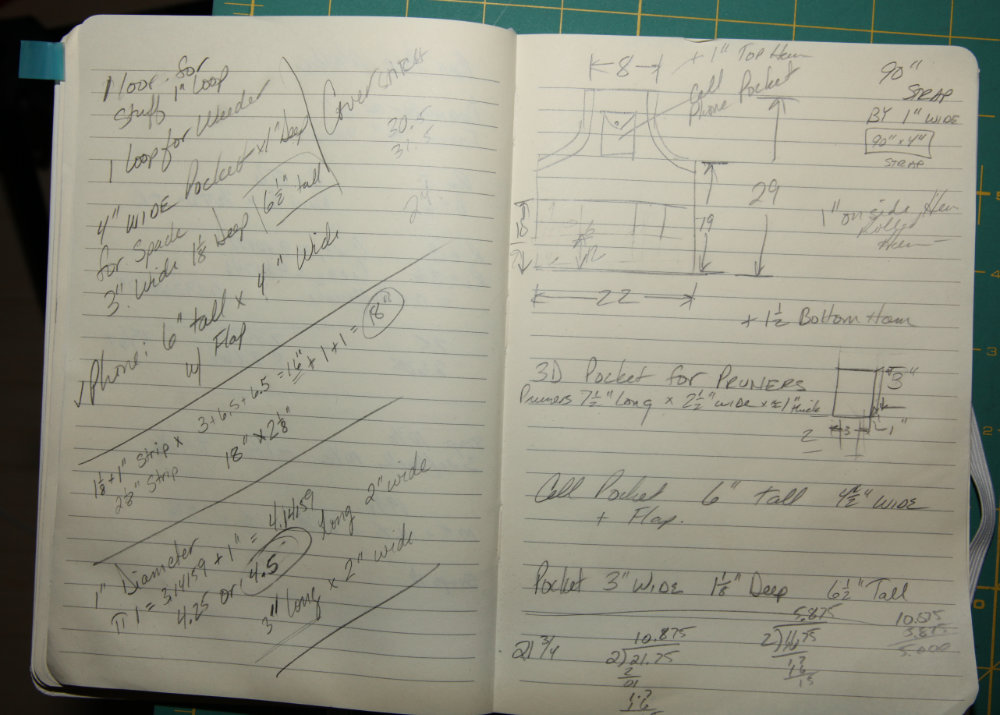
Here’s a photo of my design notes as I was planning the apron.
For the armholes, I basically just made a facing and didn’t close the ends of it so the strap could be threaded through.
I chose a cotton twill that I had on hand. It’s a pant-weight fabric that I totally plan on making cargo pants out of. 😆

The Pockets
Ok, so mom wanted a pocket for her phone. But also a place to keep her pruning shears…
And something for her weeder. Which is a long thin tool with a forked end.
But then I realized that she also might have one of those small spades and the little trowel that is often used for gardening.
So, I set out to get measurements of my tools that are pretty standard for these things.
But then I had to call dad for measurements and a photo of Mom’s pruning shears.
So, I went with 4 pockets total, and 2 loops for hanging tools in.
The pocket for the shears was designed to be raised, rather than a flat patch pocket. The thickness of the shears is at least 3/4″ so, I thought they might fit weird in a flat pocket.
I’ve sewn a lot of patch pockets before, but I have never made a 3-D one. So, I had to figure out a way to do it.
I also made the two loops different. I don’t know which works better, but the one I made for the weeder was easier to sew onto the apron.
Order of Construction
Some parts of the apron need to be done before others.
First, I wanted to finish the main body of the apron, including the hems and armhole facings before putting the pockets on. This would give me the actual space that I have for pockets so that I don’t get in the way of hems or facing casings for the straps.
Also, in a typical garment that has sleeve or neck garments, you wouldn’t need to hem the facing. But I didn’t want any raw edges hanging out, and once I turned the facing back to the apron to make the strap channel, I wouldn’t be able to hem the ends.
So, I actually sewed the facings to the apron before hemming the top and sides. This way, when I hemmed the top and sides, I could just hem the facing too. It reduced the bulk this way too.
For the inside edge, I just finished the facing edge with an overlock stitch.
So:
- Finish the long edge of the facing with an overlock stitch
- Sew the facing to the apron, (I used an overlock).
- Hem the top
- Hem the sides
- Turn the facing to the backside of the apron and topstitch along the outside edge to form the channel. Edgestitch along the inner edge to trap the seams.
- Hem the bottom. (You could hem the bottom before the sides if you like the look of that better. It’s actually the way you’d do a curtain-hem the bottom than the sides.)
- Sew on the pockets
- Finish the strap…
The strap was just a long piece of fabric, (really two long pieces sewn together lengthwise to make 90-ish inches).
Then I folded it in half lengthwise, then folded each of those two ends into the center.
I used a method I use for purse straps to finish the ends of the apron strap. It’s like making a package and reduces bulk.
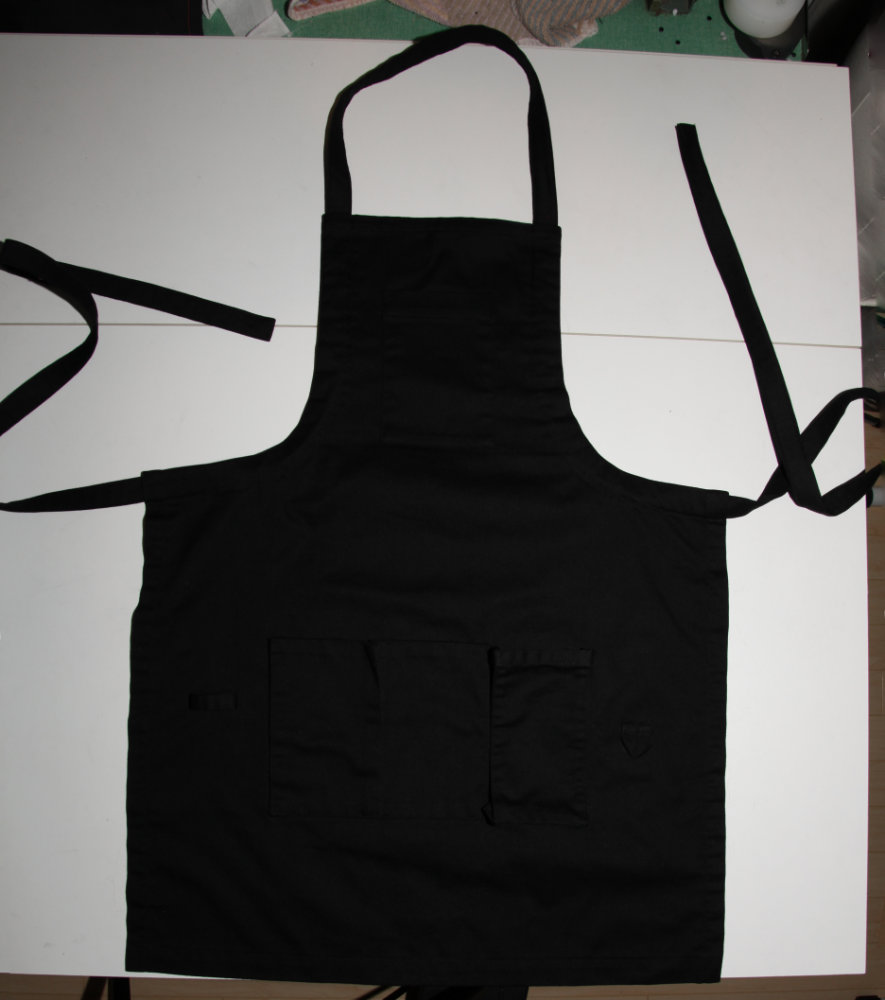
The end result:
A black apron with a bunch of pockets.
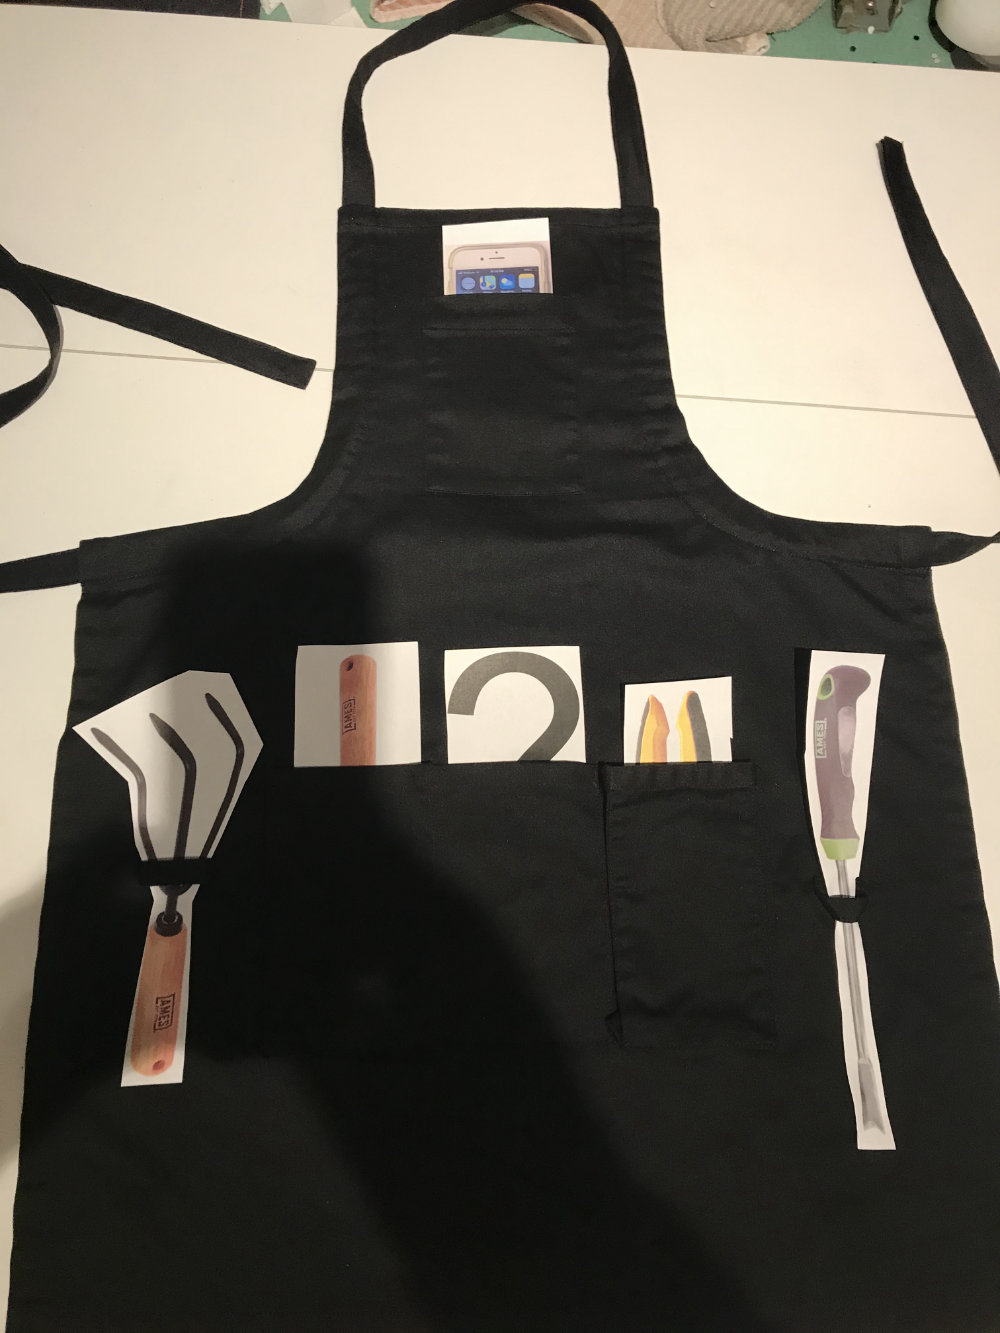
Also, I wasn’t sure if all the purposes for the pockets would be obvious so I made print cutouts of the tools to illustrate what could go where, probably.

What I would do Differently
One of the first things I’d do differently if I were to make this again, is to make a much shallower curve for the armholes.
The more extreme the curve, the harder it is to slide the strap through, as I found out. And I’m sure Mom will find out if she uses the apron. (Unfortunately, her birthday is in October so it’s at the very end of gardening season.)
Another thing I might do is make the top a bit wider. That would cover more of the clothes beneath and therefore be more protective.
As for the pockets, I’m pretty happy with how they turned out. However, I’d have done the middle pocket on the bottom differently. As it is, it’s pretty narrow and deep. I’d have made it wider and more shallow. That way one could put seed packets in it. But small seed packets fit in it, but they could fall down and be hard to get out. And the larger seed packets wouldn’t fit.
Another thing I might consider doing differently would be adding a flap with a snap closure to the cell phone pocket. Truthfully, I did consider it. And I even made the flap, which is sitting in my sewing room somewhere. And, I had a reason to not add it, but I can’t remember what it was. Perhaps it was that I didn’t have an appropriate snap? I do now. LOL.
Maybe when gardening season starts back up, my mom can wear the apron and let me know what else I could do differently.
Explore Sewing Projects at Your Own Pace
Learn helpful techniques and tips to make sewing more enjoyable.

