Zipper installations can trip you up, especially when you are just learning to sew. And, even if you’ve been sewing for a while, it’s good to go back to basics and get a refresher, especially if you haven’t been sewing zippers frequently.
This article is a light overview of my more in-depth ebook that you can find here. (It’s free to download).
Sewing zippers doesn’t have to be intimidating.
Here’s a few tips to get you started.
Tips for Sewing Zippers
The most common zipper for clothing is a #3 nylon coil “all purpose” zipper, or a nylon coil invisible zipper (which is usually about a #3 size as well).
You can check out This Article on Zipper types and sizes for more information (or download my ebook).
Always check your pattern for the seam allowance. You may want to increase your seam allowance to 3/4” for larger zippers (#5 and up). Especially when sewing a lapped zipper, the smaller seam allowance might not give you enough fabric to work with on the overlap. Mark zipper stops, and seam starts and stops with a snip. Snip up to half the distance of the seam allowance.
Always interface at least the width of the seam allowance where you’ll be installing the zipper. Wider interfacing is recommended for less stable fabrics.
When placing your zipper, decide if your zipper stop is going to be above or below the bottom of the opening. Or, rather, decide if you want to sew above the stop or below it. Sewing below the bottom stop usually requires fewer foot changes, but the stop may be visible.
If your zipper is much longer than the opening, you can place your top stop first, then sew a zipper stop. In this installation, you can sew above your zipper “stop” but only if you have a nylon coil zipper. You cannot easily sew through metal or plastic zippers.
When possible, leave 1/8” gap between intersecting seam lines and any metal or plastic zipper parts such as the top or bottom stops. If you have to extend teeth into an intersecting seam allowance such as a waistband or facing, you may need to remove the teeth to sew on the waistband or facing. Remove the teeth without destroying the zipper tape when possible.
It’s easier to sew zippers with the garment pieces flat. If you are making a skirt, for example, sewing the zipper into the center back before sewing the skirt in the round is recommended. Same goes for pants.
If you are making pants, and putting the zipper in the center front or back, you can install the zipper before completing the pants. Just attach the left and right pieces for a few inches below the bottom of the zipper. But don’t complete the crotch curve. That will leave the pants parts free enough for you to sew the legs together before sewing the crotch curve if that’s your preferred order of construction.
The place where the thread seam ends and the zipper opening begins may take a lot of stress. Back tack when sewing these seams to help reinforce the stitches.
Three Zipper Installations
There are three common zipper installations. These are by no means, all of the zipper installations out there. But, getting a handle on these will get you well on your way to zipper sewing mastery.
The three zipper installations are the slot, lapped and invisible.
Slot
A slot zipper is a pretty simple installation. It’s a more sporty look and has visible topstitching. These work best on a center back seam or a center front opening where the stitch line is straight. The flaps of fabric that “cover” the zipper get weird looking when on a curved surface. Also, the zipper will peek out a little, so unless you WANT the contrast, pick a zipper that blends or matches your fabric. And, the zipper is installed with that visible topstitching so pick your thread accordingly. If you don’t want to draw attention to the zipper, pick a thread color that matches or blends with your fabric. Otherwise, if you are feeling bold, or like the look you are free to contrast the color of thread. You can check out this article on matching thread to your fabric.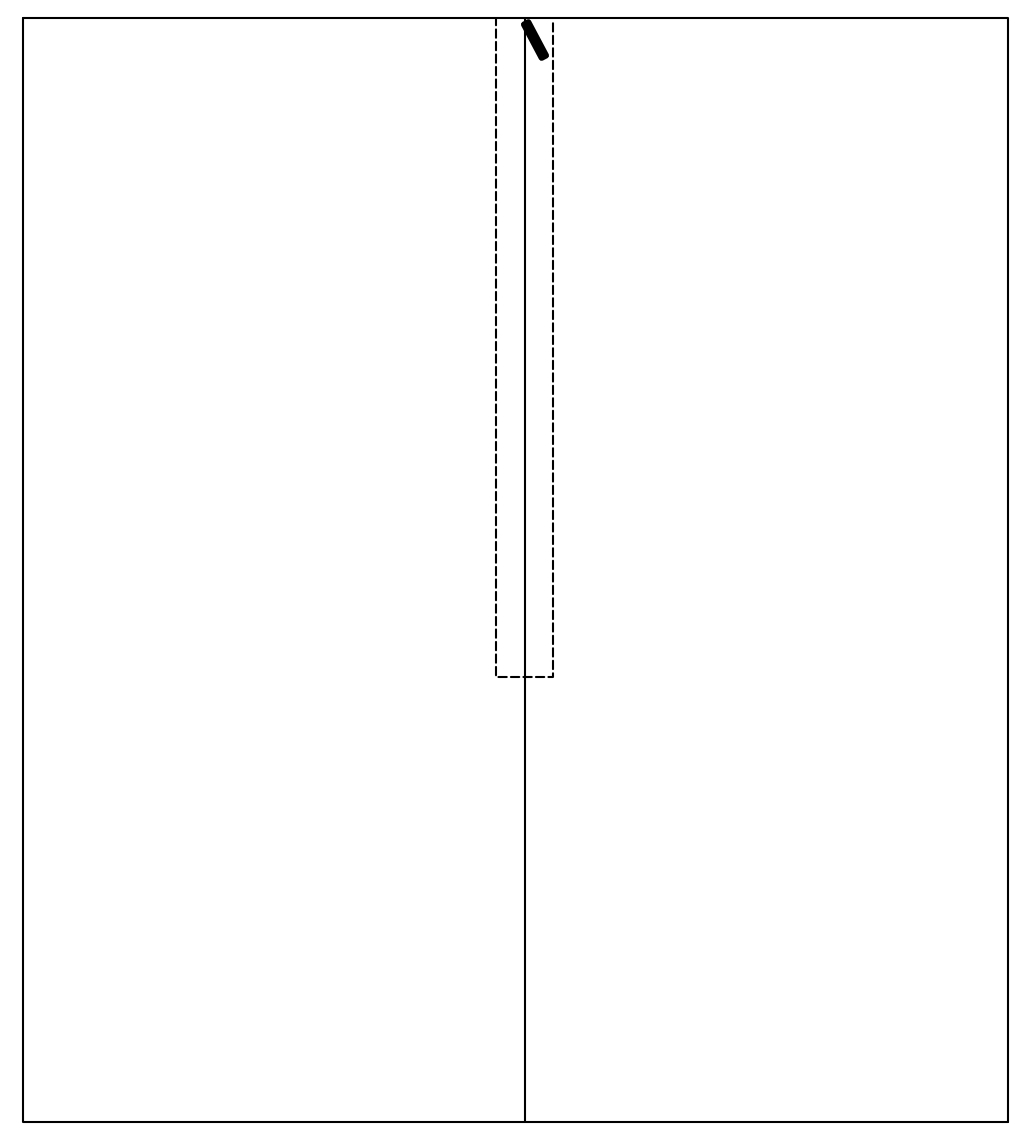
Lapped
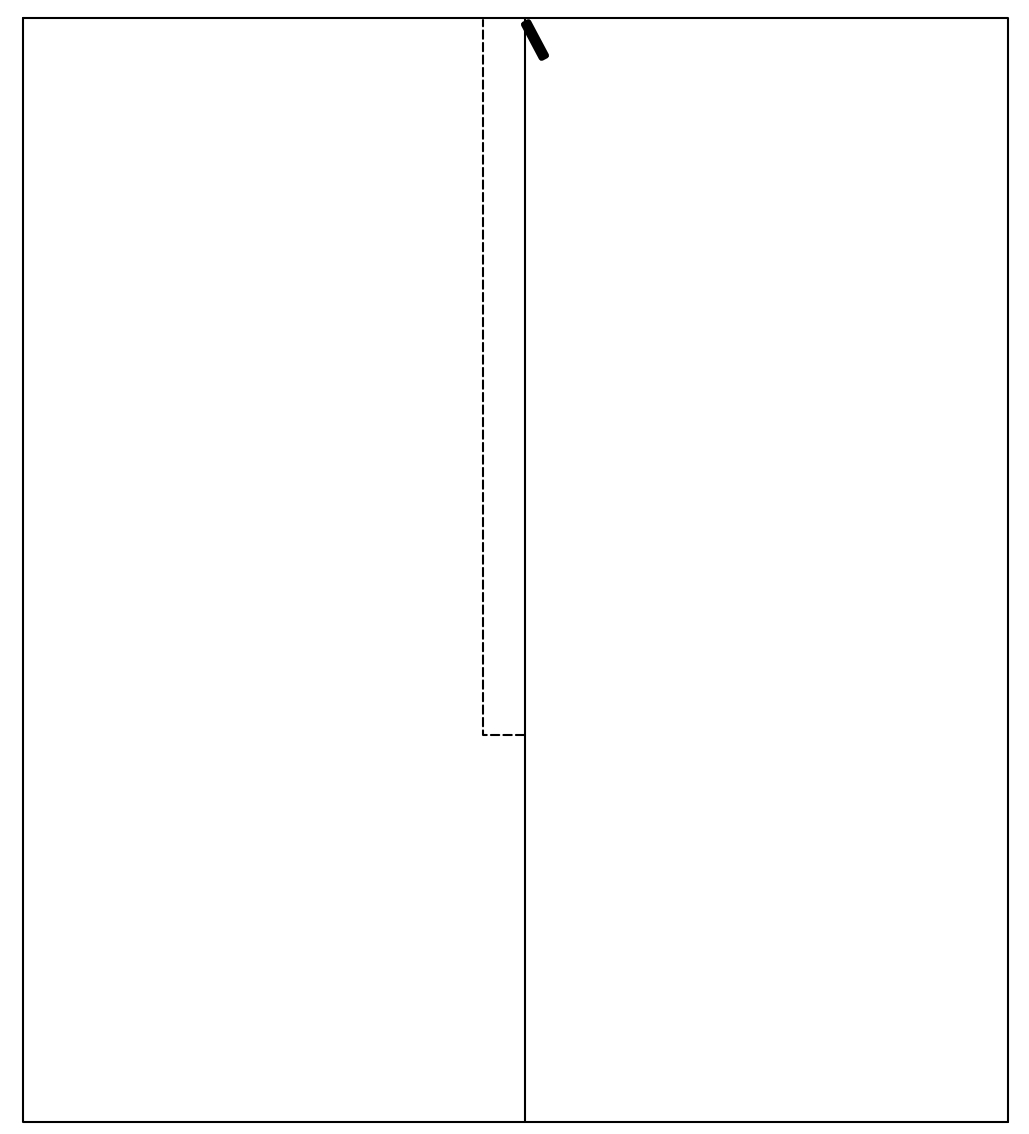
A lapped zipper is similar to a slot zipper in installation, but the difference is that there is only one side of top stitching visible and it makes an L shape at the bottom of the zipper.
Also, this flap, then covers the zipper teeth.
Again, there is a visible topstitch so pick your thread accordingly.
This zipper installation doesn’t look quite as sporty.
It also works better than the slot zipper on curved seams. Just keep in mind that if you are doing a side seam, the front should lap over the back. This way, when looking at the garment head-on, there won’t be a weird ‘halo’ where the zipper overlap sticks out.
And consider the lapping on the front and back of your garment in accordance with your handedness. If you are right handed, you can lap the left over the right so that it’s easier for you to operate the zipper with your dominant hand.
Invisible
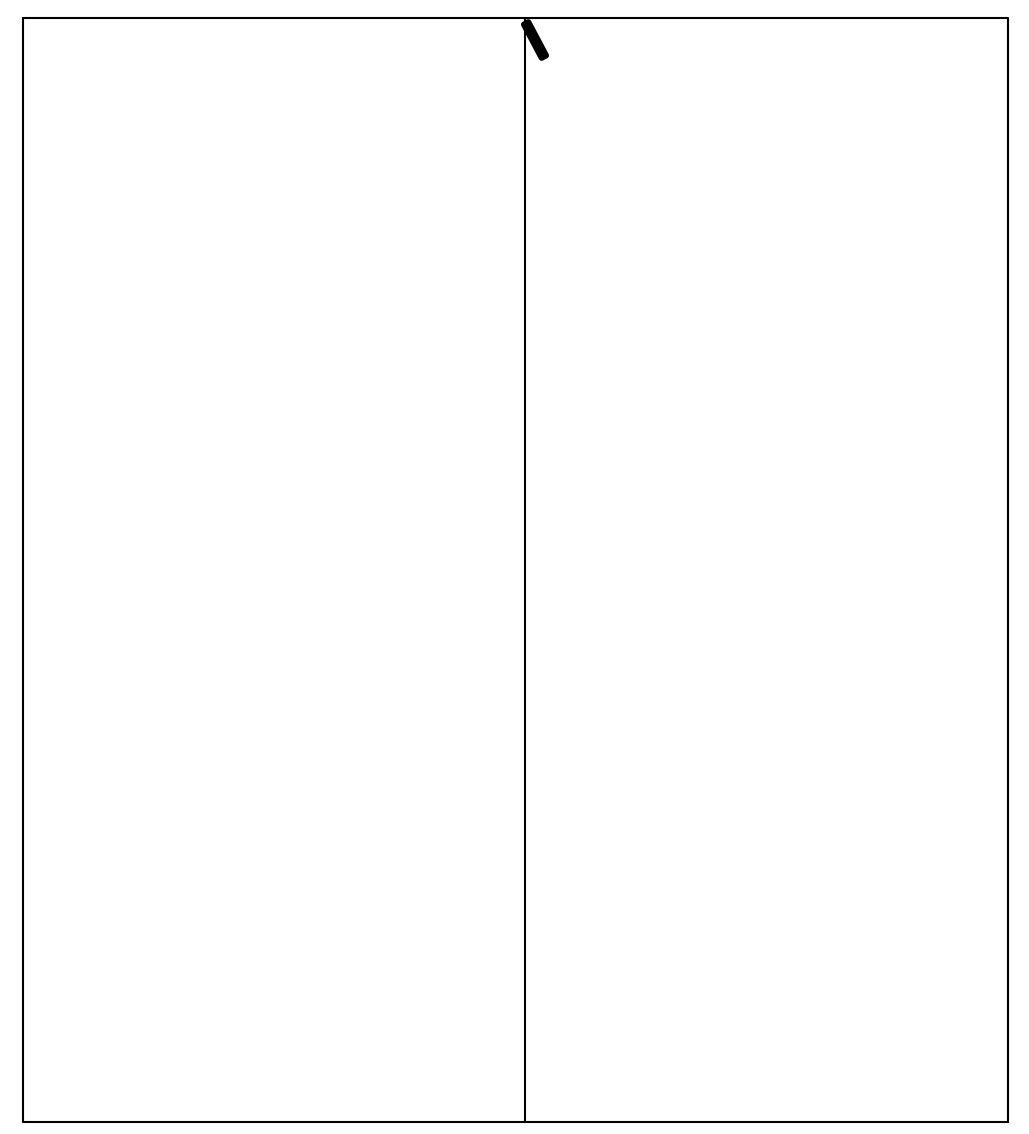
An invisible zipper sewn well operates smoothly and looks like a seam with a zipper pull at the top when closed.
Unlike the slot and lapped zippers there is no visible topstitching. It’s meant to be completely invisible.
These work well in curved seams as well as straight.
You may choose to use a specialized foot for invisible zipper sewing, but it isn’t necessary.
And, while you can use pretty much any standard zipper in the slot and lapped zipper installations, the invisible zipper has to be used for an invisible zipper installation. The biggest difference between the regular zipper and an invisible zipper is that the teeth are visible on the “right side” of a regular zipper, and on an invisible zipper, they roll to the “wrong side” of the zipper, thereby hiding them.
This makes it a little more confusing when sewing it because it feels a little backwards when sewing “right sides together”. Take your time. An invisible zipper is a totally obtainable zipper installation, even when you’re just starting out.
Tools
There are a few tools that you should have on hand to make these installations easier.
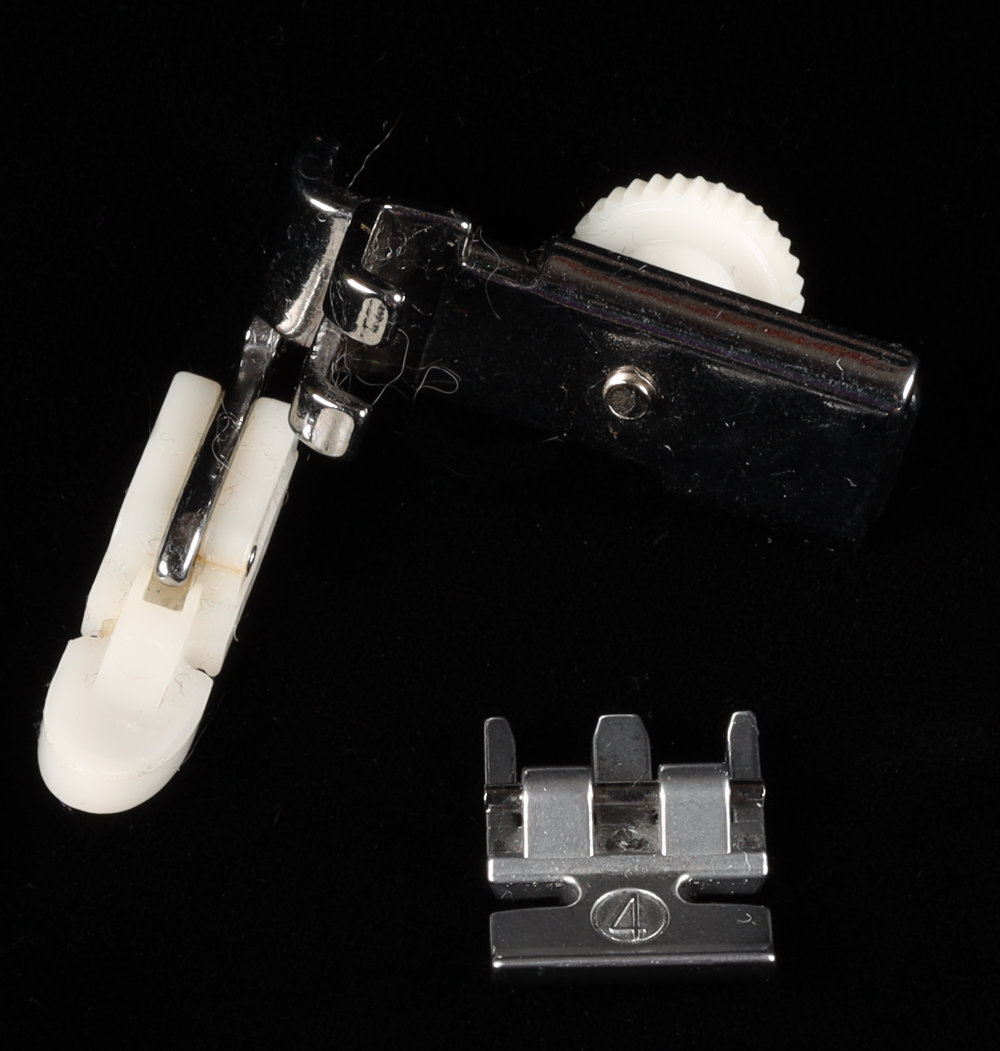
First, you should have a zipper foot. If your machine doesn’t have one, see if you can buy one. Many machines can take a universal adjustable zipper foot. This would be my preferred foot (it’s so versatile for many things beyond zipper sewing).
If you happen to have a Bernina sewing machine that doesn’t take the universal adjustable zipper foot, and you really want one, I know where you can find one, let me know, just leave a comment or email me and I’ll email you the information.
Many sewing machines come with a wider zipper foot. And that is OK to use, but you might actually find the narrower foot gives you better results.
You will also need some way to attach the zipper to the fabric, unless you are really confident with pin-less sewing.
Pins are ok.
Dritz washable wonder tape is really awesome. It doesn’t gum the needle, doesn’t need heat to be applied and doesn’t let the zipper move around.
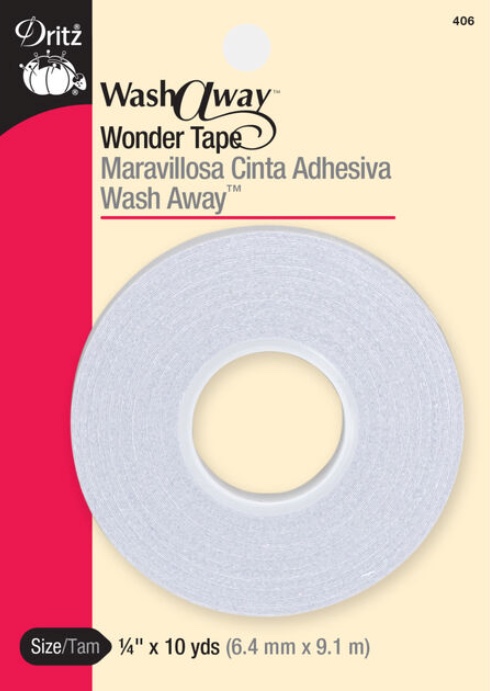
And you’ll definitely need some way to mark where the zipper ends and such. I often use snips. But you can use erasable markers or chalk. Just make sure that if you are marking the topstitching lines that you’ve tested the marker on your fabric and are confident that it will be completely removed or invisible.
Wrap Up
Sewing zippers doesn’t have to be intimidating. Take your time. Use proper tools and appropriate zippers.
If you are just beginning, remember that nylon coil zippers are more forgiving than their metal or plastic counterparts.
And grab my ebook for in-depth instructions on sewing these three zipper installations. (If you haven’t already.)
Explore Sewing Projects at Your Own Pace
Learn helpful techniques and tips to make sewing more enjoyable.
