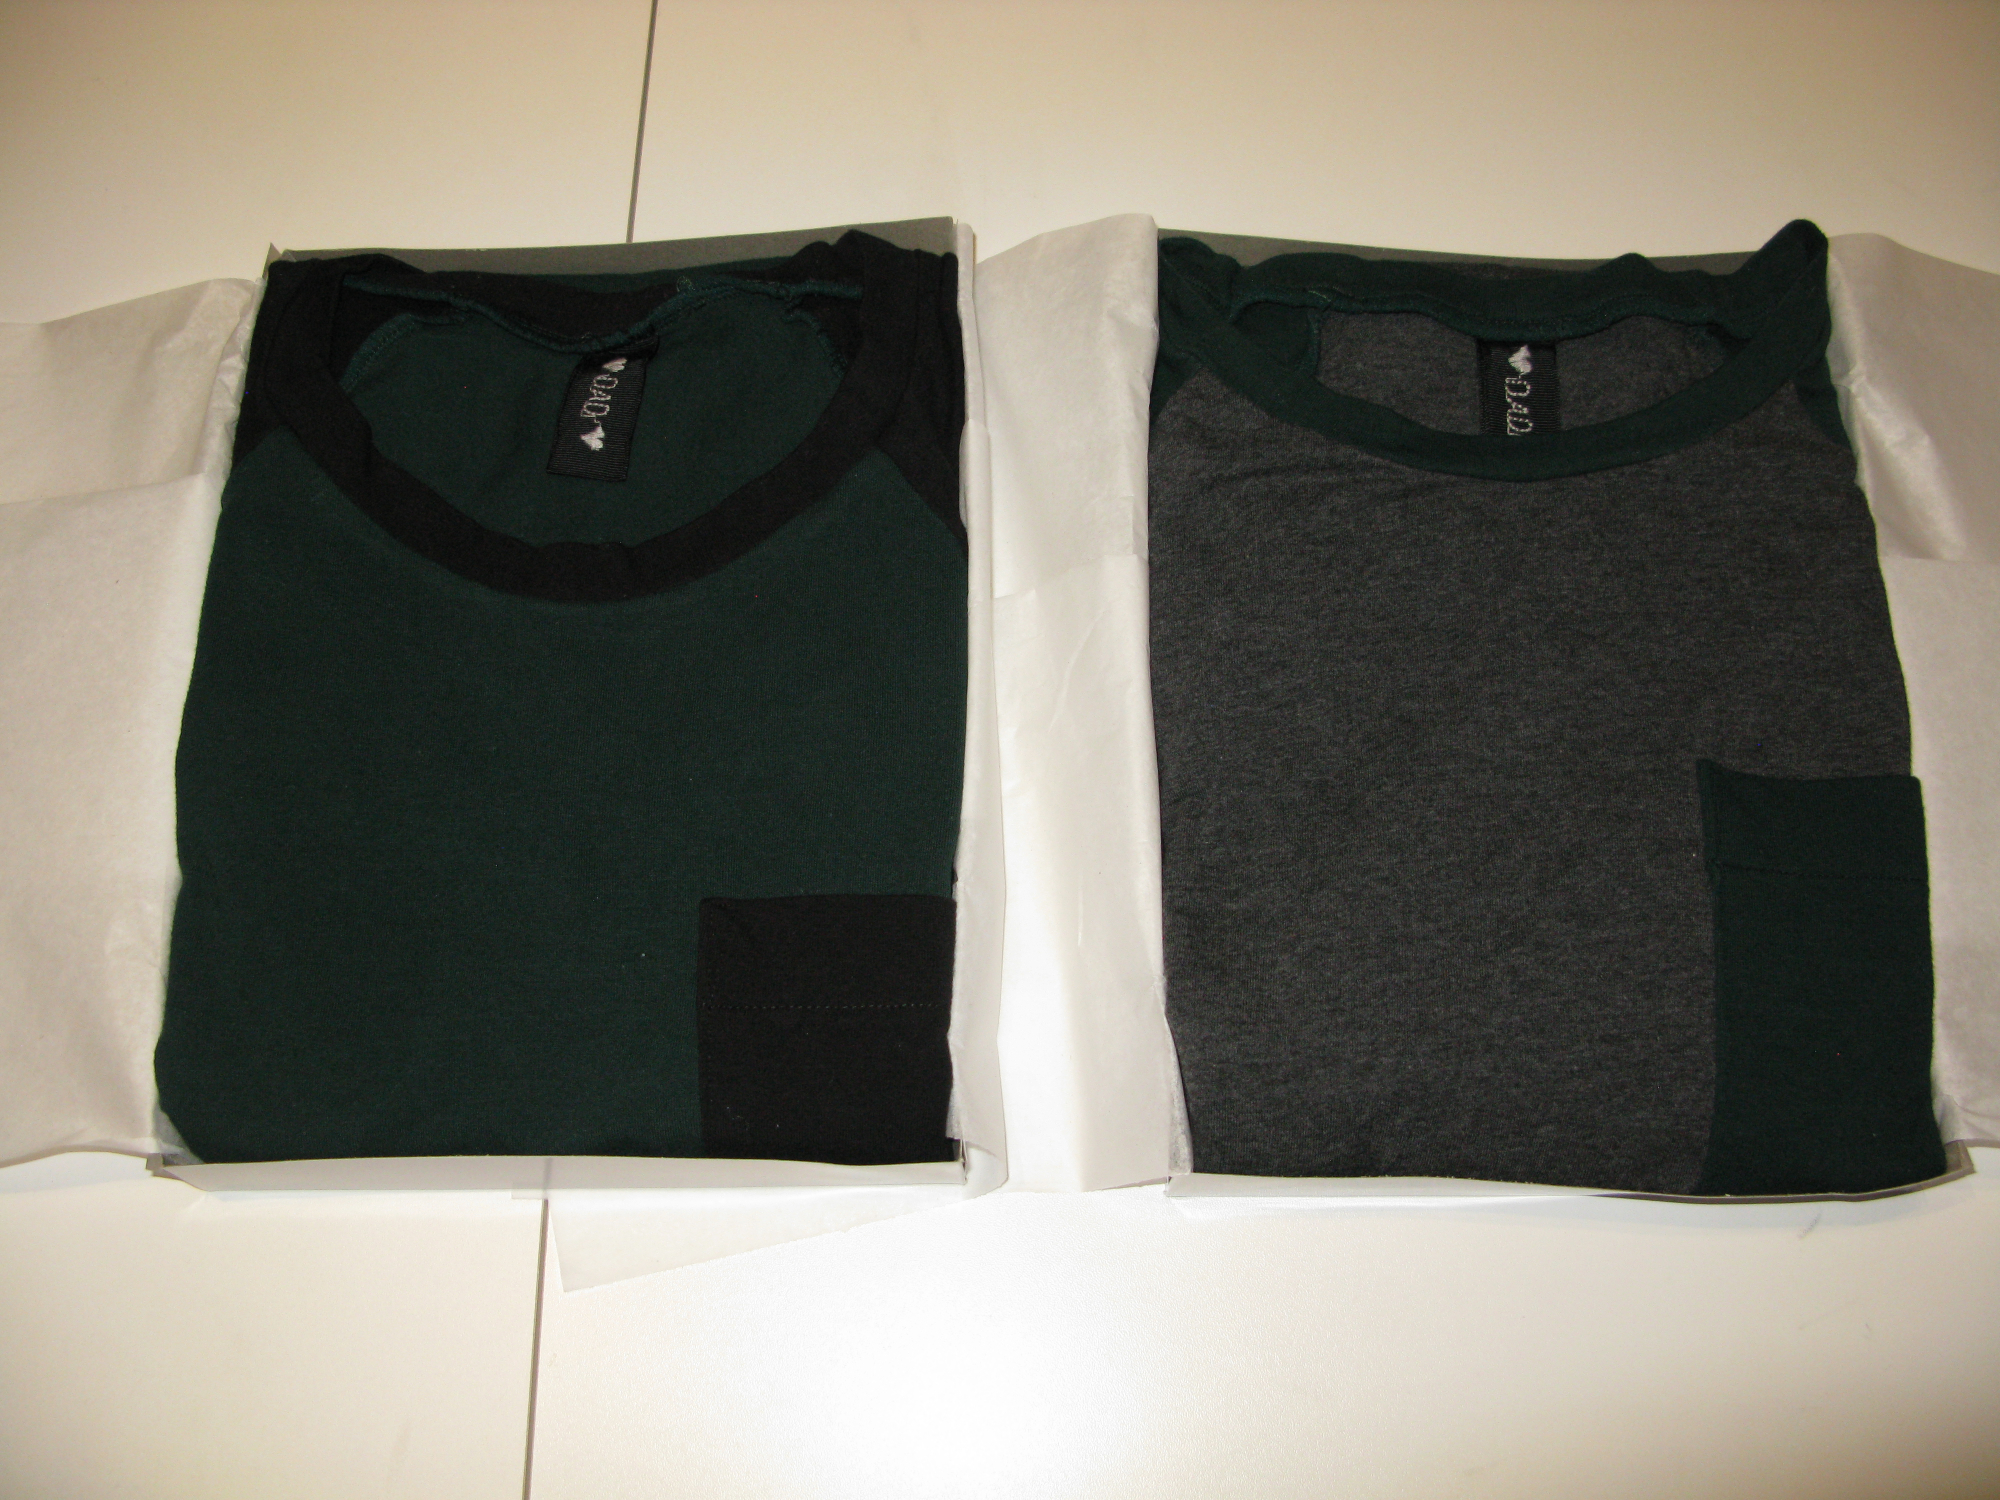
Last year for Christmas I got the bright idea to make handmade gifts for all of my family members (Mom, Dad and Sister). For my Mom and my sister, I made wallets that matched purses I had made them previously. My dad, however, didn’t need a wallet. I know, because I asked.
So, I decided I’d just make him some t-shirts.
I talked with my mom and she told me that he wanted shirts that had a pocket for his cell phone.
😀
Now, we’re on to something.
So, I made two nice raglan shirts, with pockets. The good news? They fit.
The bad news? well, not really bad news… but there were some areas of opportunity of improvement.
- the long sleeves were too long.
- the pocket wasn’t deep enough.
So, this year, for his birthday, I made two new shirts. A short sleeve and a long sleeve (2 inches shorter than the previous long-sleeve). Each with a pocket that was deeper than previously (by half an inch as requested).
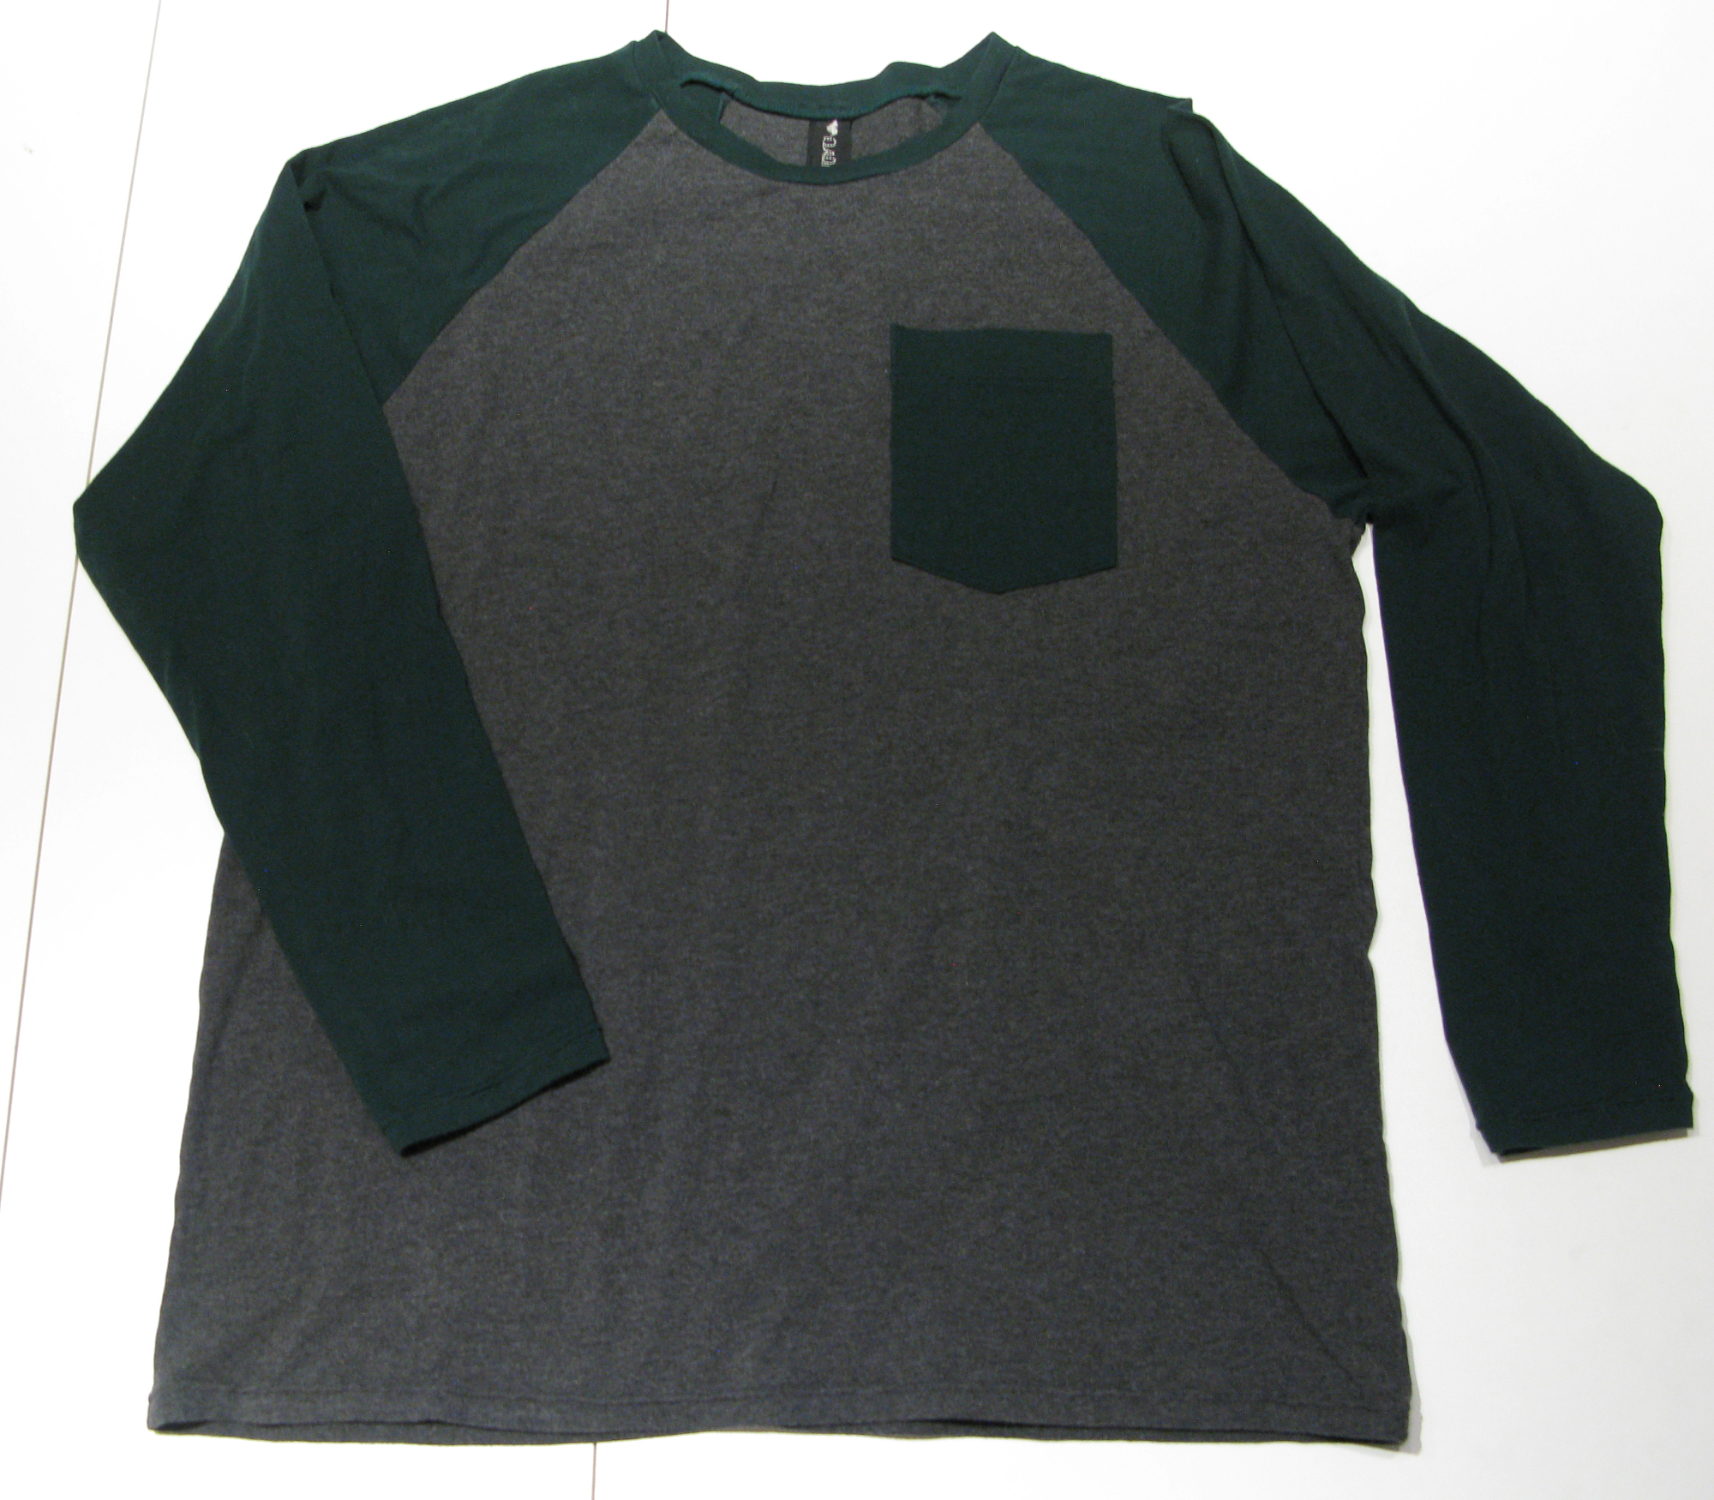
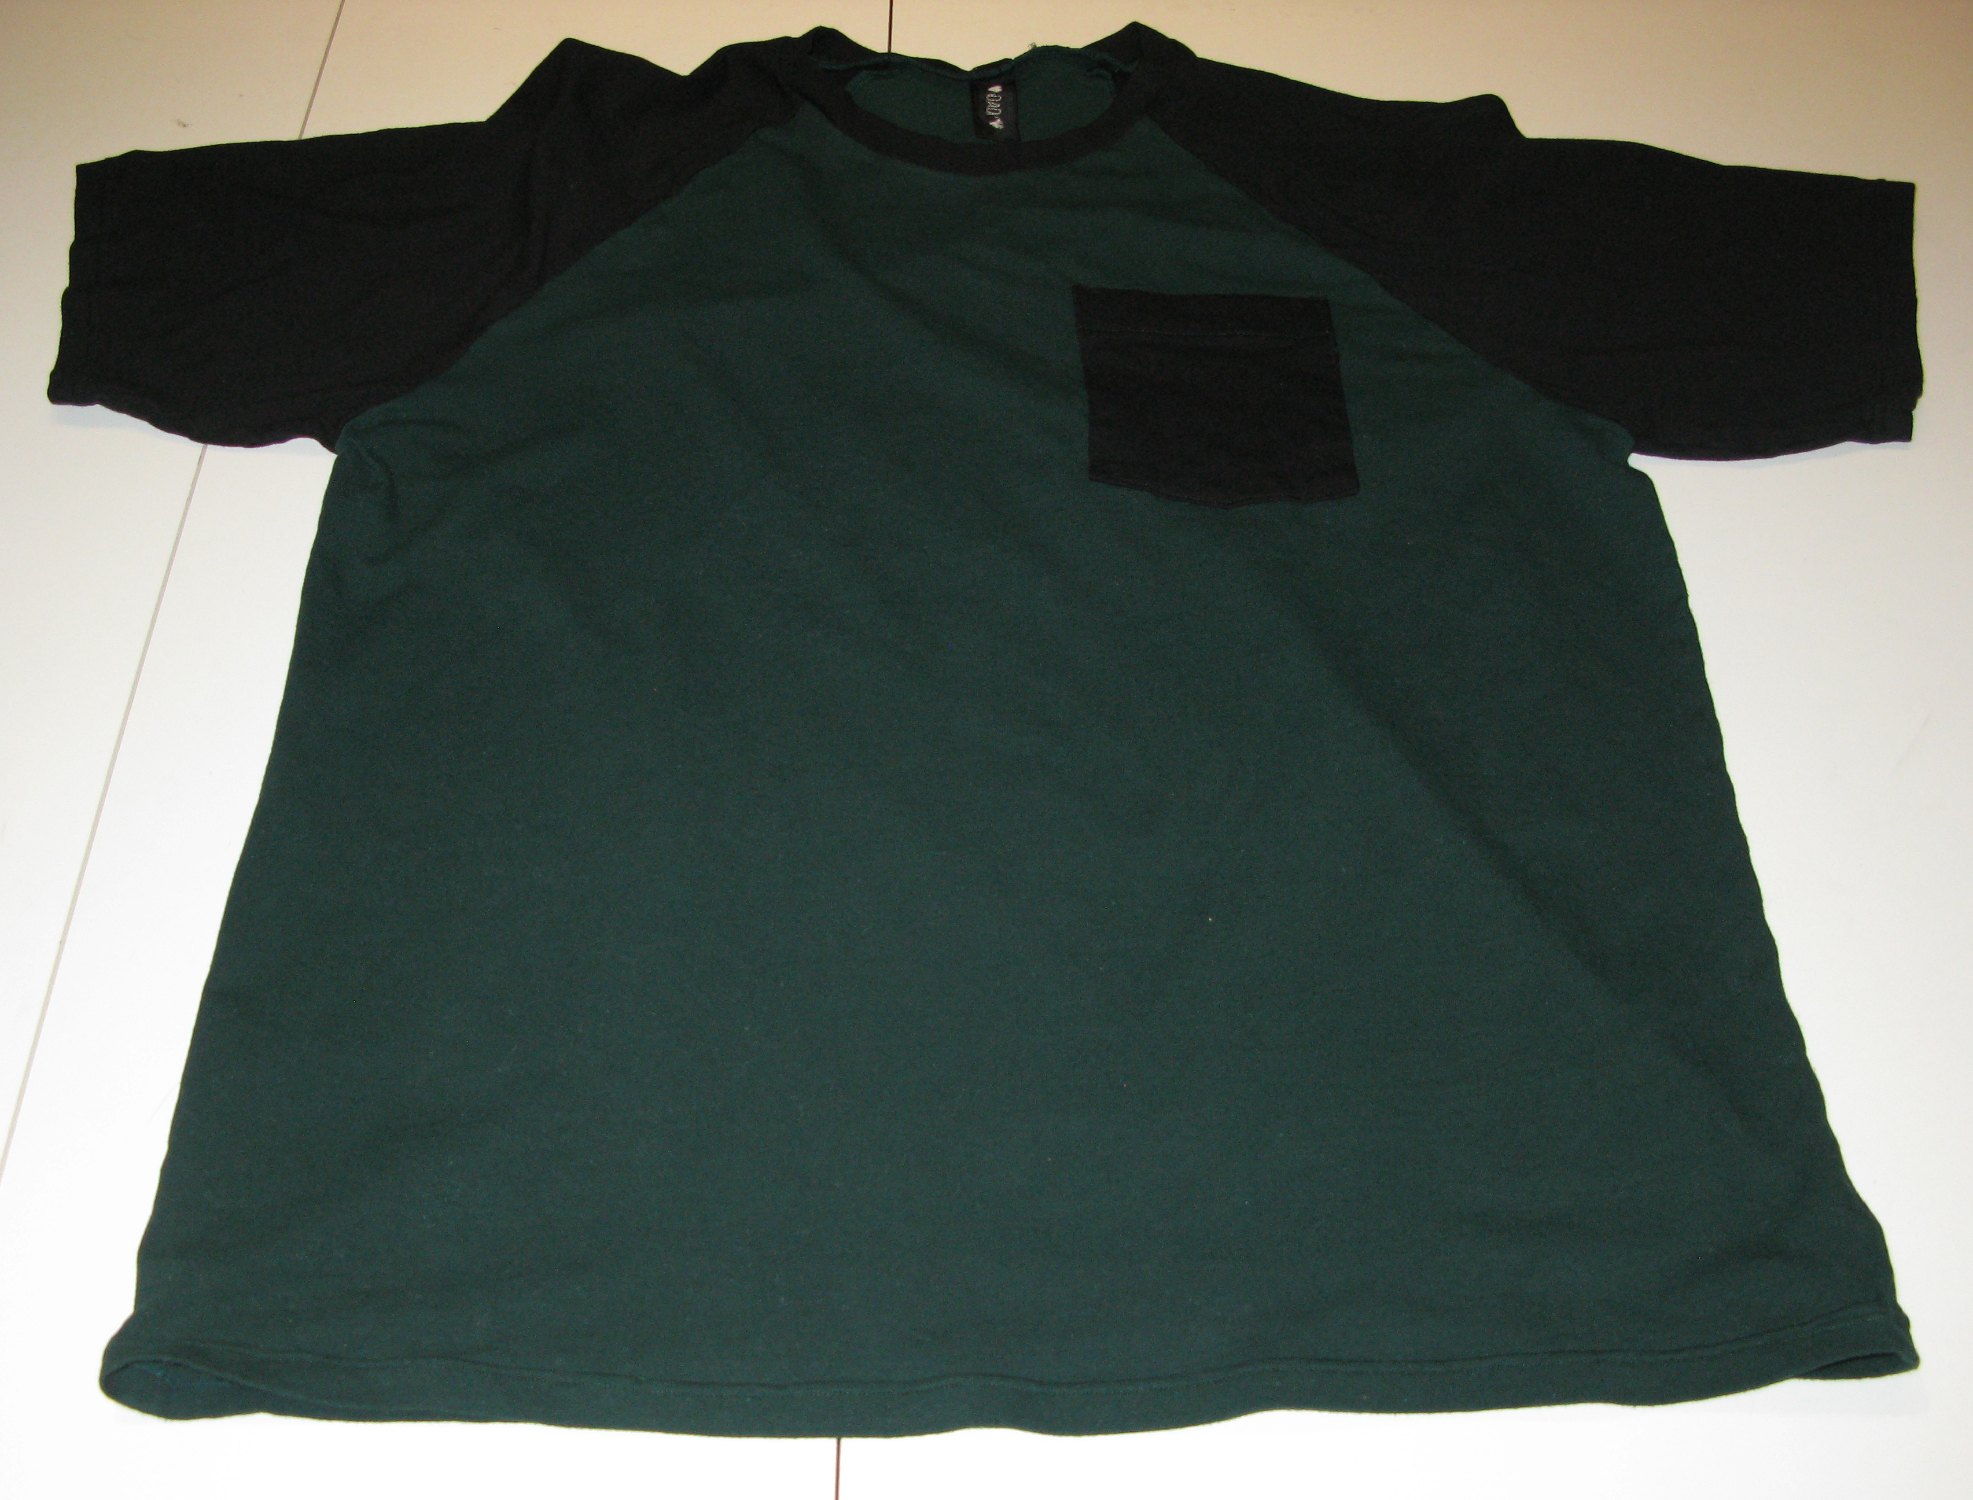
The T-Shirt
What is a raglan sleeve? Well, a normal t-shirt would have “set-in” sleeves. A raglan sleeve is not set in. It’s actually easier to sew than a standard t-shirt.
So, why a raglan sleeve?
Well, I didn’t pick it specifically for the ease. I actually really like the look of it. It’s kind of sporty in a dressy kind of way. And they look really nice when you use a different color for the neckband and sleeves than for the body of the shirt. (In my opinion).
For my pattern, I used Jalie 3669. Nico – Men’s Raglan Tees.
https://jalie.com/jalie3669-nico-men-s-raglan-tees
I’ve really liked Jalie’s patterns, especially for knits. Plus, they typically come with tons of sizes included. That means, if you’re between sizes, you don’t have to worry about buying two copies of the same pattern in the two size ranges.
I added the pocket myself.
Raglan Sleeve Details
In a typical t-shirt sleeve, the arm hole seam would go vertical from the armpit (if you look at the person directly on). In a Raglan sleeve, the seam goes from the armpit up to the neck in both the front and the back.
This means that part of the neck hole is actually a bit of the sleeve piece.
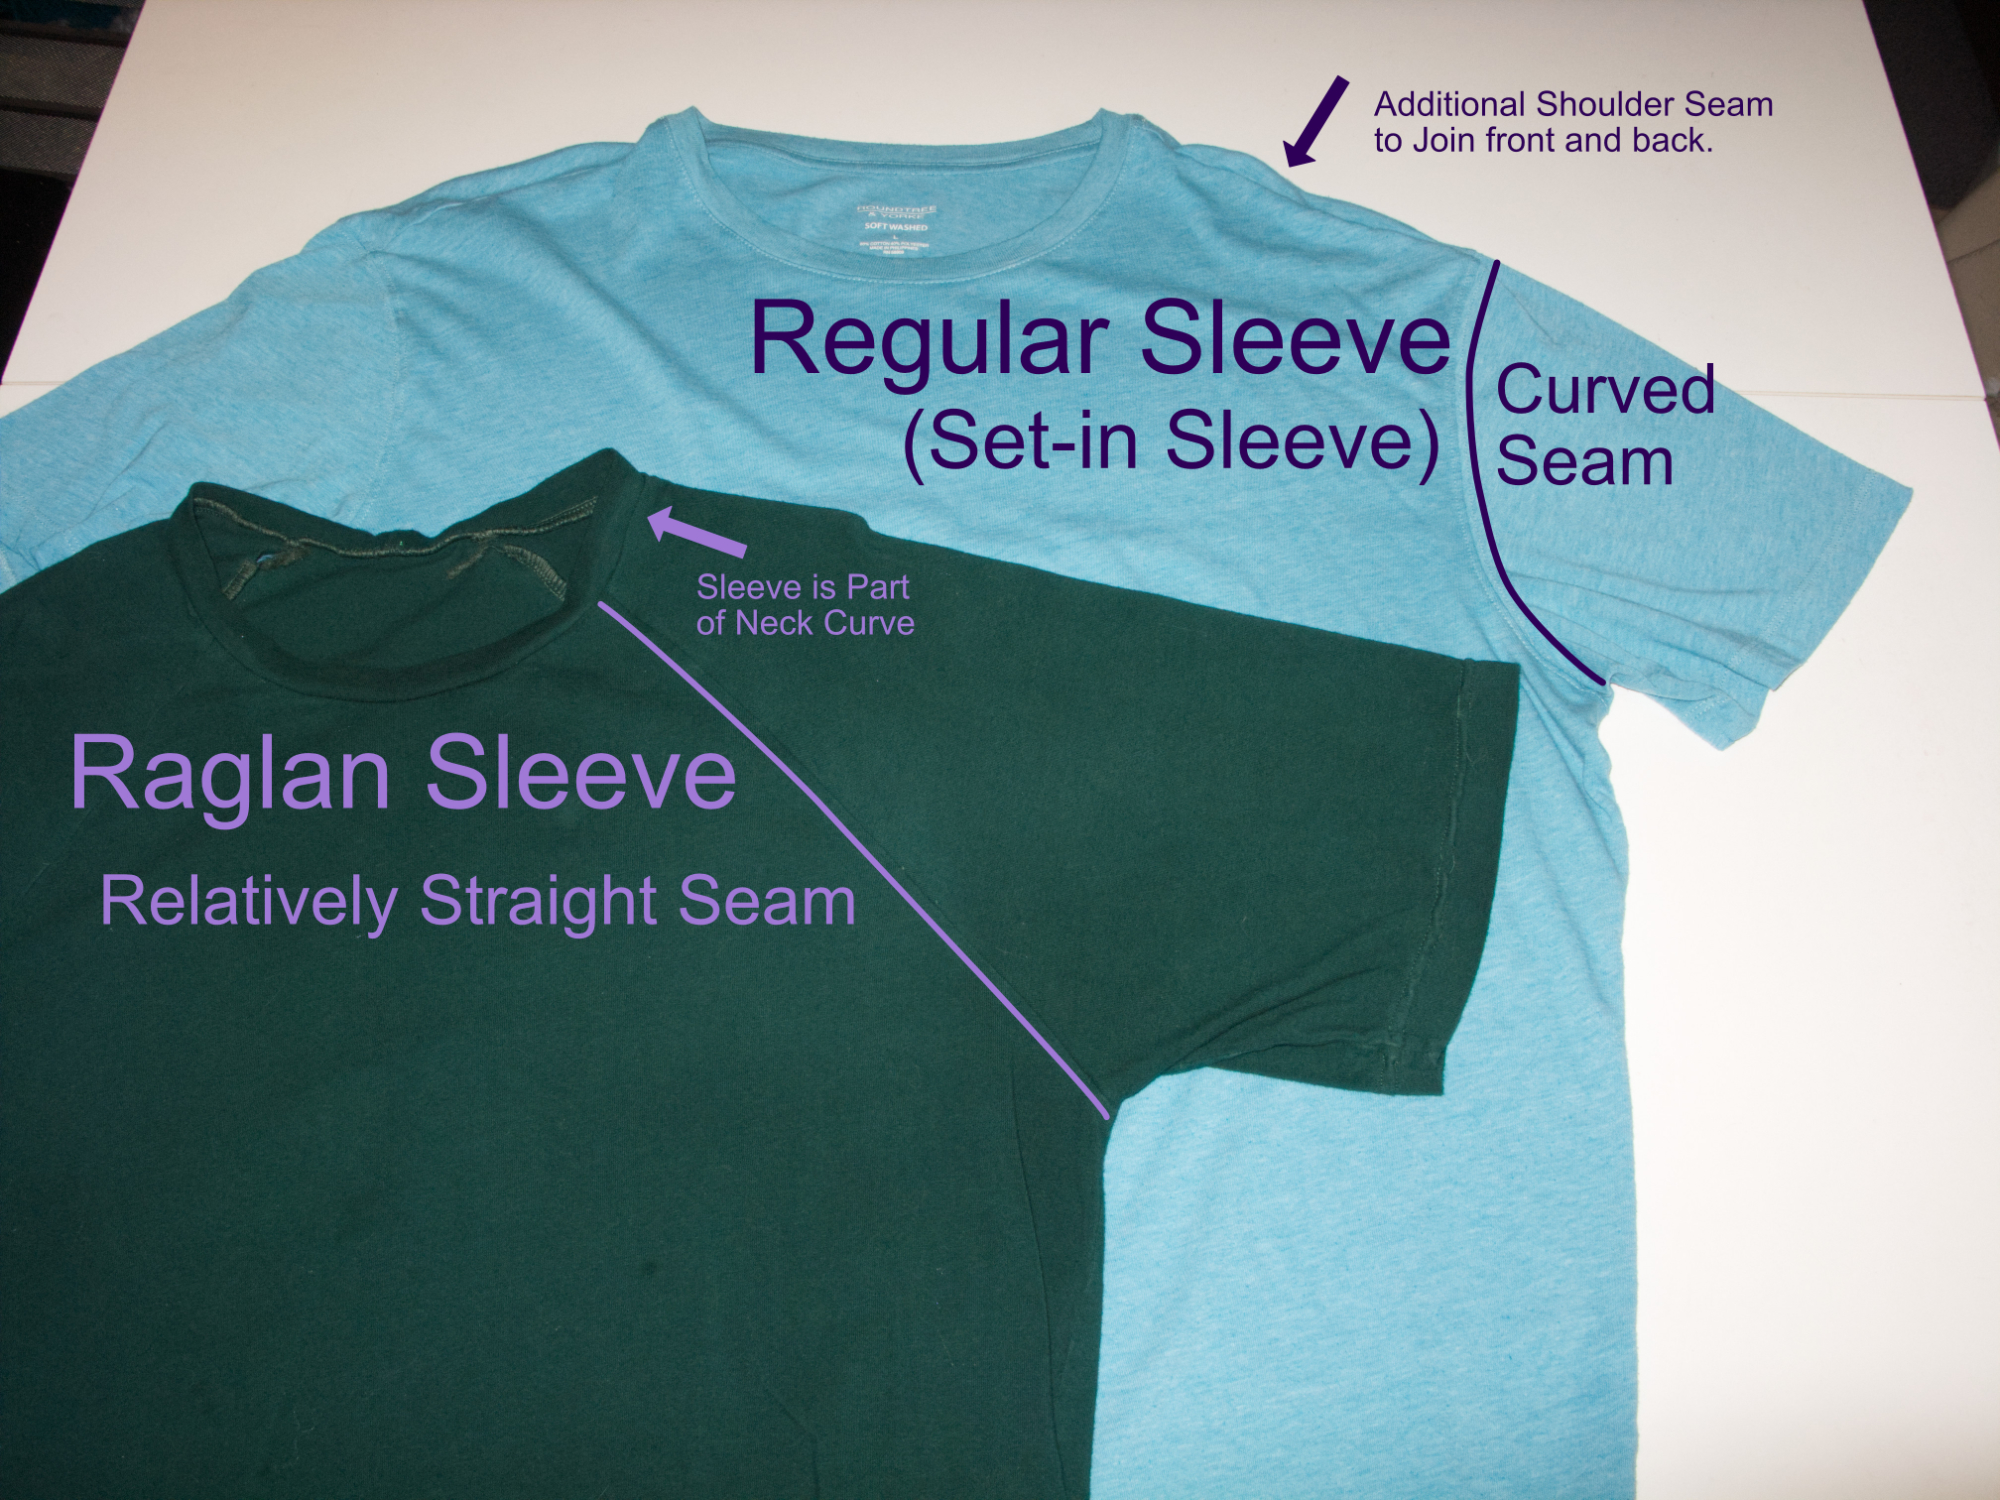
It also means that you don’t have a shoulder seam to use for shoulder slope adjustments. Now, I have found that I don’t typically need to adjust for my shoulder slope in a t-shirt as I would in a structured garment, but it’s something to keep in mind. Any slope adjustments would have to be done somehow in the front and back side seams.
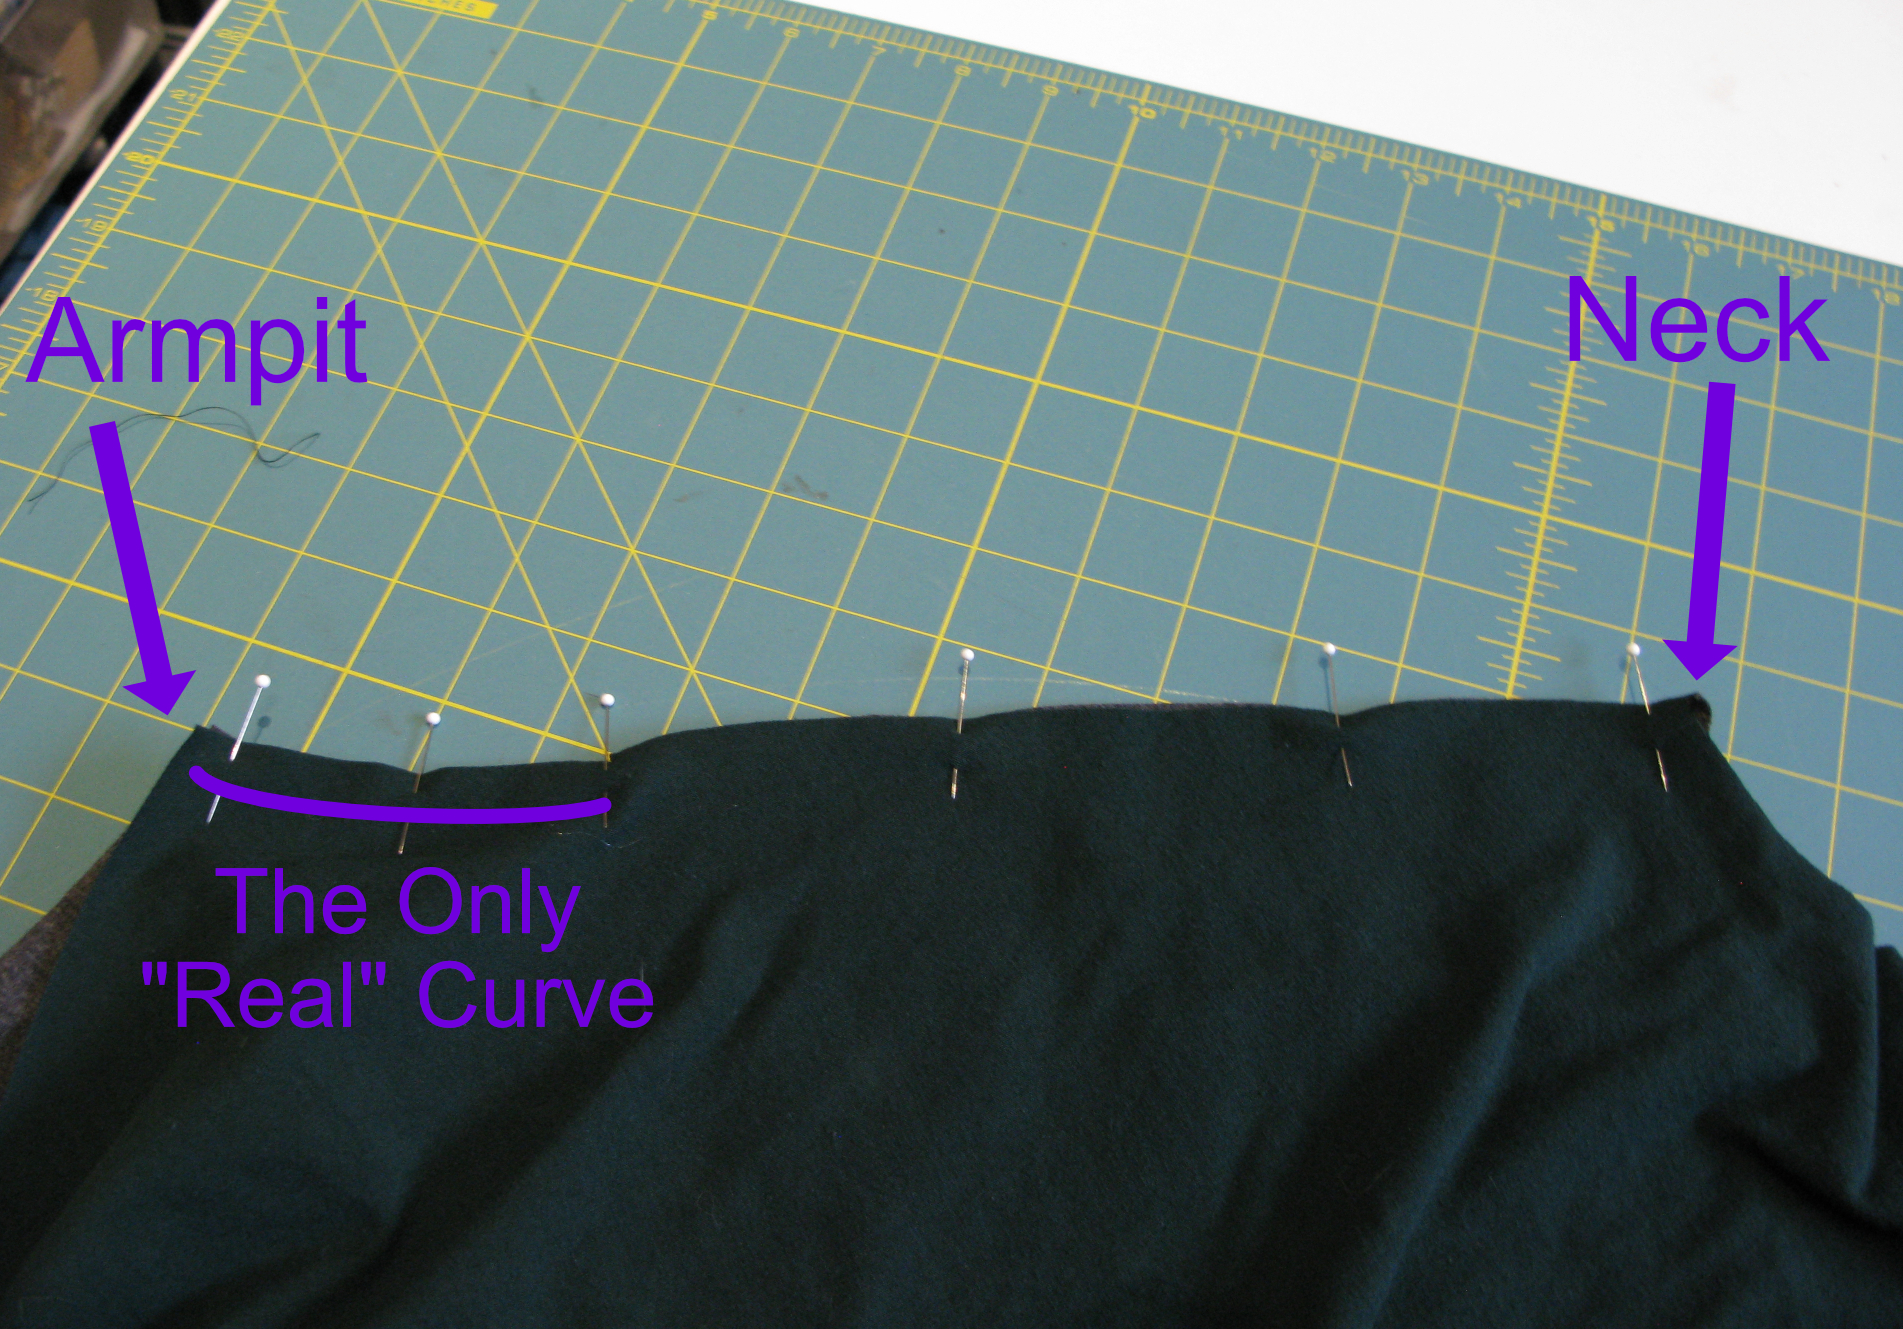
The cool thing about the raglan sleeve is that it’s MOSTLY a straight seam. where you attach the sleeve to the shirt body (both front and back). Only a couple inches at the armpit actually require you to sew curves together, and it’s not even opposing curves. They are kind of the same, but one just curves a bit more than the other.
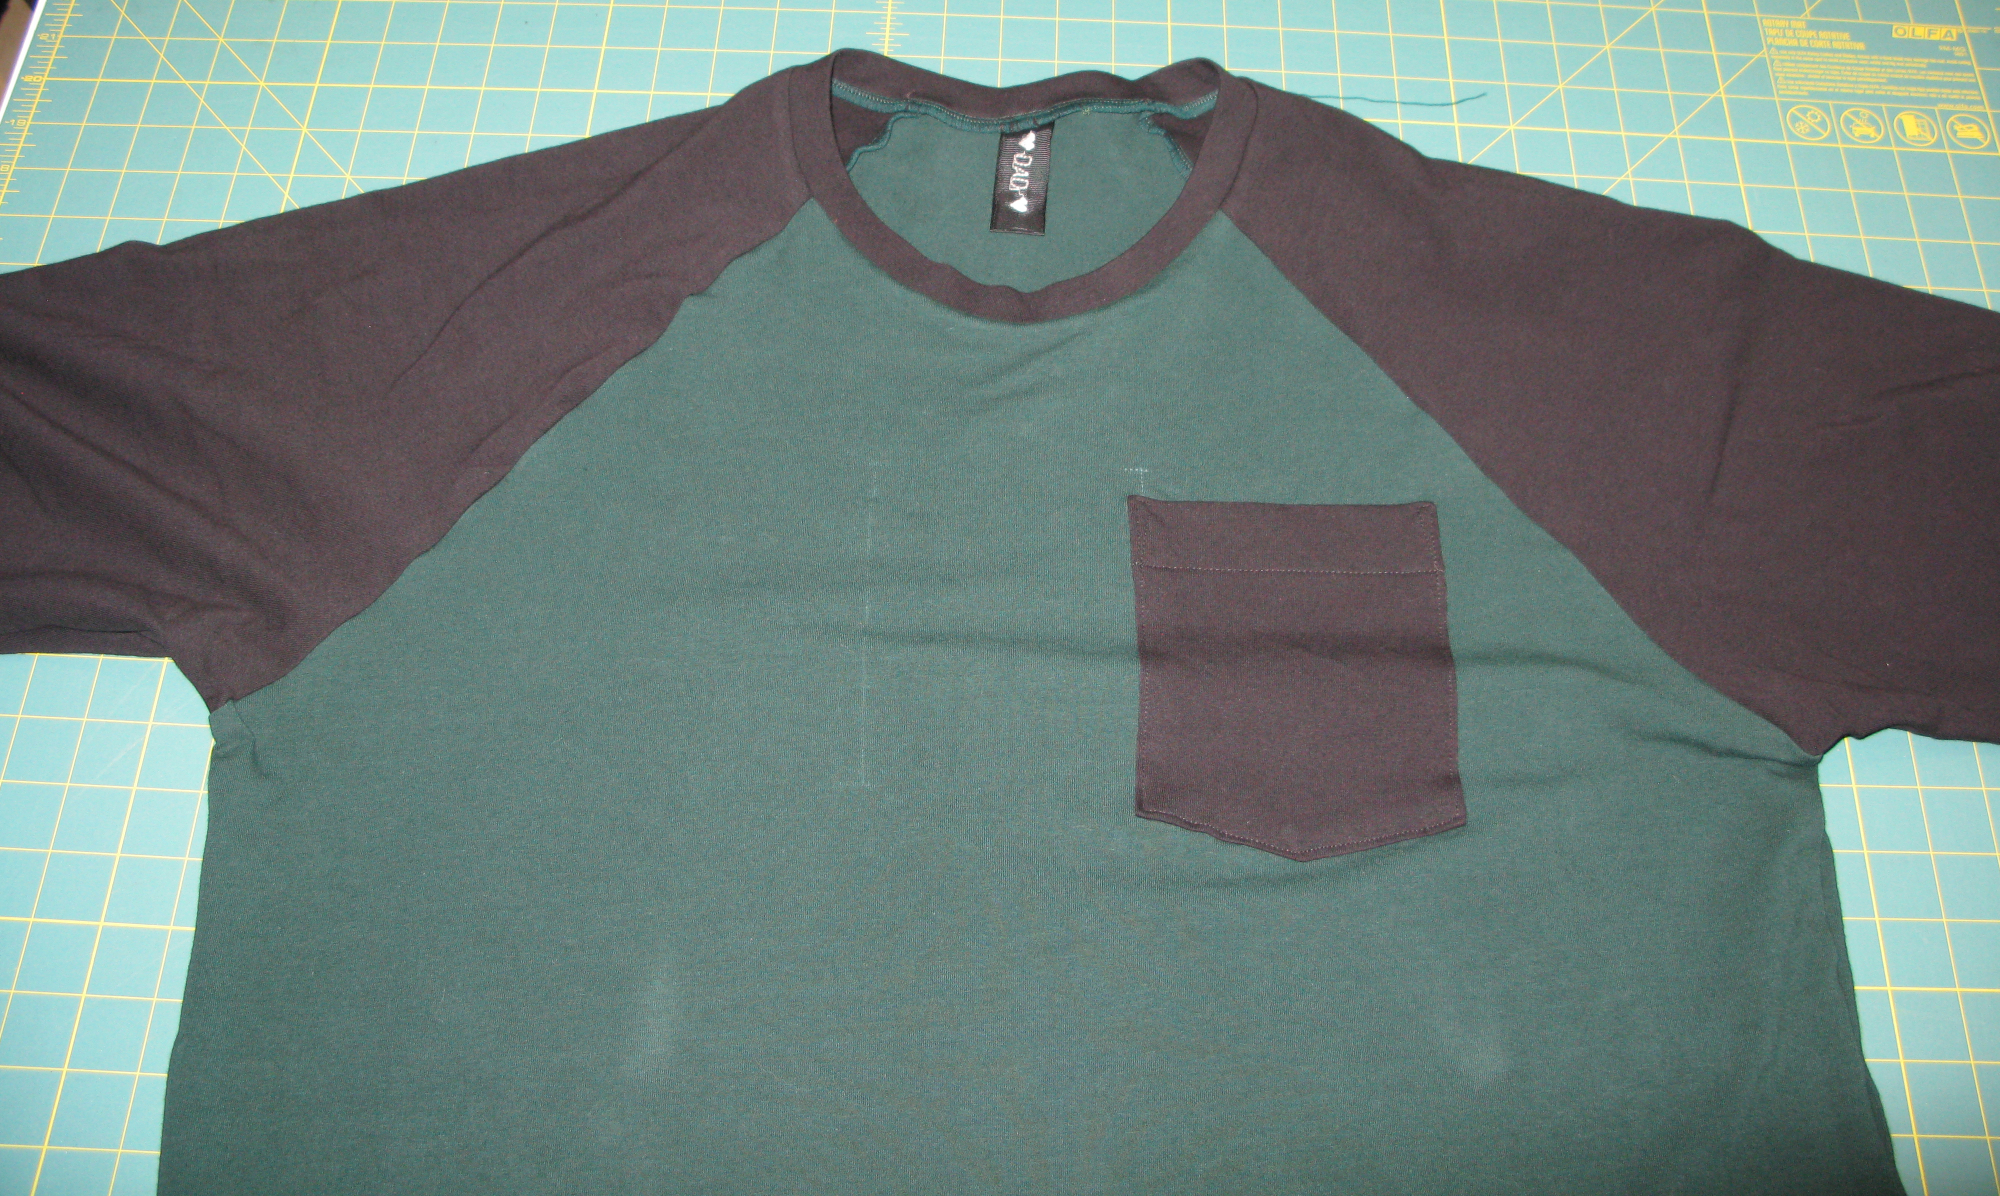
Pocket Details
As I mentioned, I added the pocket myself.
Basically, I snuck a peek at a shirt my boyfriend had in his closet and measured out the dimensions of the pocket and saw how my cell phone would fit in there.
I also had a pattern for a “normal” t-shirt that had a pocket, so I could use the instructions on pocket construction as a guide.
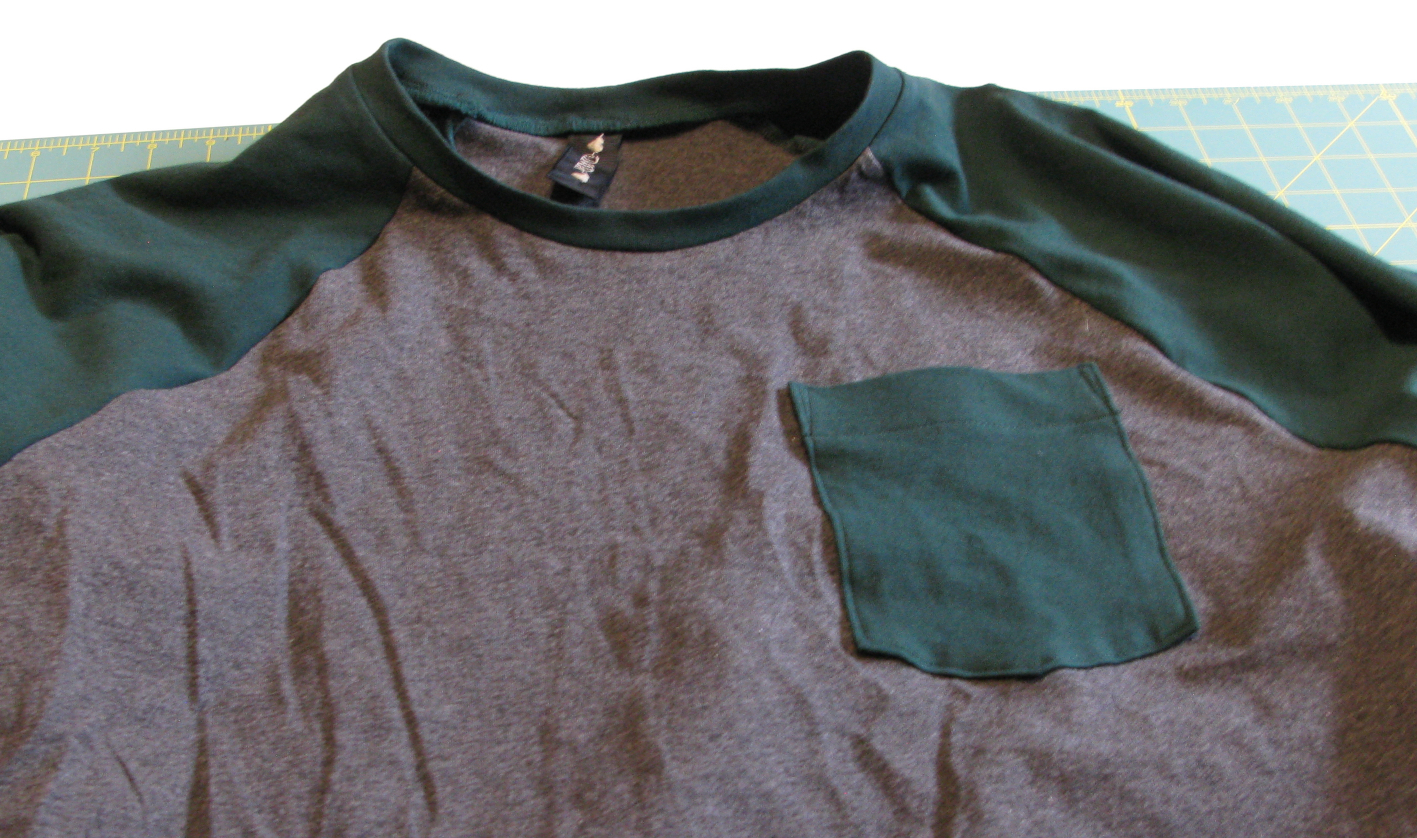
I chose to make a pocket with a pointed bottom. I could have gone with a flat botom, but the pointed one actually gives the cell phone a bit more space to fall into without the pocket “feeling” too big.
Then, I had to decide where to put the pocket.
On the shirt that I stole pocket dimensions from, I also measured how far from the neck line and armpit curve the top of the pocket typically sits. I didn’t want to completely eyeball it and end up giving my dad a shirt with a pocket on his belly….
An immediate challenge came up.
So, it’s called a breast pocket because it sits over the breast (typically left). That means it can’t be too close to the center of the body. BUT, because of the raglan sleeves, I needed to make sure I didn’t go too far to the side, lest the corner of the pocket sit on the sleeve portion of the shirt.
So, I played around with eyeballing it, making sure that I was far enough inside the arm seam of the front body piece so that it would look balanced. I actually ended up dropping the top of the pocket a little bit, but in the grand scheme of things I don’t think it matters.
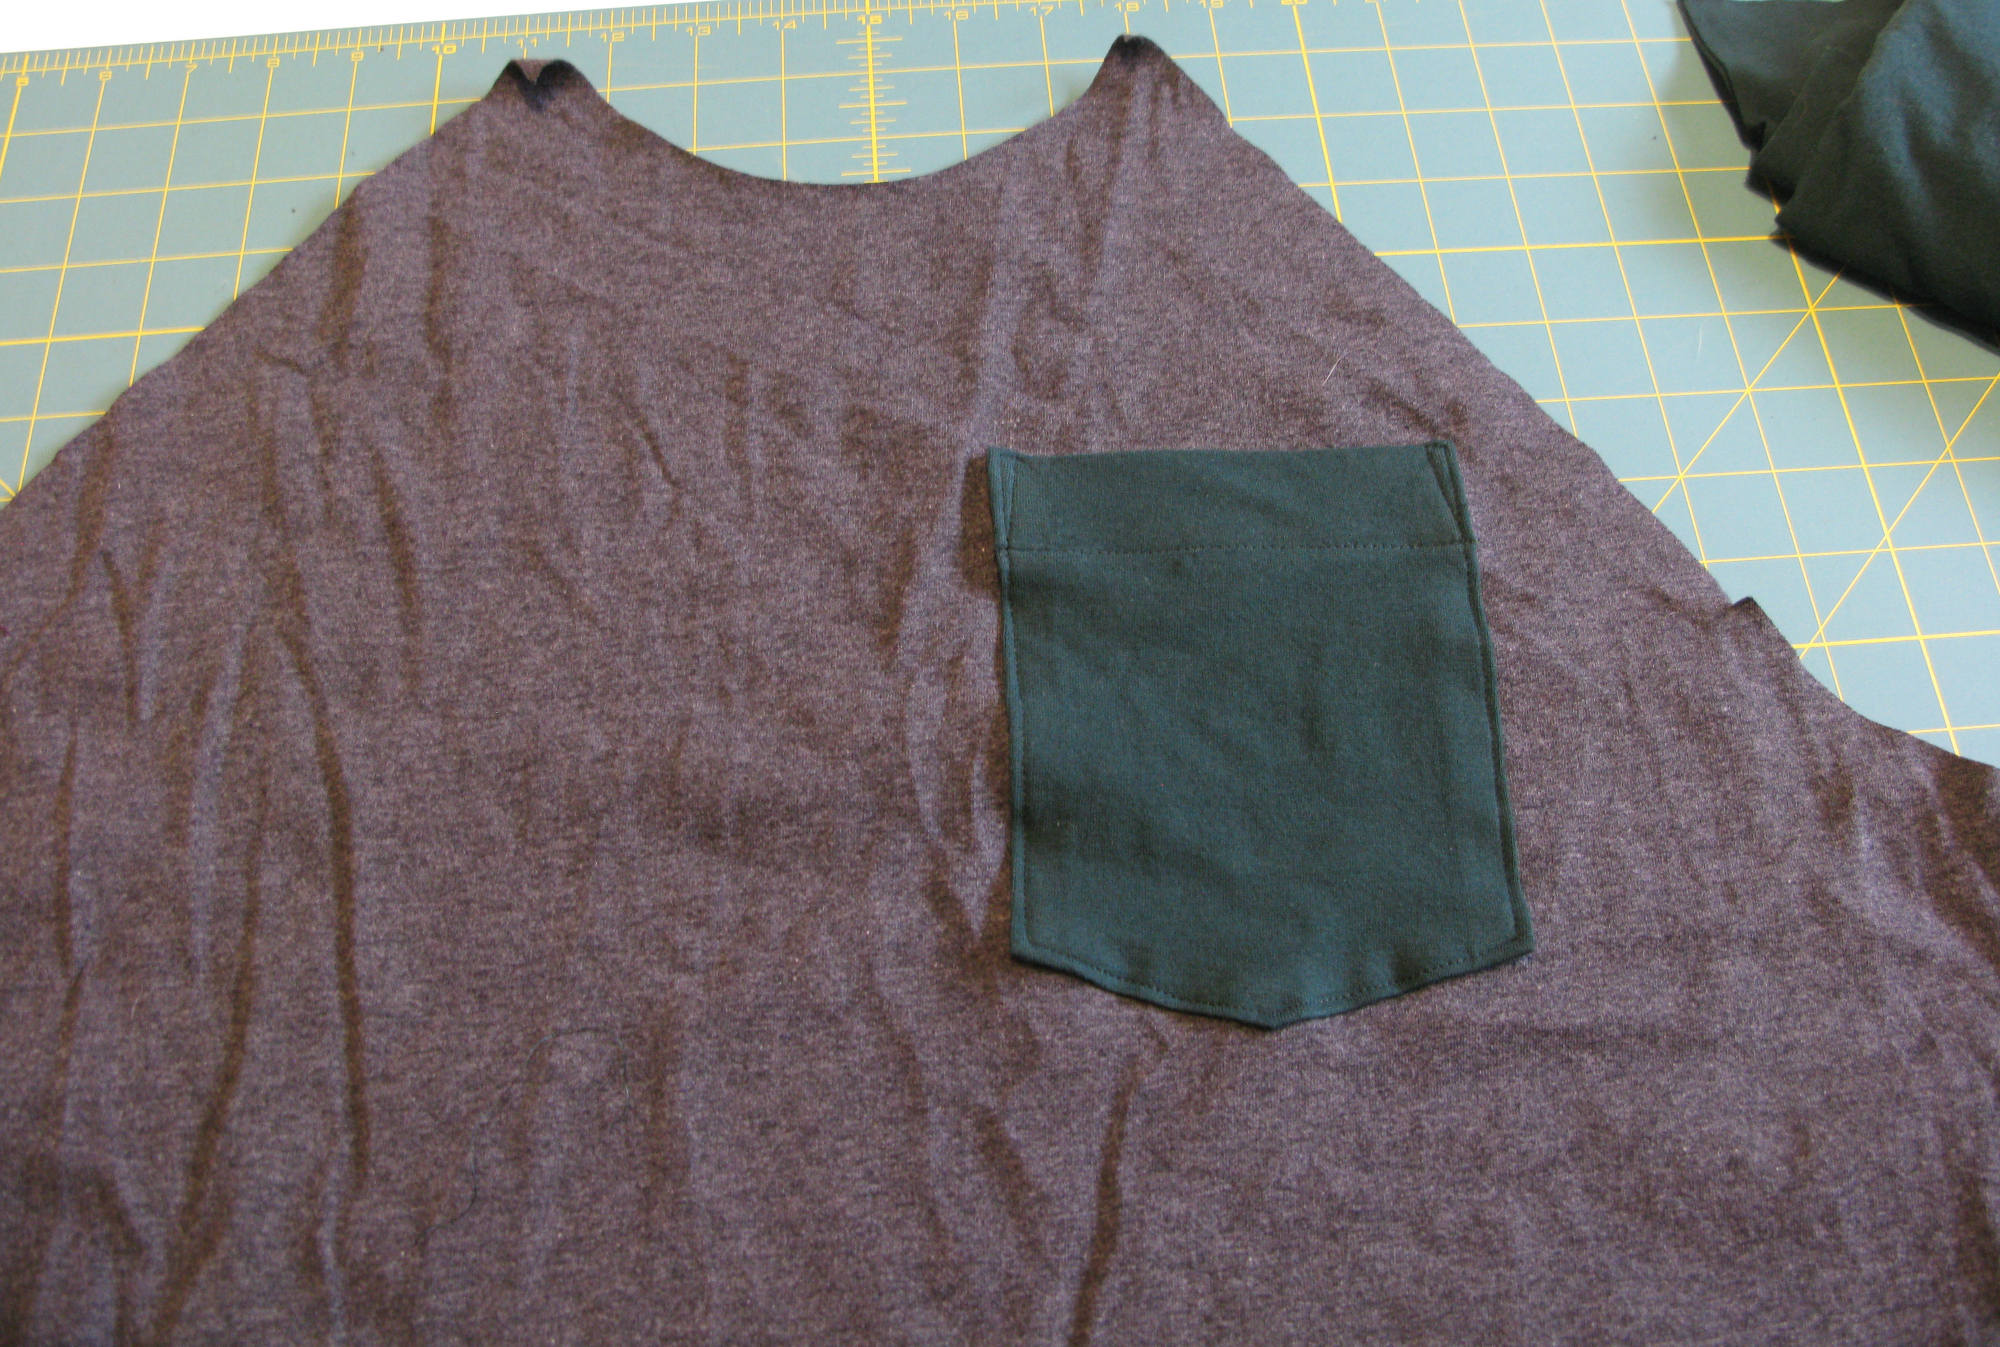
The last consideration of the pocket, was making sure it was vertical. So, I drew a line on the front pattern piece parallel to the fold line (because the front is cut on the fold). And used that as a guide to mark my pocket placement. Technically, you only need to mark the top corner and the plumb line (if you will) of the pocket for placement. But you could also mark the bottom corner.
Admission: I marked the pocket about 1/2″ higher for the taller pocket, but when I went to sew it, I didn’t like the way it looked on the front piece, so I dropped the (now taller) pocked down about 1/2″ so that it sat about where the other pocket sat. You can see the mark of where I thought I’d put the pocket peeking out above the pocket in the photo above.
Fabric
This pattern calls for a knit fabric that has at least 40% stretch in both length and width.
I used a 10 oz cotton jersey from SYFabrics.com. The 10 oz is slightly heavier than the 7 oz and holds up a little better to stretching. I figured it would be a better option for the pocket as well. And they offer a bunch of color options. (Note: I have a special coupon code for SYFabrics. You get 5% off your order, and I get a commission if you buy from them. It’s included in the link above, but you can also use coupon code: BADA$$)
It’s important to use appropriate fabric. I have made a raglan t-shirt (similar style, different pattern) that called for a 4-way stretch fabric out of a 2-way stretch fabric and it works. But the fit and feel of it is a bit “off”.
The upper part of the chest and back on a raglan sleeve is actually made out of the sleeve. And that part of the sleeve is “on grain” so if you use a 2-way stretch fabric, the stretch will be going the length of the sleeve and therefore the upper back and chest won’t have as much stretch or give in it.
Working with a 4-way stretch cotton jersey is relatively easy. But it does like to curl to the “wrong” side of the fabric. So, keep this in mind while you’re sewing because the underside piece may curl away and never get caught in the line of stitches.
Also, make sure you are using a needle for knits. Or at the very least, for stretch fabric. I like Klasse needles for Stretch fabrics. I’ve had really good luck with them in my sewing machine. I use a standard overlock needle in my serger for the overlock stitch to sew the pieces together. And an EL-705 for the coverstitch for the hems.
I used regular all-purpose thread in the sewing machine. In the serger, I used normal thread for the needles, and a wooly nylon for the looper. I think the wooly nylon I have may shrink a bit when washed, so future projects I’ll try a normal thread for the coverstich looper.
Construction
Basic construction of the t-shirts is as follows:
- Prep the pocket (I do this on the sewing machine and match the thread to the pocket.)
- Sew the pocket to the front of the shirt (Again, this is done on the sewing machine with pocket matching thread.)
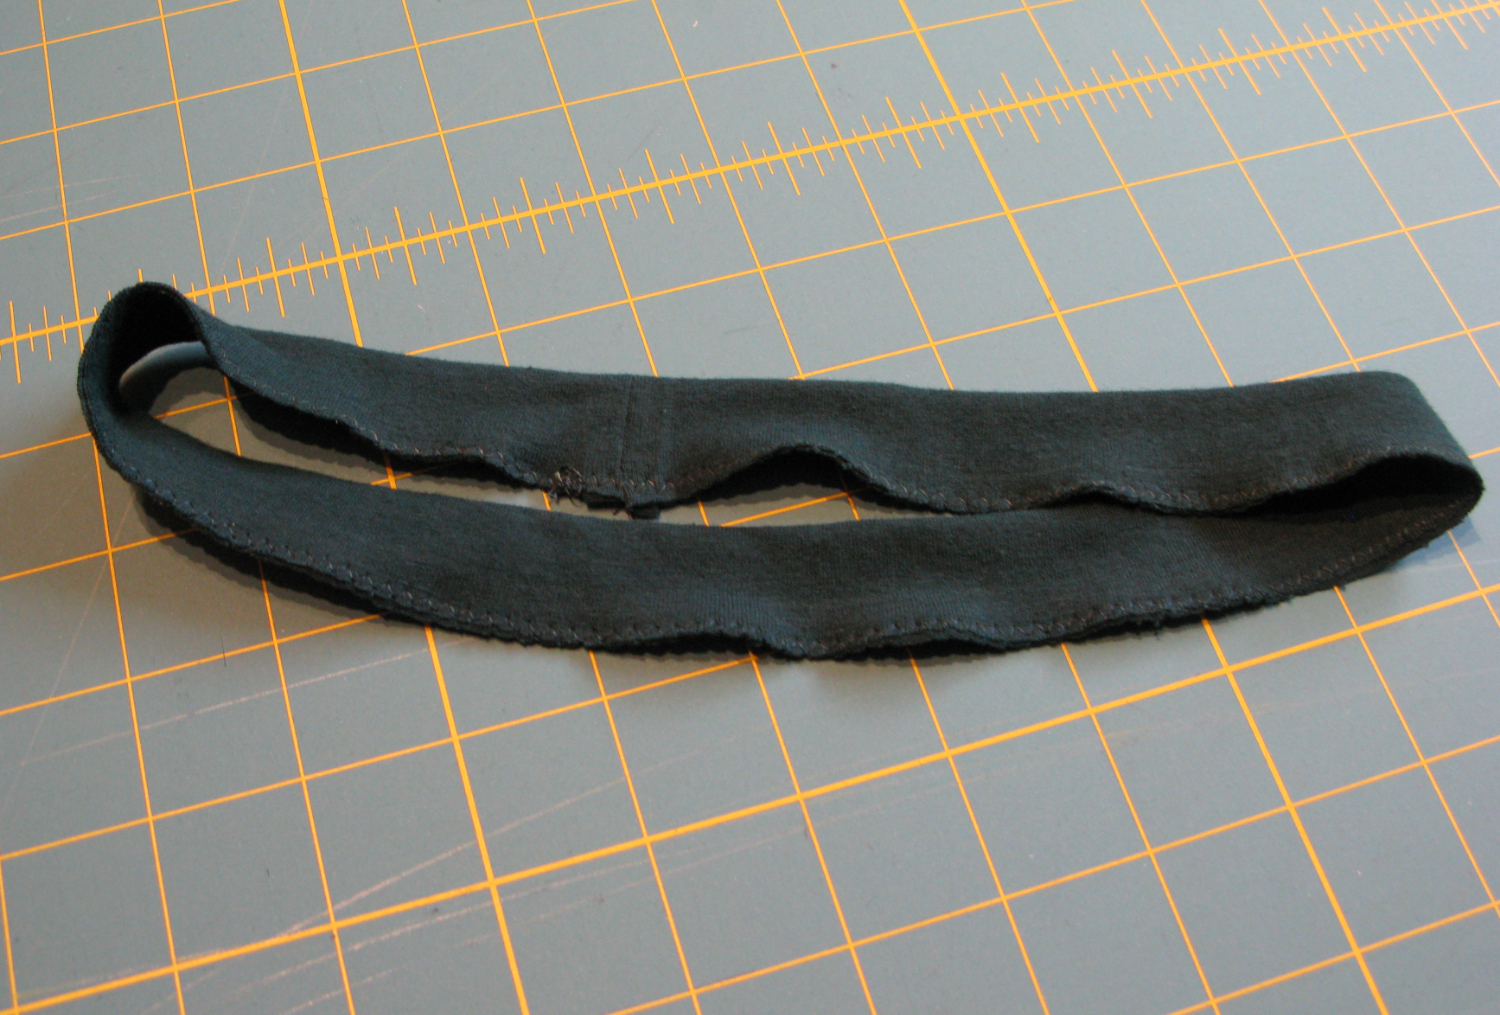
3. Prep the Neck band (Technically, this can be done on either the sewing machine or the serger, but this time I used the serger.)
4. Sew sleeves to front and back (I did this on the serger.)
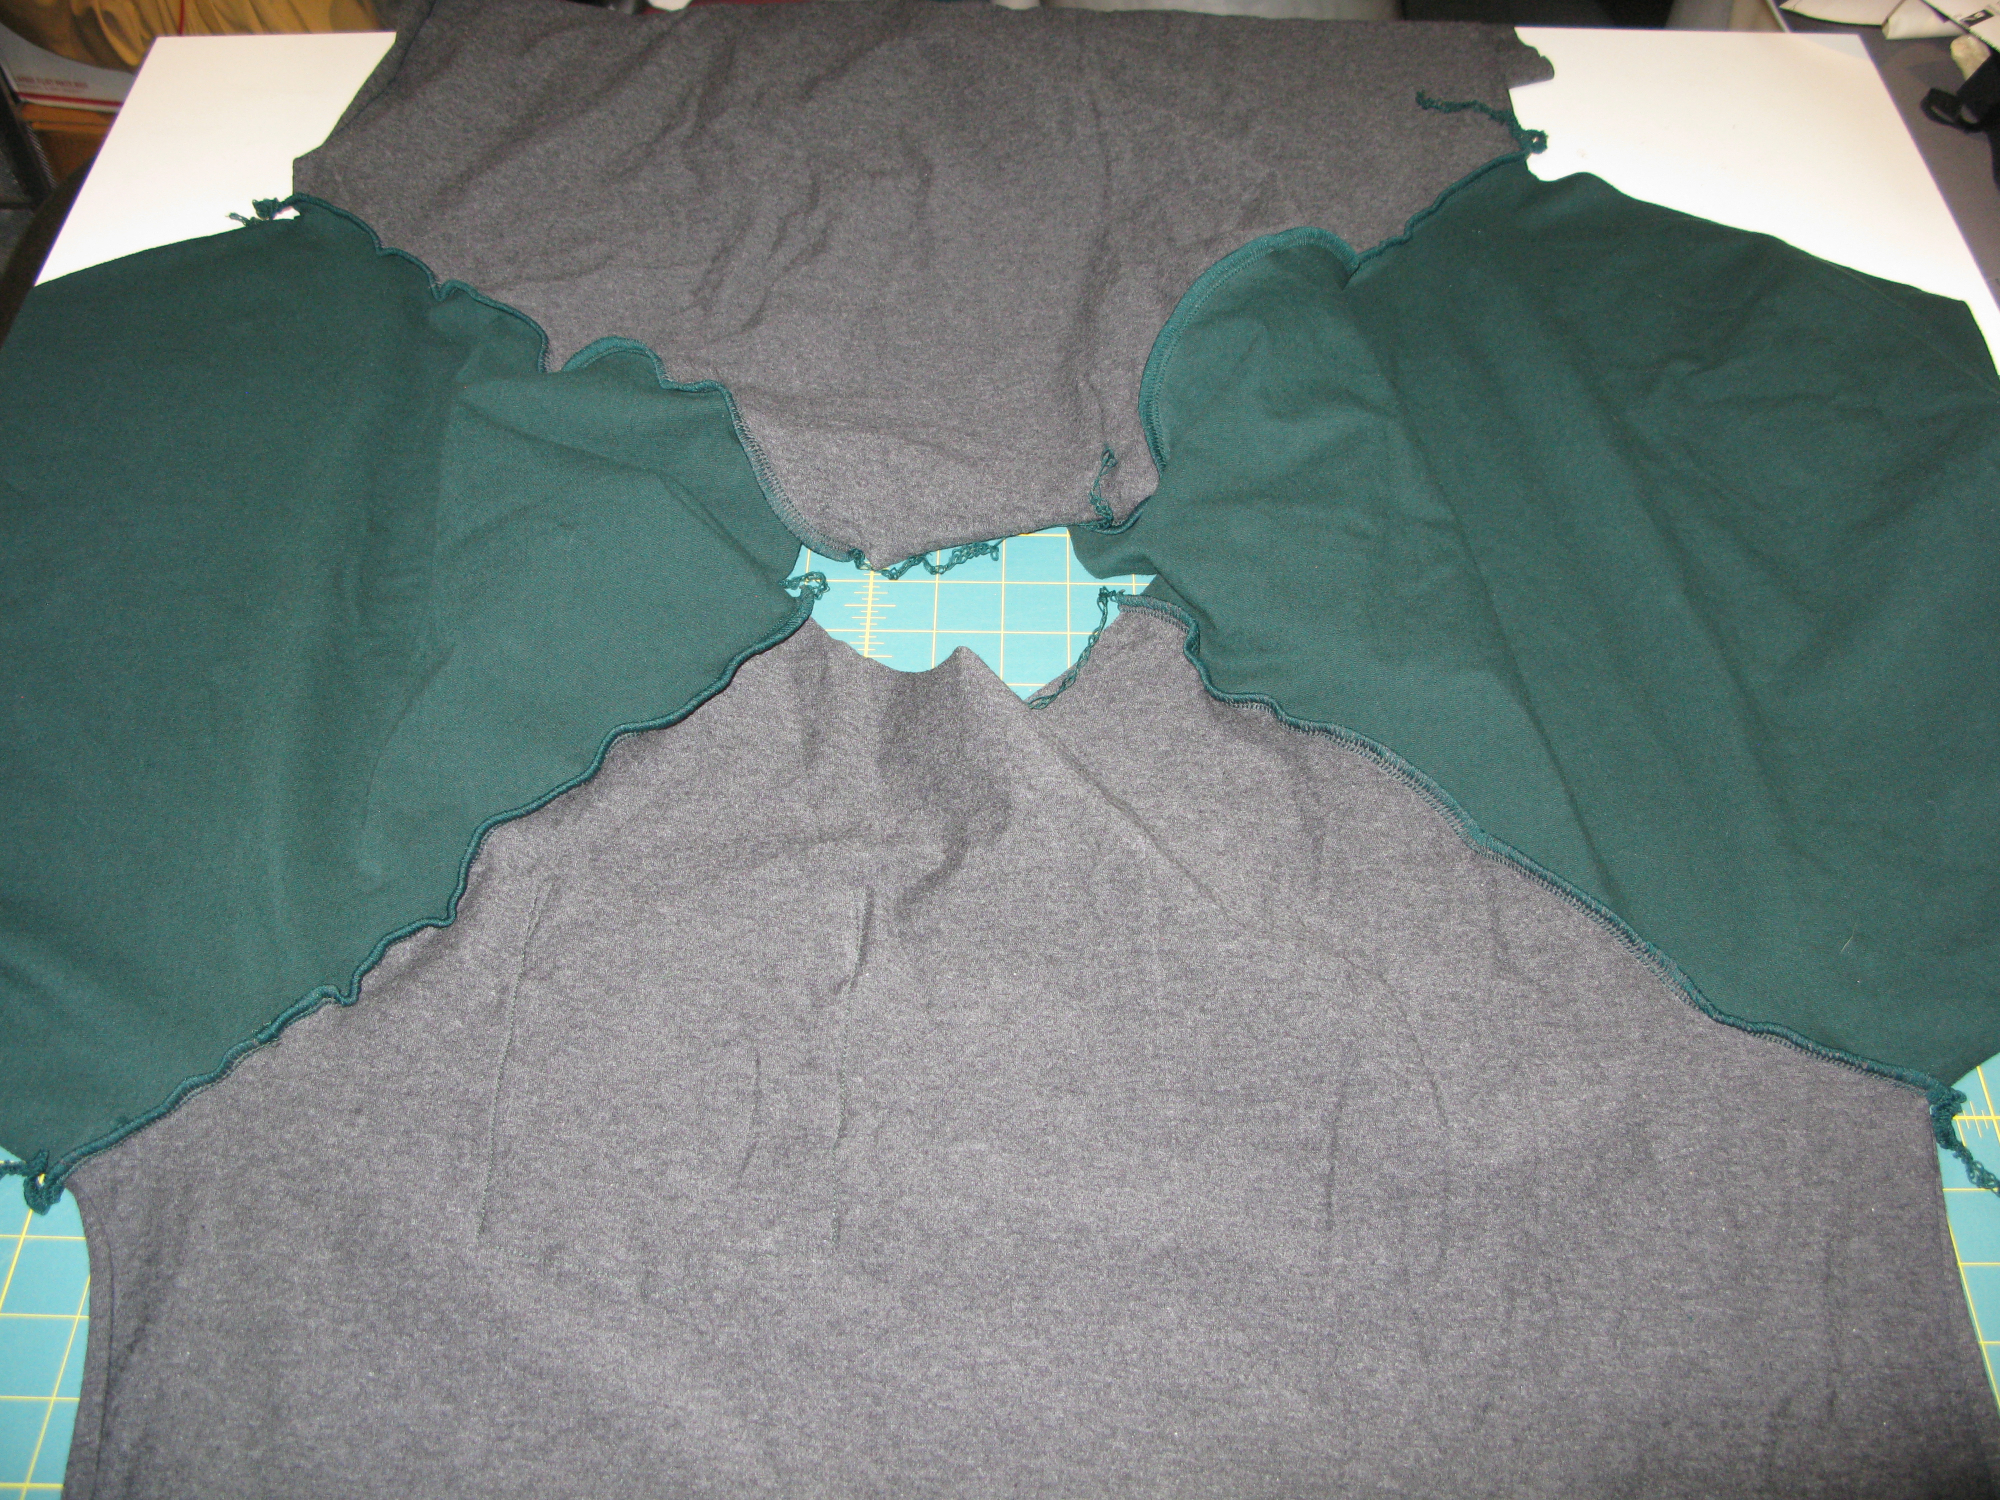
5. Sew Front and back together at side seams and sleeve seam (I also did this on the serger.)
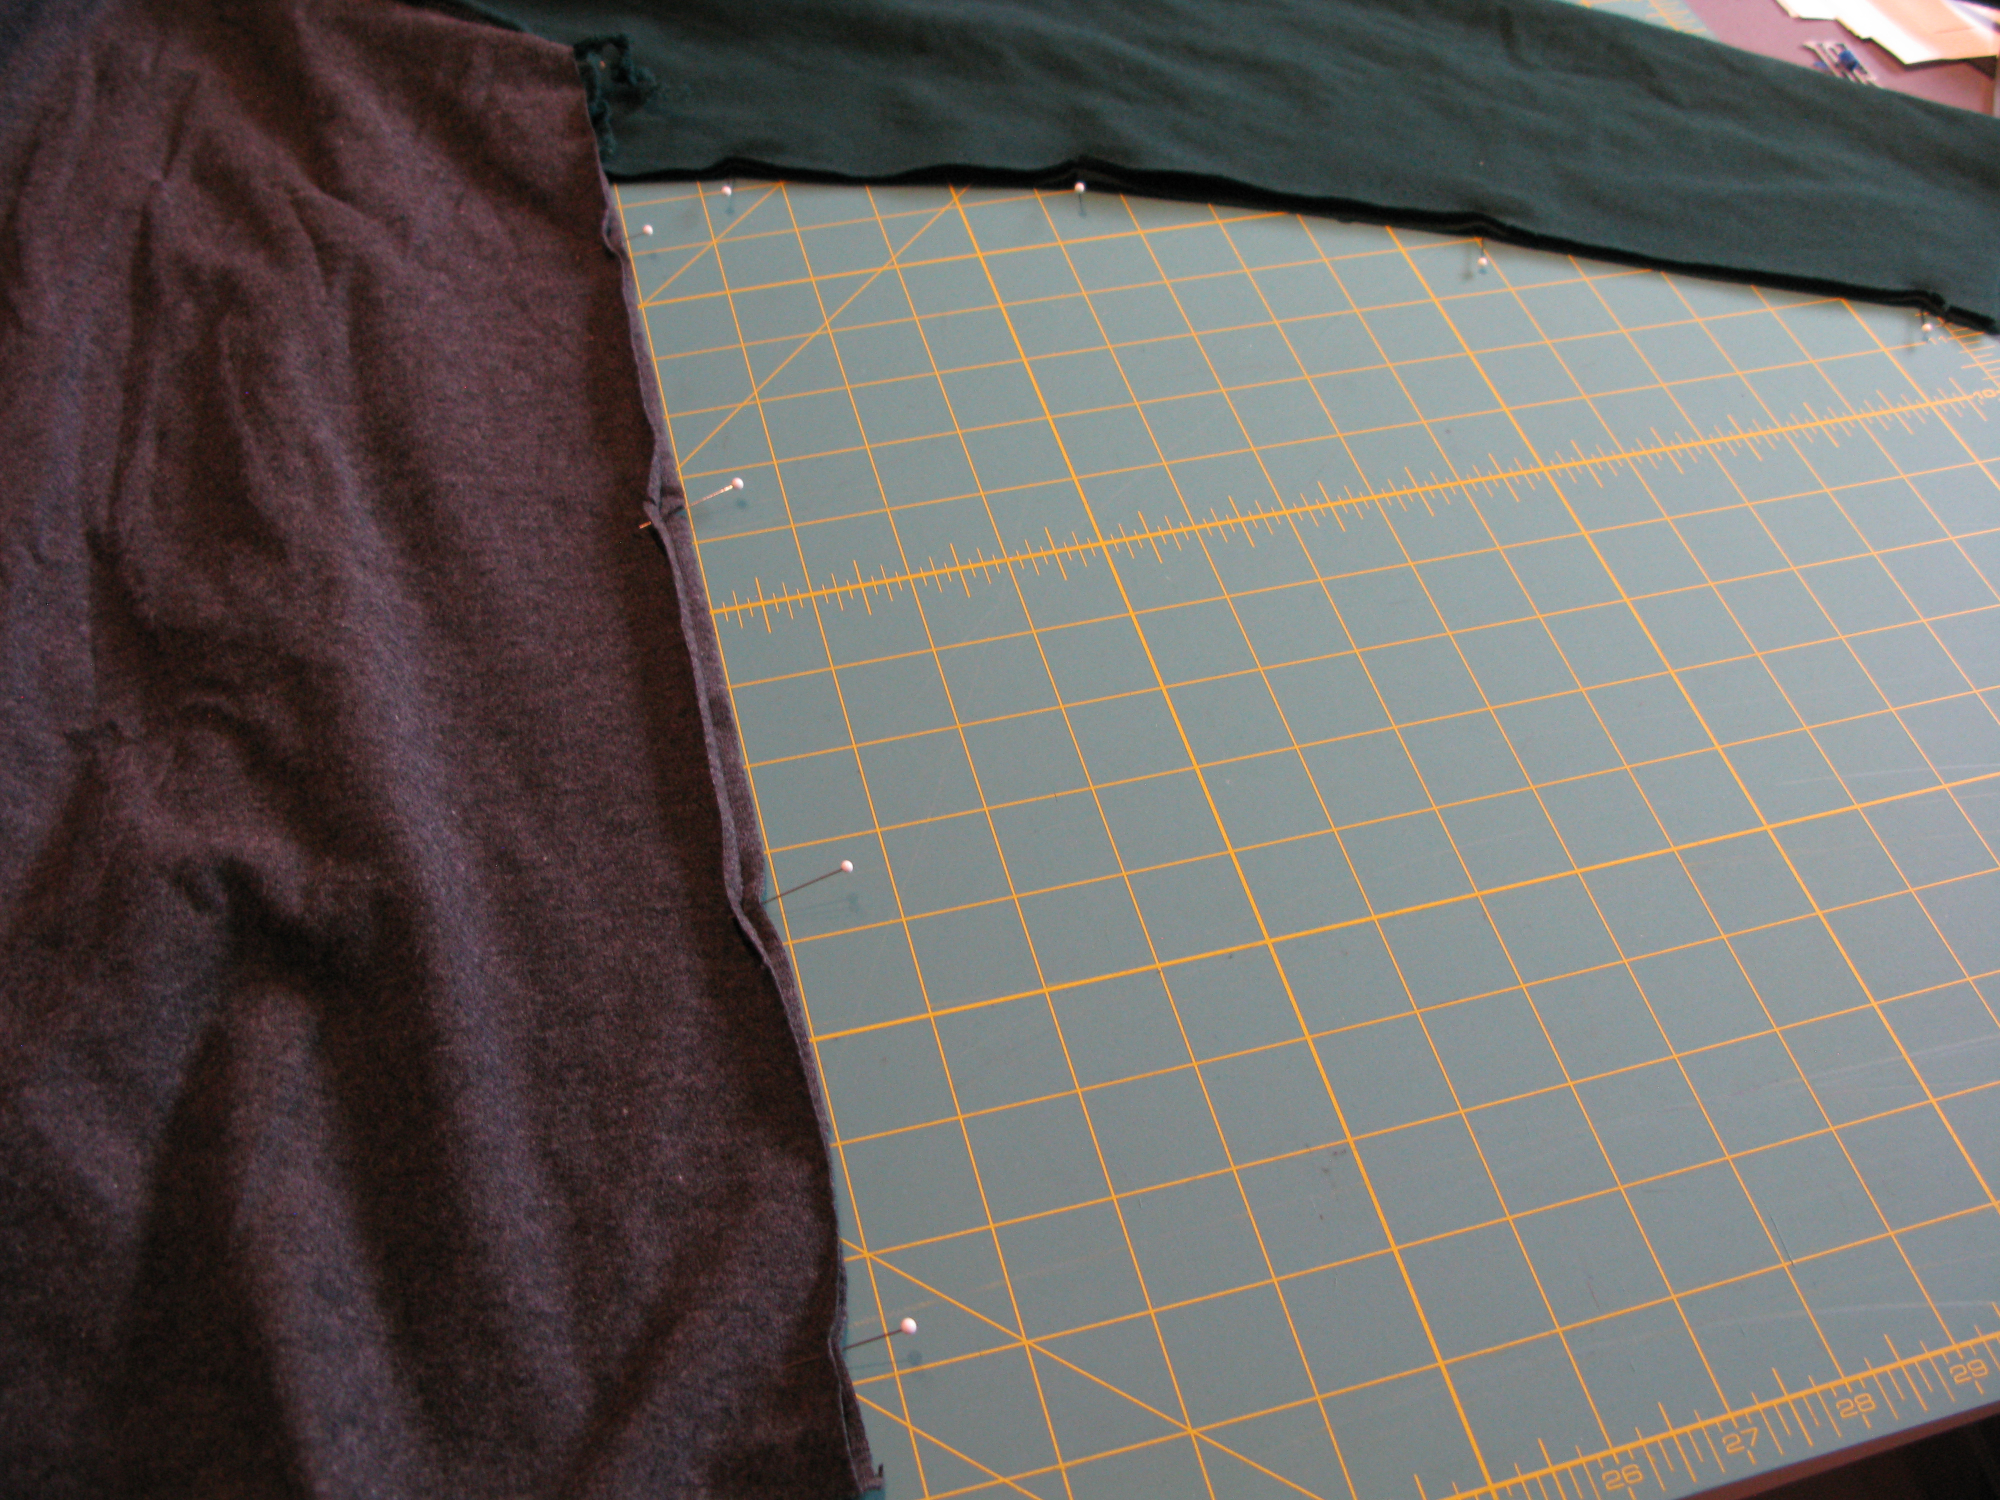
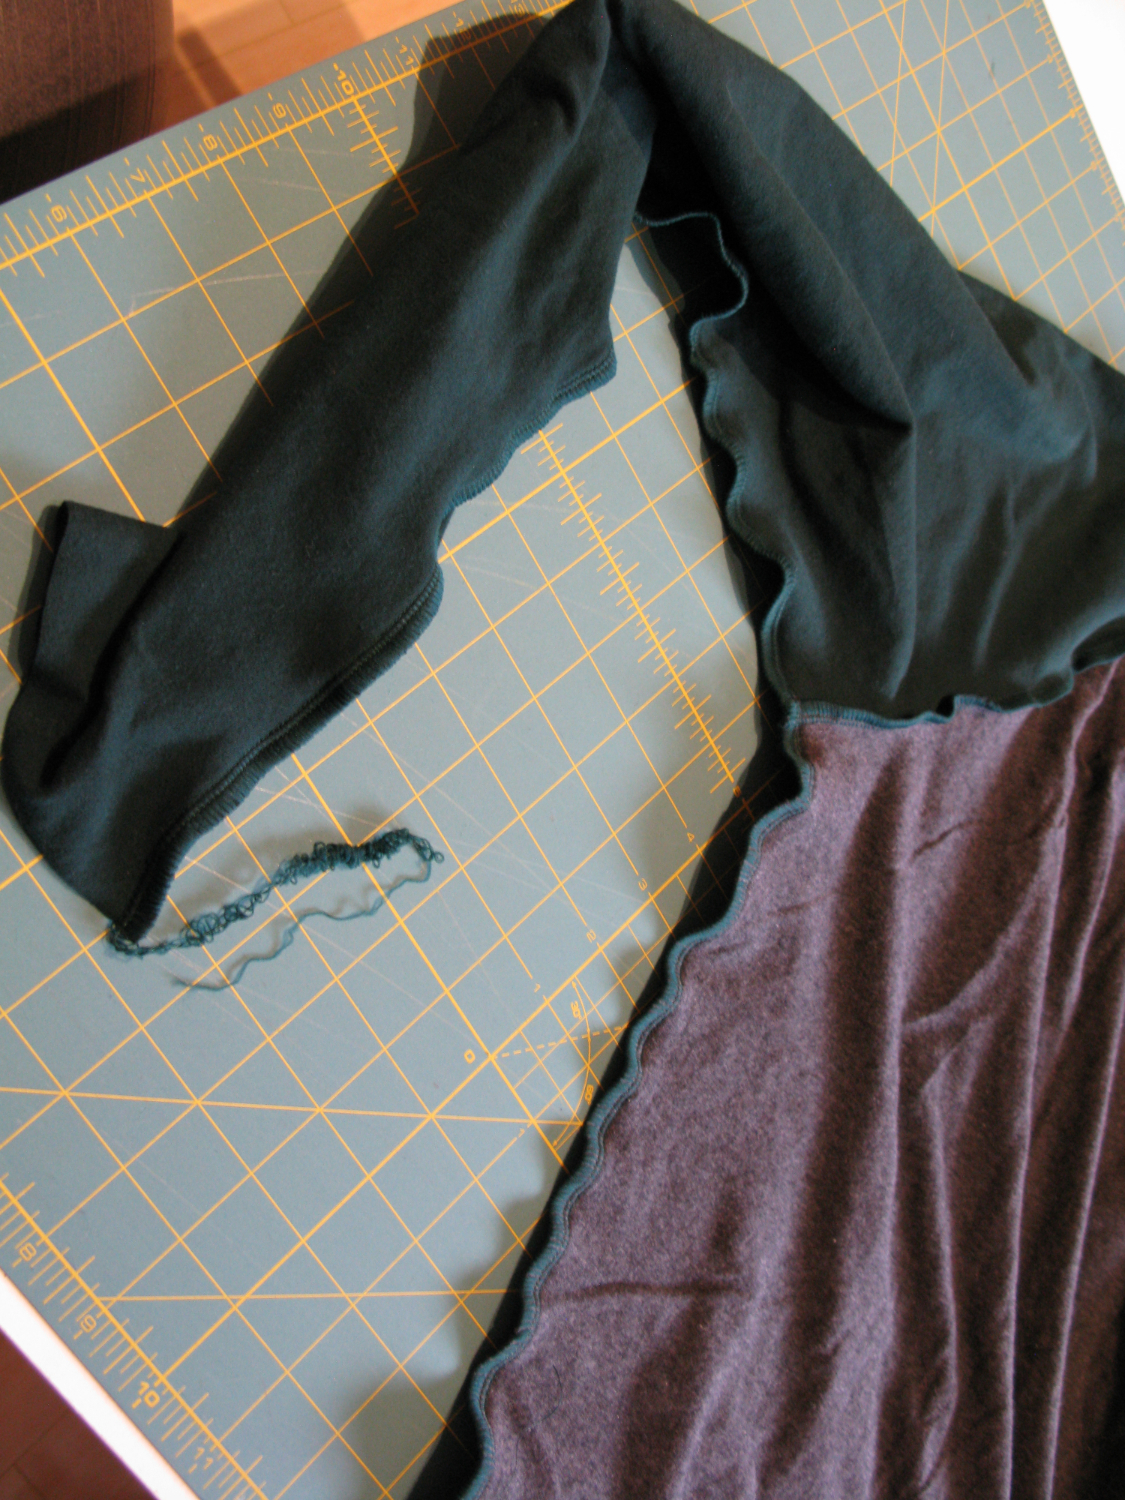
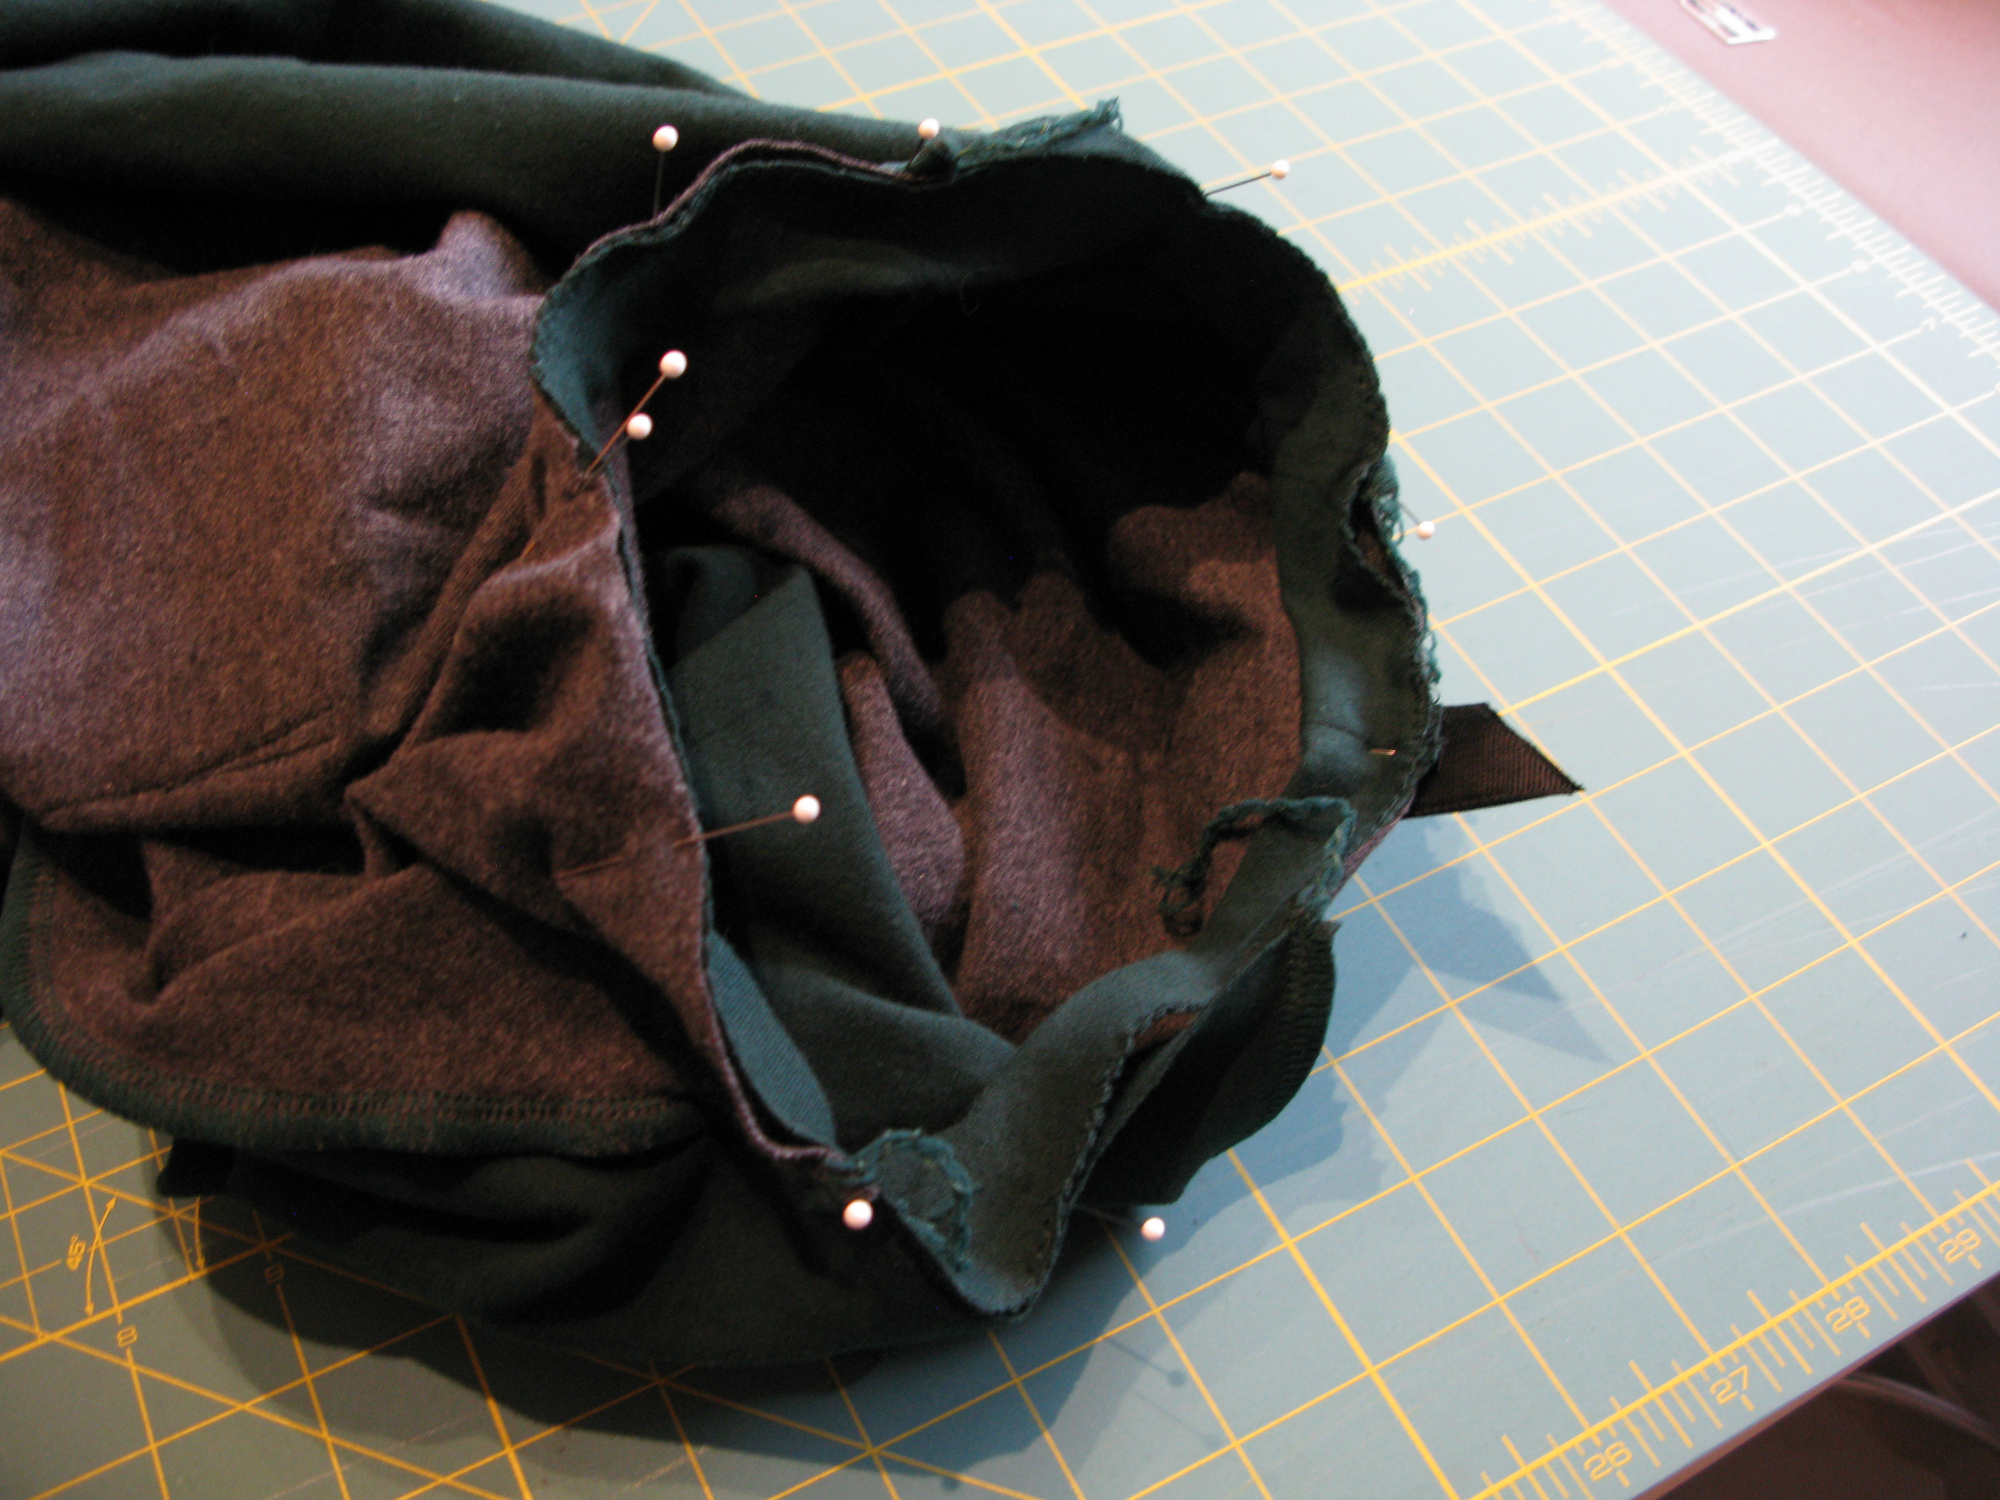
6. Attach the neck band to the shirt (I do this on the serger too. And on this shirt I added a fun tag that I created that says “DAD”.)
7. Iron the hems (Shirt bottom and sleeve bottom.)
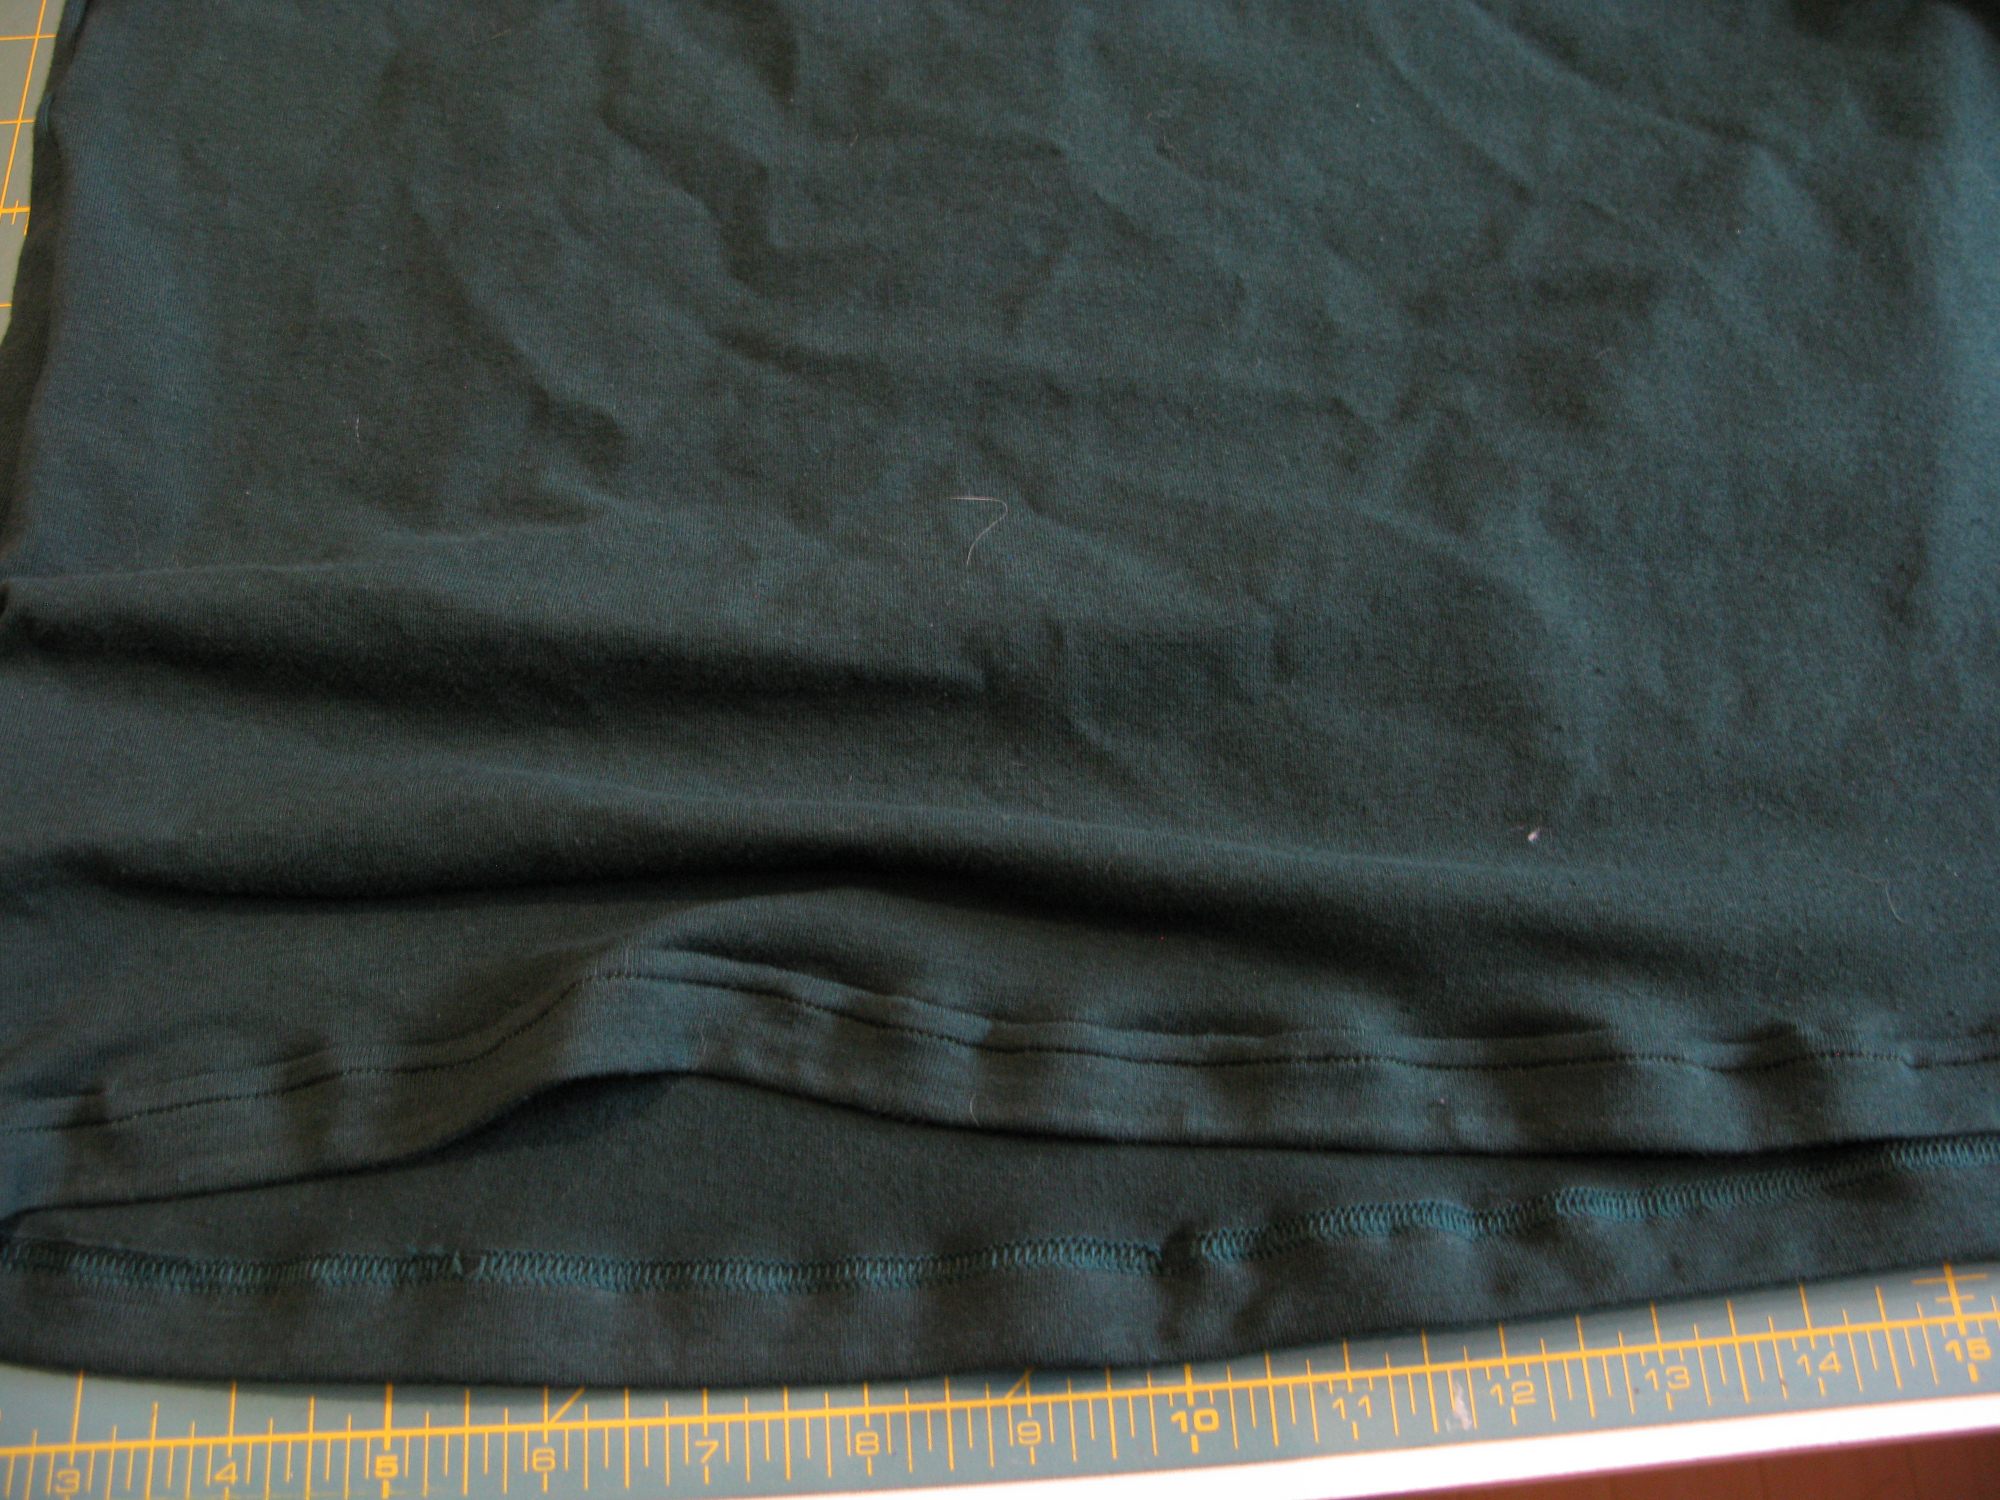
8. Sew the hems (I did this on the serger using a cover stitch. But it could be done on a regular sewing machine with a twin needle, OR, just a regular stretch stitch depending on the look you want.)
Since I was making 2 shirts at the same time out of similar fabric, I batched some of the steps. I cut all the pieces out of all of the fabrics (3 different fabrics) first. Then, I prepped the stuff that needed black first because that’s what was in my machine, then the other color (which was green). The less time I have to spend re-threading my machine(s) the better.
Since pretty much every seam in these shirts is either sewing one color to another, OR a continuous seam that goes from one color to another (like in the side seam to sleeve seem), I chose to only use one color thread in my serger. One shirt was green with black sleeves, and the other was gray with green sleeves. I chose to sew everything with green thread. That is, until it came time to hem.
Another thing I did, for my peace of mind, was to sew a short straight stitch in the seam allowance every where one serged seam joined another one. I’ve been having issues with the cut off seam tails somehow resulting in the seam opening up. Technically this shouldn’t be necessary if using the correct stitch, but it’s a gift, and a little insurance was worth the extra 5-10 min.
I used a 3-thread “Super Stretch” stitch on my serger. But All of this can be easily sewing with a standard sewing machine. At the very least, you need a zig-zag stitch, but there are some overlock and serger mimicking stitches on many machines.
Once all the piece joining seams were done, I had to rethread the serger for the cover stitch. And yes, I matched the thread to the fabric here. Since green was already in the machine, I used it first, sewing the green shirt body hem, and then the two green sleeves (ha ha, greensleeves). Then I did the gray body and then two black sleeves.
Coverstitch Woes
I find that the cover stitch on my serger is VERY picky.
I managed to break a needle, bend a needle (and jam it in my serger foot). Evidently those weren’t the right needles. Once I put the correct needles in, everything went relatively smoothly.
The good news, is that I did all of that on a test scrap of fabric.
Rule number 1: always test new stitches first on scrap, especially when using the serger… even more especially when using the serger with the knife down.
The cover stitch doesn’t really like to sew consistently over a variation in thickness, such as the side seams of the bottom hem. One trick I learned is to cut the seam allowance of the seam and fold part one way and the other part the other way when pressing the hem. It makes it possible for my serger to sew over it.
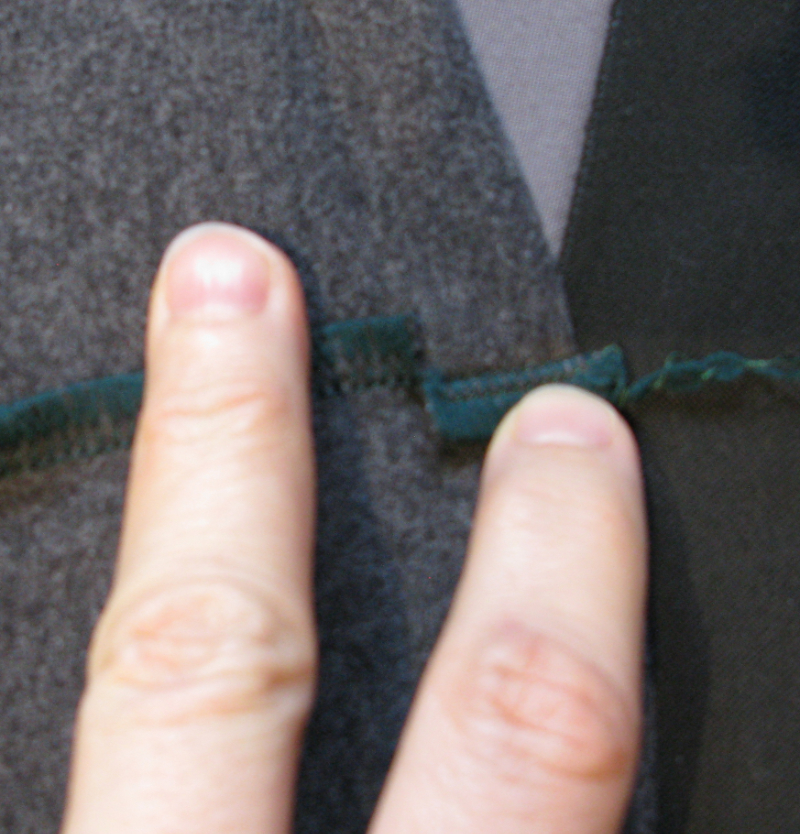
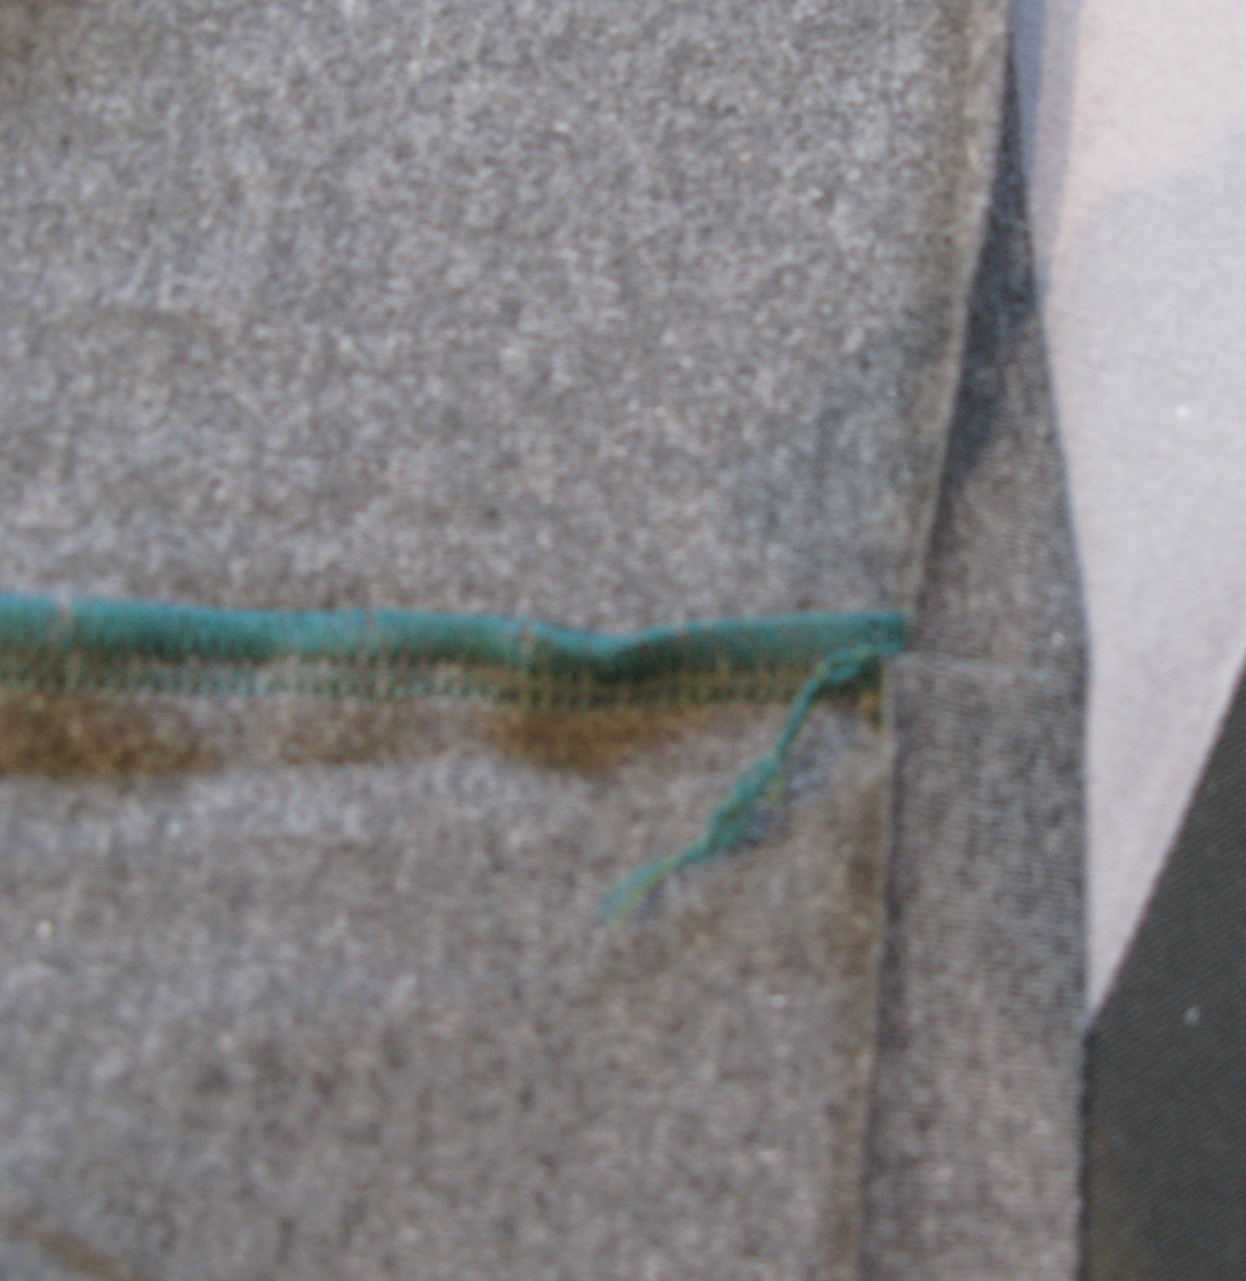
Technically, unless the instructions say otherwise, you shouldn’t stretch the fabric when you sew it. It can do wonky things. But I found that a slight bit of tension on the fabric especially at the seam helped the serger make it over the seam without missing stitches.
Another hint is to start at the seam, and stop at the seam. So, for the shirt hem, I could do two passes: front shirt from side seam to side seam and back shirt from side seam to side seam. And on the sleeves, it’s only one pass, starting and stopping at the seam.
I’ve owned my serger for a decade, and just recently mustered up the patience and determination to make the coverstitch work on it. It requires a different needle than the flatlock or overlock stitches. It actually requires a slightly longer needle. But it is by FAR my pickiest stitch I’ve dealt with to date.
Wrap-up
This is a pretty easy shirt to sew. Once all the colors and sleeve lengths are decided (and the new pocket dimensions and placement figured out), the actual cutting and construction goes really quick. Even with the added pocket, I can knock out two shirts in under a day of sewing.
Granted, I’m a pretty experienced sewist. And I like to sew fast.
You can cut out 2 shirts in two colors and mix and match the sleeves and neckband. Typically, the neckband matches the sleeve color (but, it’s your shirt, it doesn’t have to.)
Explore Sewing Projects at Your Own Pace
Learn helpful techniques and tips to make sewing more enjoyable.

