One of the first things you have to learn to sew well is to lay out patterns and cut fabric correctly, or you won’t get good results.
You’ve probably figured this out, but you can’t just go and cut out pattern pieces from fabric all willy-nilly. There are rules.
Knowing (and following) the “rules” can mean the difference between a garment that … works and one that doesn’t.
That being said, there are some rules that can sometimes be broken, but it’s best to know why you’re breaking them and what the results might be when you do so.
So, let’s talk about these… rules.
But first, some definitions.
Sewing and Pattern Jargon – Definitions
Nothing is more frustrating than reading a set of instructions and it’s in your language, but feels foreign because you don’t know what half the stuff is.
I want to cover a few basic terms first before talking about rules.
Grainline – the line on the pattern that marks how it should line up with the “grain” of the fabric.
Selvage – The edges of the fabric that are not cut. On a woven, this is pretty obvious and won’t fray. On a knit, it could be a little less obvious, and I’ve received chunks of fabric that didn’t have an obvious selvage because it appeared to be cut off. But on a knit sometimes it’ll curl, or look like there’s a glue on it. It’ll be easier when you buy the fabric in-person to see because it is the edge that isn’t cut by the person cutting the yardage for you.
DOGS (Direction of Greatest Stretch) – for stretch fabrics that stretch both length and crosswise, one may stretch more than the other. A simple test is to pinch 2 to 4 inches of fabric and stretch it out, measure the stretch, then do the same in the other (perpendicular) direction. Whatever stretches further for the same amount of fabric is the direction of greater stretch.
Fabric, Lining, Interfacing – the material that the pattern piece needs to be cut from. Fabric will refer to the fashion fabric you are using to make the garment. if there are two or more fabrics you are using, one might be fabric and the other “contrast” fabric. Lining will be pieces that are made for lining and interfacing is for the interfacing. Sometimes, you’ll need to cut the same pattern piece out of both fabric and interfacing. Sometimes you’ll only cut one of interfacing, but still cut 2 of the fabric.
Bias – This is the line that is 45 degrees from the grainline of the fabric. Typically knit patterns won’t be written to be cut on the bias because there is no need. However, wovens can be. The bias of a woven fabric has more give or stretch than the grainline or cross grain.
Right Side/Wrong Side – The fabric typically has a “right side” sometimes could also be referred to as the “correct side” and is the side of the fabric that will face out and be seen when the garment is worn. I think of it as the “face” of the fabric. The wrong side always refers to the side of the fabric that will be inside the garment. This is super obvious when the fabric is printed, since the print will be vibrant on the right side, but not so much on the wrong side. It’s less obvious when the fabric doesn’t really have a right or wrong side.
Pattern Layout and Cutting Rules
“Rules” seems so… formal. But I don’t really know what to call them. “Guidelines” seem like you can really easily get away without following them. And well, stuff just won’t turn out that well if you don’t follow them, most of the time.
So, my first rule:
Layout the Fabric Correctly
The pattern will have a layout guide inside it in the instruction set. For most fabrics, if you need to cut 2 of something, you can do so with the fabric folded into a double layer.
Some fabrics don’t like that very much and should be cut single layer. But, for MOST of what I do, I can cut double layer, except when the fabric isn’t wide enough to get the whole pattern piece on it while folded.
Velvets and fabrics with nap don’t seem to like to be folded. And they really don’t like to be folded face to face (fuzzy side to fuzzy side). So, when I work with velvets, I fold it wrong side to wrong side.
I was taught to always fold the fabric face to face. And then when you mark the pattern you mark the wrong side. Some marks need to be on the right side of the fabric though, but most things should be on the wrong side of the fabric.
Some pattern instructions show you folding the fabric in half and lining the two selvage edges up. You can. if that makes the most sense. And sometimes it does. Sometimes you can get away with a narrower fold. And sometimes the pattern instructions suggest a narrower fold.
When not folding the fabric exactly in half, you need to make sure the selvage edges are parallel with each other. There are two ways to test that they are.
Way #1 is to measure from the selvage edge to the other selvage edge in two places a few feet apart and make sure they are the same distance.
Way #2 is to measure the selvage edge to the folded edge in two places a few feet apart and make sure they are the same distance.
I more frequently use the second way. Typically I’m folding the fabric to use the minimum amount and that measurement is also slightly wider than the widest pattern piece I’ll be cutting. It’s also usually closer and easier to measure. And, if your table isn’t quite wide enough, then it’s the only possible way to measure.
When folding the fabric “exactly” In half take care to make sure the selvage edges to actually line up along the entire length you have of them. If you don’t, you’ll end up with weird wrinkles and your pattern pieces won’t be “on grain”. This is easier to tell when you have a super long piece of fabric (like 3 yards or so) because over the span of 2-3 yards, if the edges don’t line up the entire length, you’ll start seeing it on the ends of the fabric.
Never assume that the fabric was cut exactly perpendicular to the grain or selvage edge. Ever.
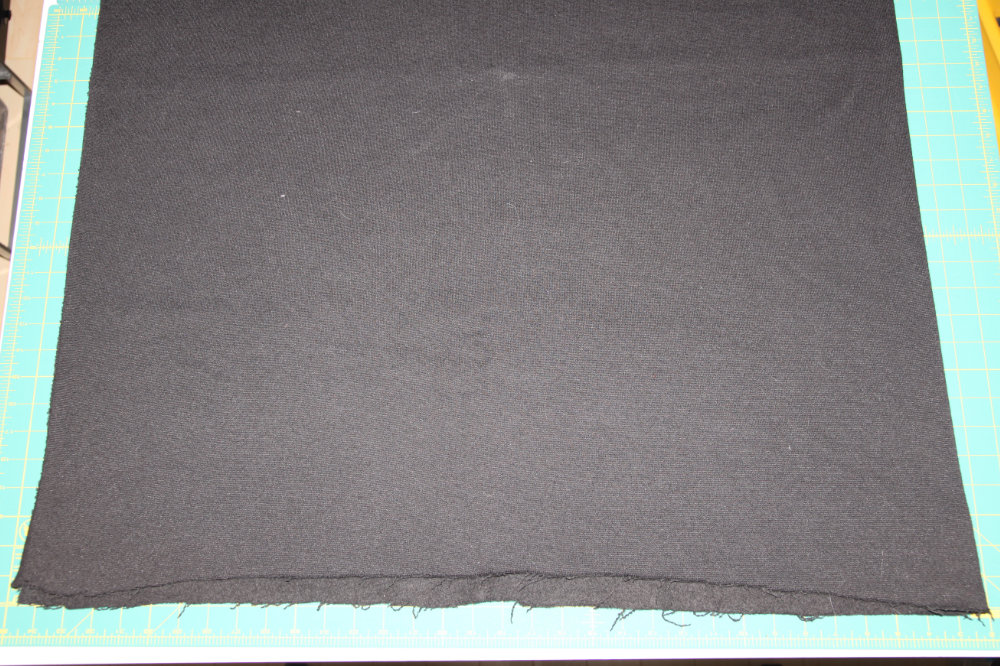
One easy way to test if the fabric is actually folded on grain. Well, the easiest is if you can actually SEE the grain, like on a stripe that is woven (not if it’s printed). Or, a ribbed knit will show it as well. If you are working with a fabric that has a more diagonal weave like twill or satin, or a knit you can’t see the stitches easily on, then here’s my way to test if it’s on grain.
When you fold your fabric, the fold should be completely flat. If you see wrinkles in it or waves when you try to smooth the fabric out, then that means it’s probably not on grain. The direction of the wrinkles actually tells you which way you need to slide the top layer to put it on grain. Slide the fabric in the opposite direction the wrinkles are pointing.
Get this right. Or your clothes will look funny.
My second rule:
Layout the Pattern Tissue Correctly
Yes. This is critical. Grainlines should be on the grain. Fold lines should be on the fold. If a piece is to be cut on the bias, it will actually have the grainline marked to be with the grain, and it will be drawn on the tissue on what looks like the bias.
So, there are two ways (well, three) to make sure your grainline is on the grain of the fabric. Way #1 is to measure each end of the drawn grainline on the pattern tissue to the selvage edge. Make sure the two distances are exact. Way #2 is to make sure each end of the grainline is the same distance to the FOLD of the fabric. I typically measure to whatever is closest. What’s annoying is when you measure one end, and then you measure the other, and move it a little and measure the first, and it’s moved too, and you just keep going back and forth……
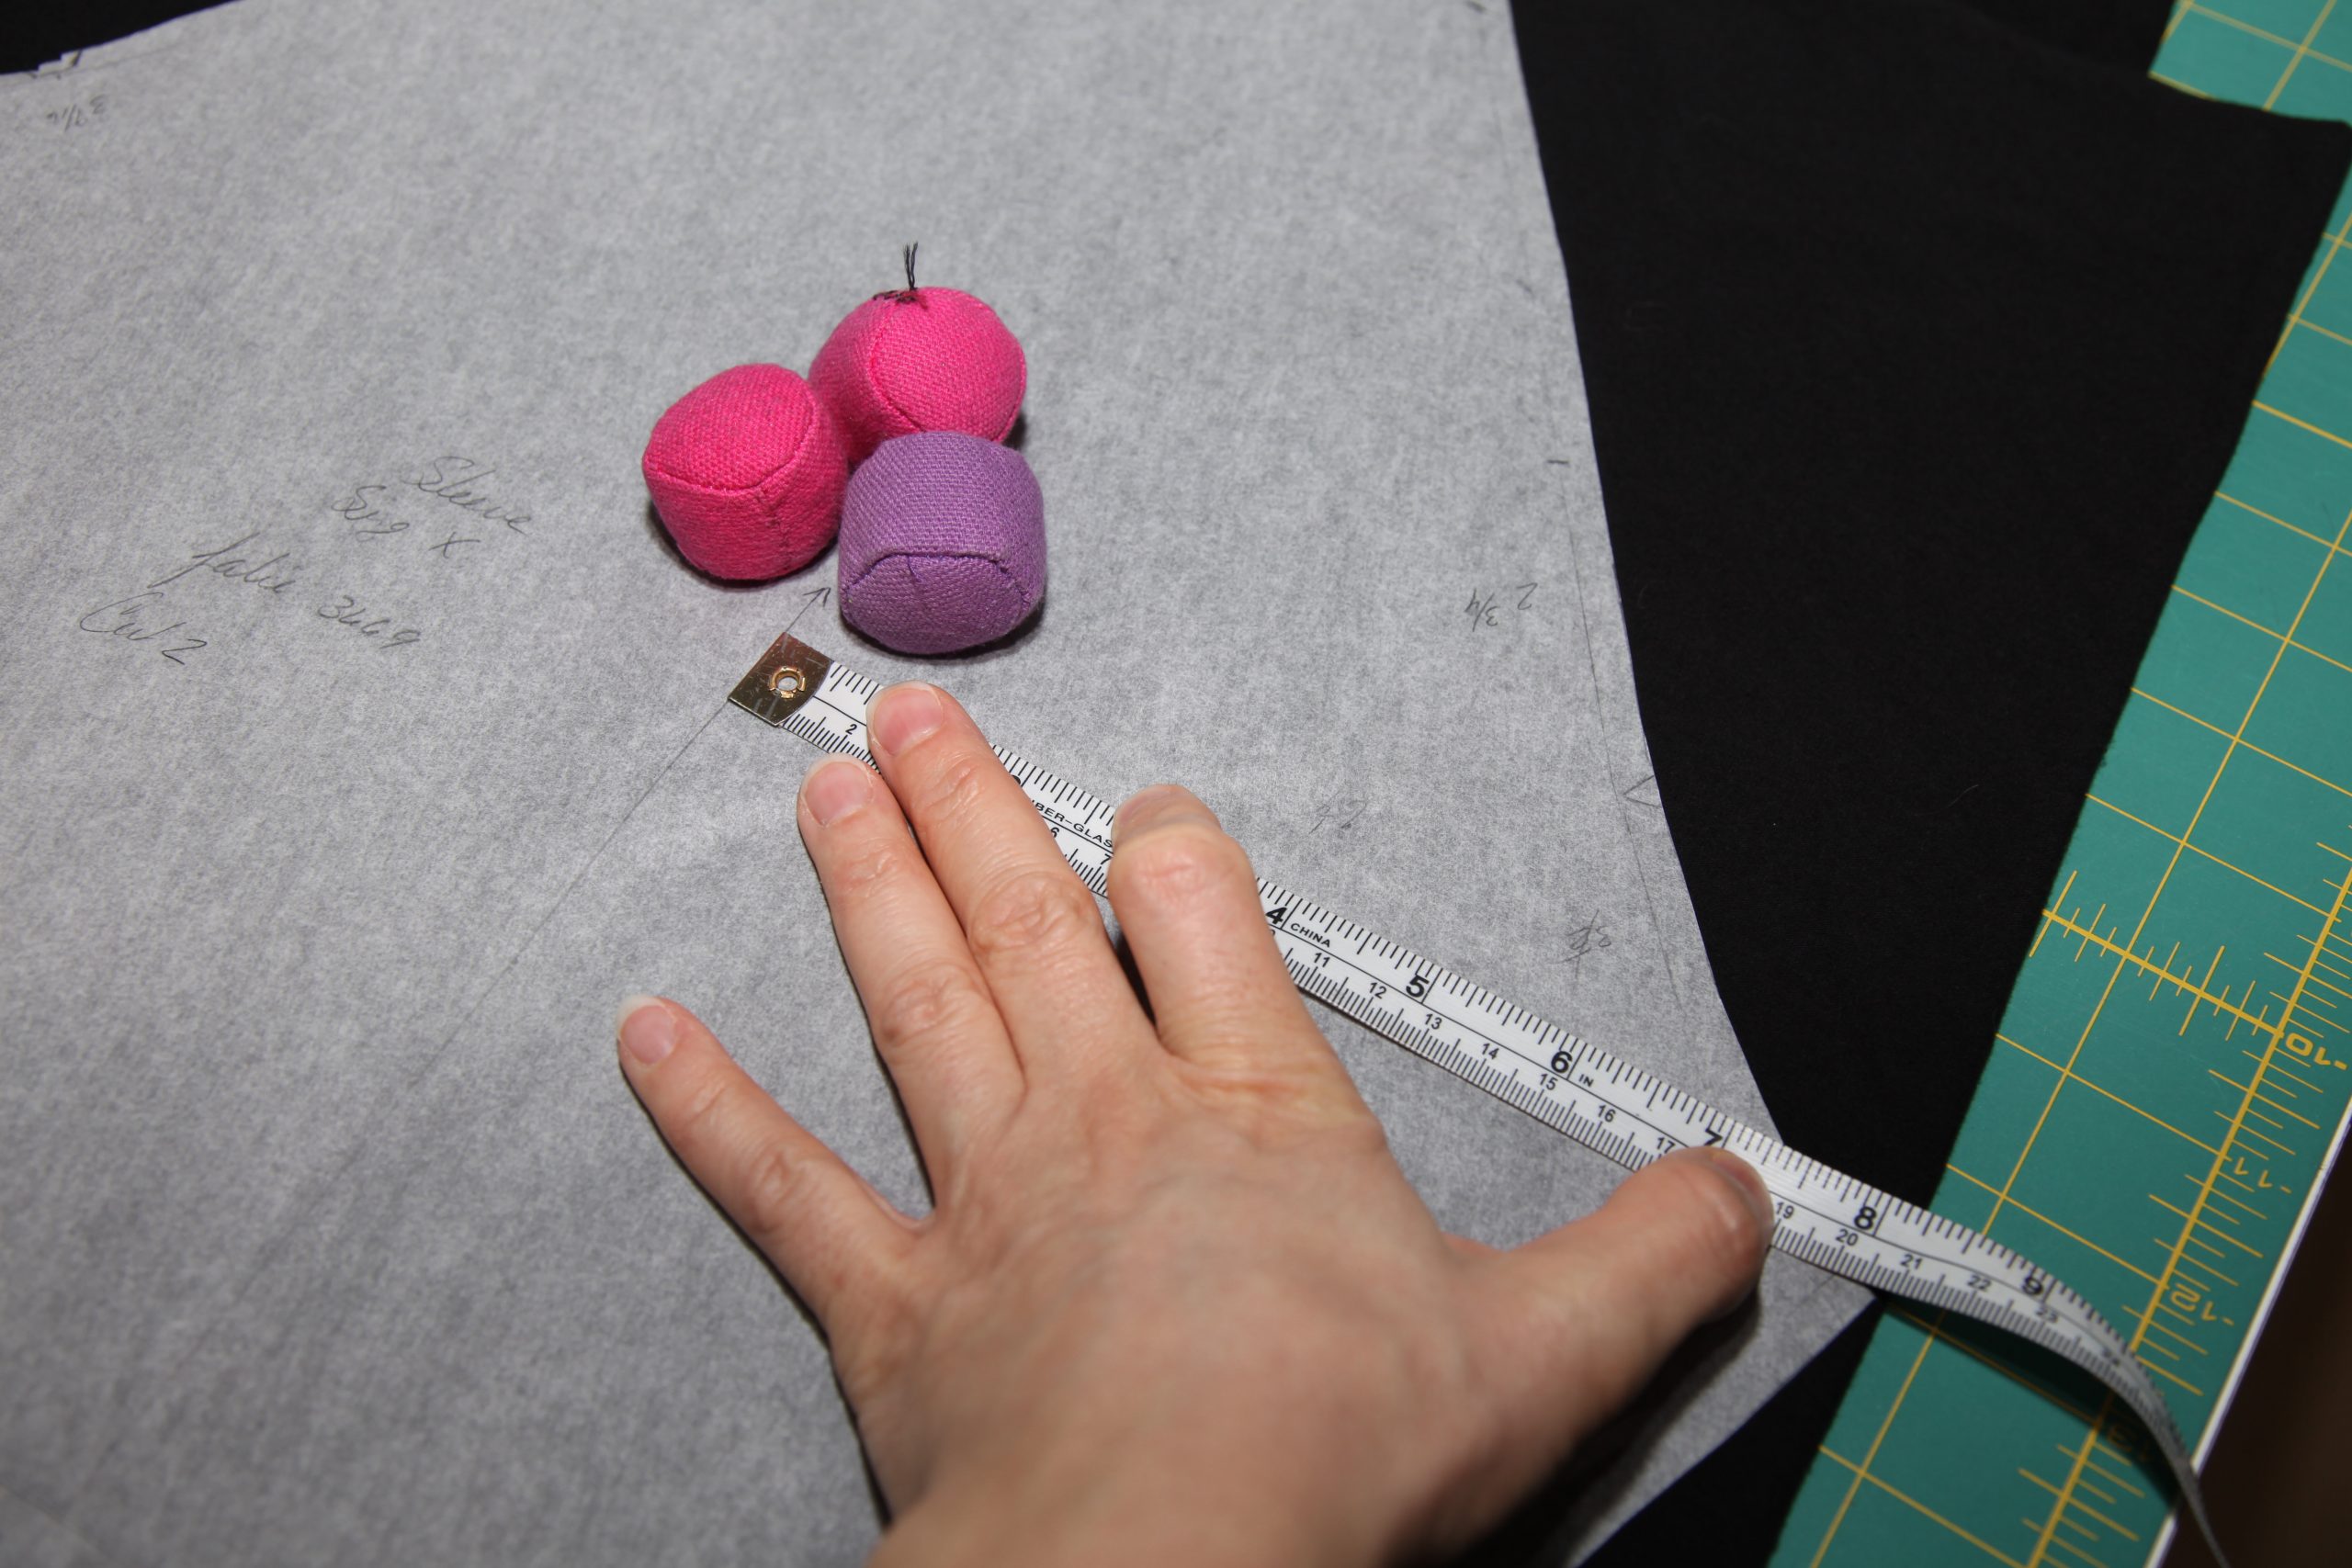
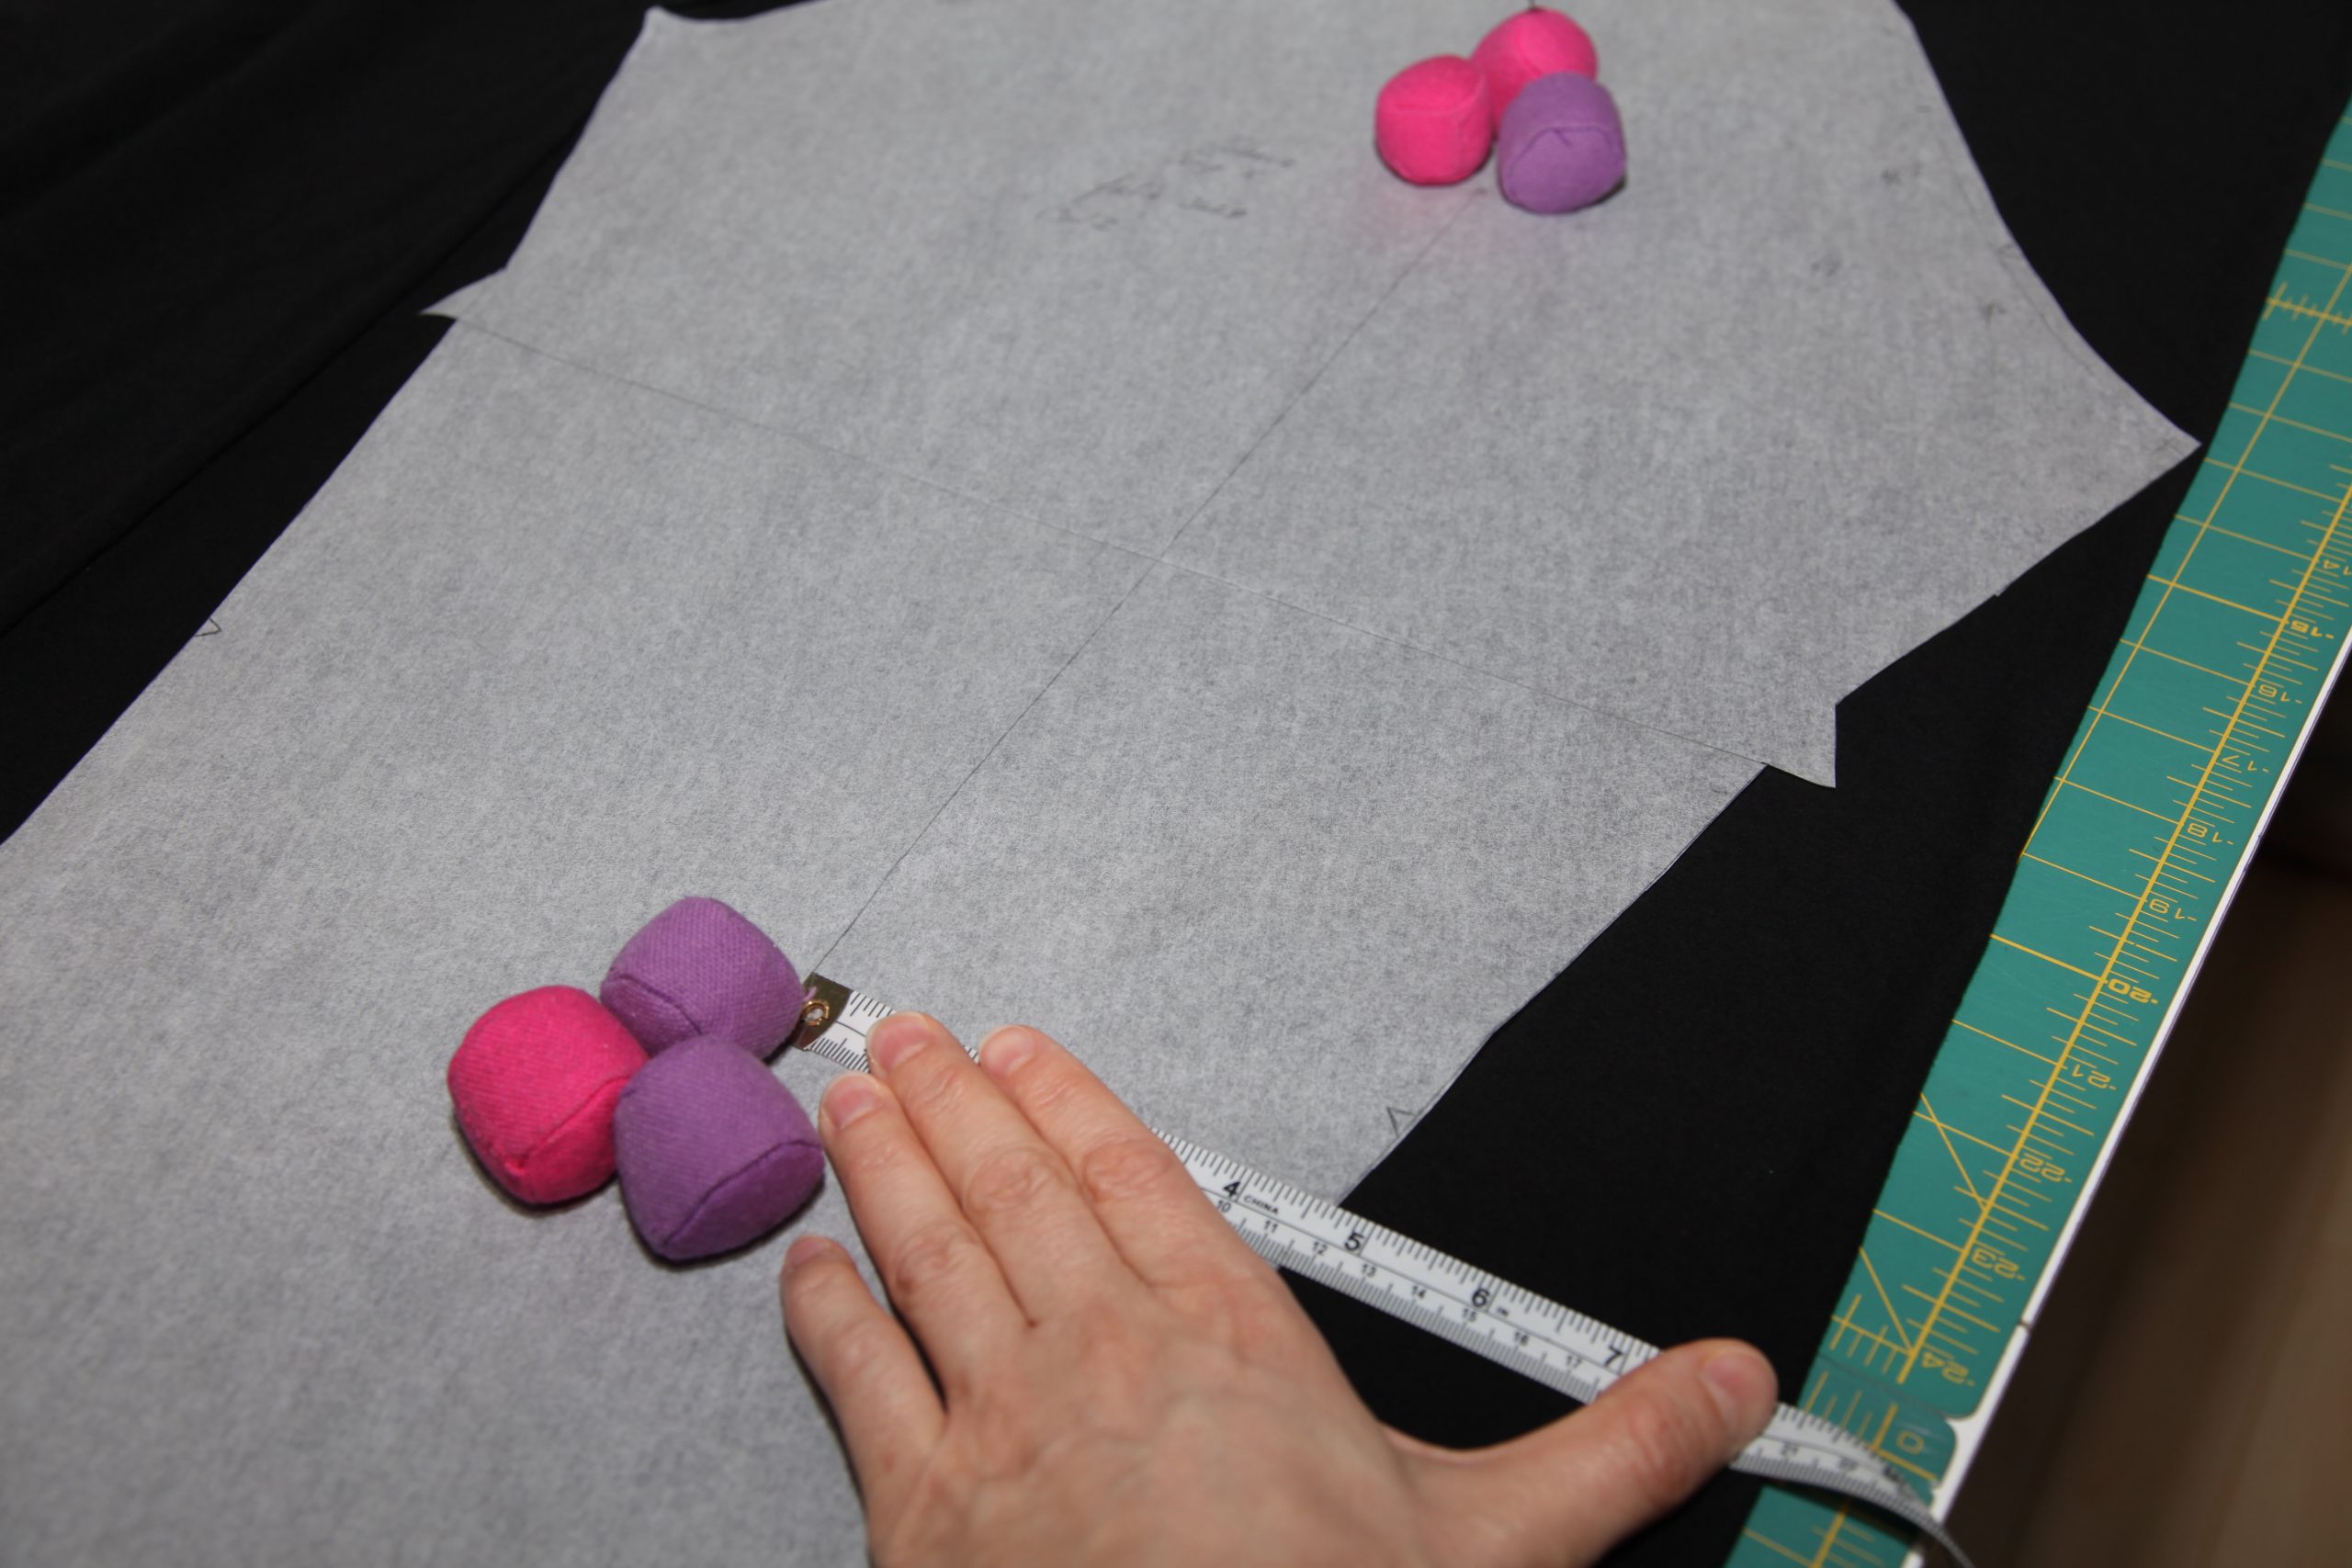
Stop the madness… Pin one end in place (with a tiny nip of pinned fabric and tissue) or place 2-3 pattern weights on it to minimize it from moving. Don’t use pins if you are sewing with a satin or something that could show the pin hole like vinyl. The weights won’t damage the fabric, but they are more subject to moving around. I try to get within a 1/16th of an inch or less for accuracy.
Ok, so the third way is only possible if you can see through the tissue and the fabric has an obvious pattern that is part of the weave like a stripe that you can line it up with.
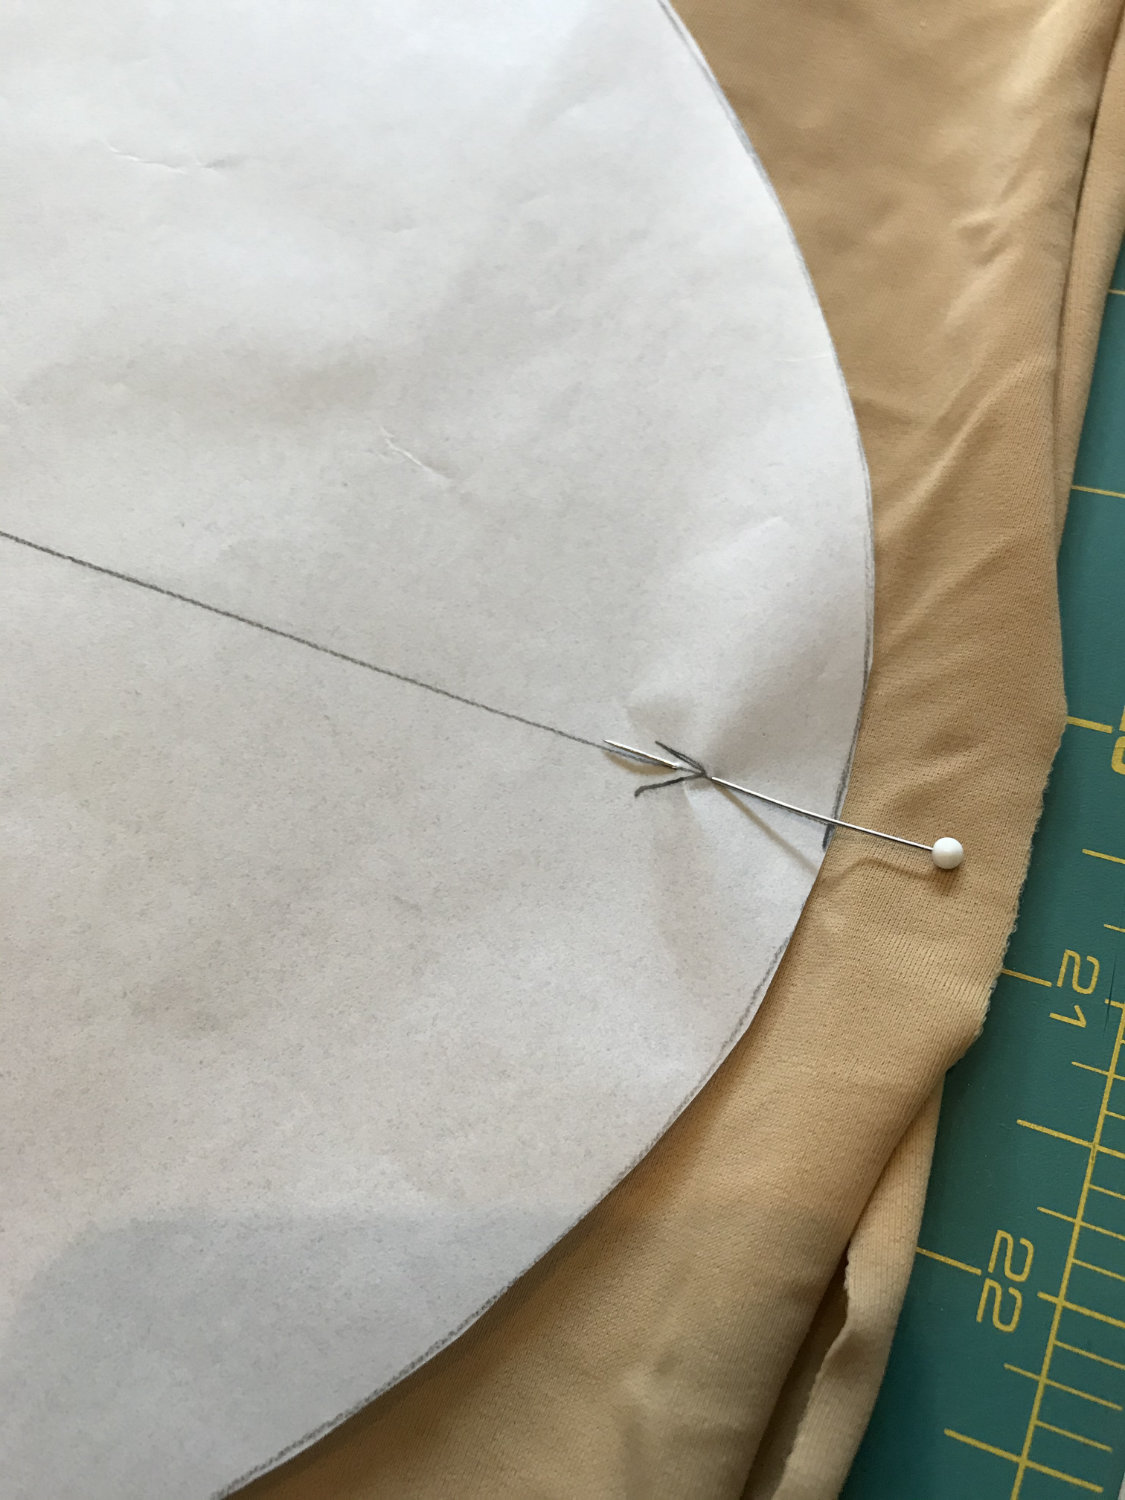
If the piece is to be cut on the fold, line up the line that is indicated to be on the fold and place it on the fold. The entire line must be on the fold. Some slinky knit fabrics when folded don’t actually fold in a straight line, so you could inadvertently cut the piece more narrow in the middle than you want. So, make note of that. Thicker fabrics like fleece will be harder to really get it on the fold but do your best.
Make sure that the pieces are all pointing the same direction if you have a napped or directional fabric. Sometimes it doesn’t matter. I usually err on the side of assuming all fabrics are directional and cut accordingly. Though, they aren’t. And it usually takes more fabric to do that but, if the fabric is directional, and you have all the stuff on the front of your pants facing up, and all the stuff on the back facing down, that could look really weird.
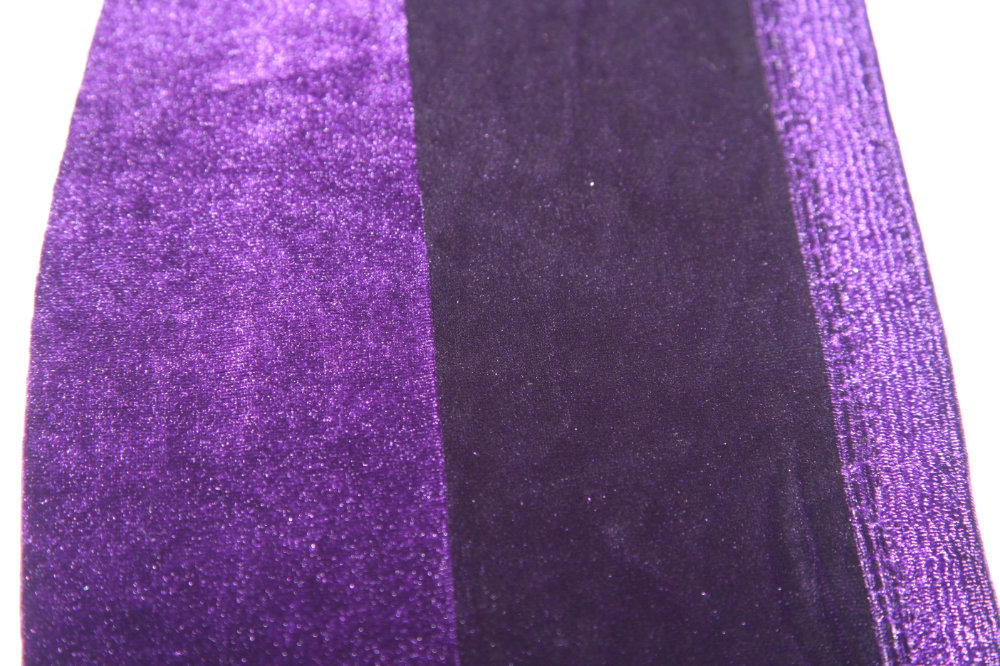
Velvet with Vertical Nap Two Directions
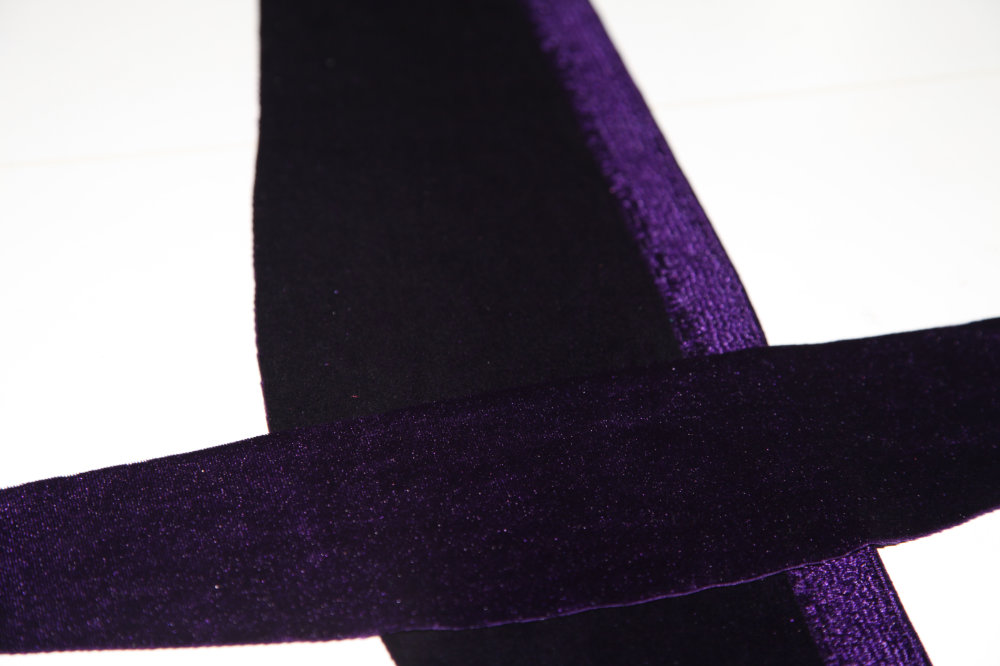
Velvet with Vertical Nap Compared to Cross Nap
Secure the pattern tissue to the fabric.
If you are using a rotary cutter you can get by using just weights, probably. But if you are cutting with scissors, you will probably need to pin the tissue to the fabric. Pin inside the seam allowance so as not to mar the fabric. Use good pins so you don’t snag the fabric.
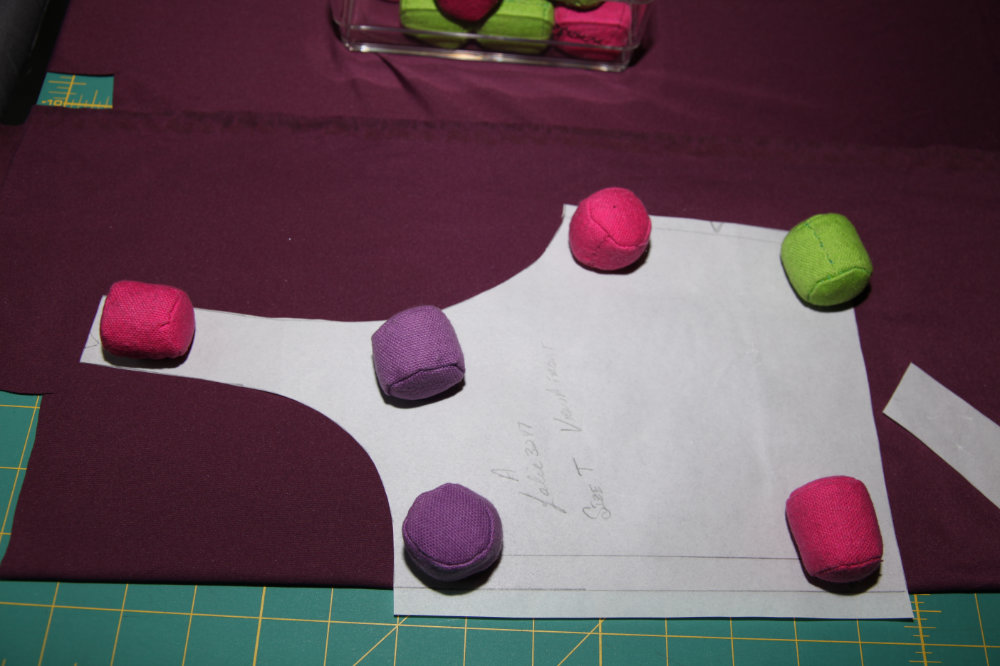
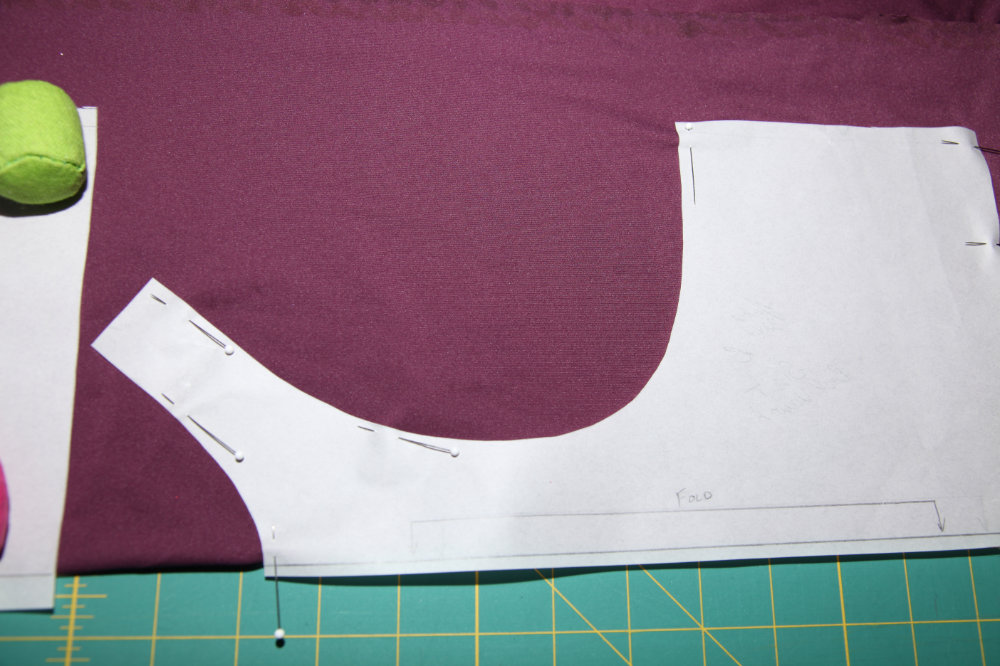
Take care when pinning to not move the fabric. This is especially hard when pinning slippery fabrics like satin or chiffon.
My mother taught me to pin perpendicular to the cut line so that you don’t move the fabric too much and you minimize the distortion the pins cause. If you pin this way, you need to make sure you push the pin heads past the cutting line so you don’t cut them with your scissors. I think that the direction of the pins matters less on certain fabrics. but I also think pinning perpendicular to the cut line makes it easier to pull out the pins and less likely to stab yourself when moving the fabric around.
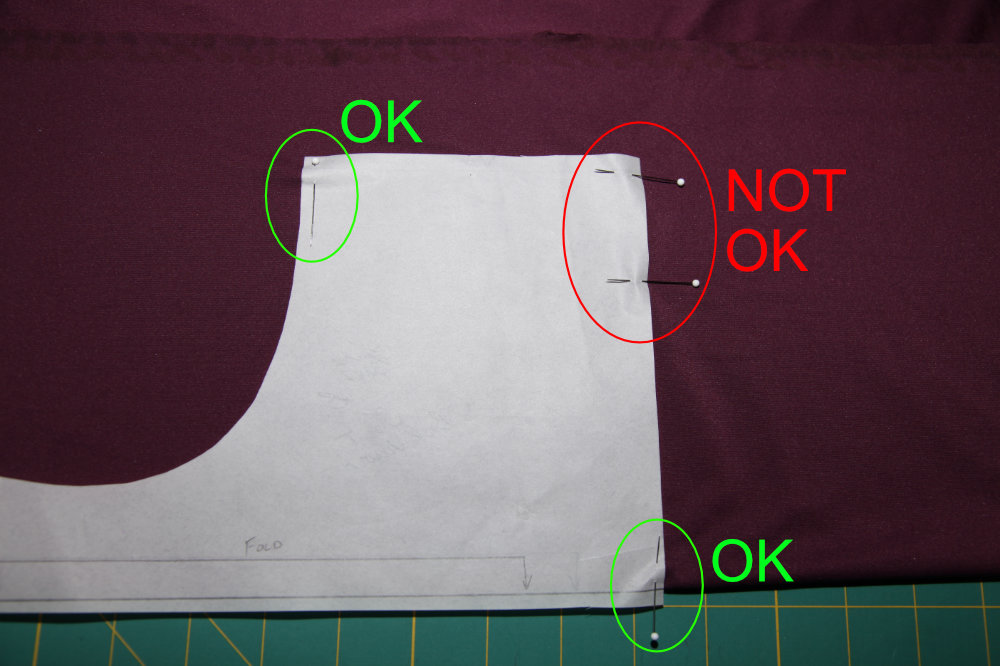
Honestly, I haven’t pinned anything to cut fabric out in a very long time since I favor the rotary cutting mat.
Using the rotary cutter and mat does have some disadvantages. If the cutting mat isn’t big enough, you’d have to slide it under the fabric, risking moving the fabric. So, if the mat isn’t big enough, I’d opt for pinning and using scissors on the part that hangs off rather than sliding the mat.
Regardless, I only layout as many pieces as I can successfully secure to the fabric before cutting. In an ideal world, I’d lay out the entire garment, secure, then cut everything. But usually, I’m doing one or two pieces at a time. Partially because I only have 16 pattern weights (though I have borrowed some plate weights from my weight room for special occasions). But Also, I try to get as much out of my fabric as possible so I’m often folding in a way that it doesn’t all fit on the cutting board nicely. That does mean I probably spend more time than I should futzing with the fabric.
Lastly, if you are cutting two pieces, but not cutting on a double layer of fabric, make sure that you cut one piece with the tissue print facing up, and the other with the tissue print facing down. If you don’t you’ll end up with two right body sides, or two left body sides. And if you sewed it together, one side would have the wrong side of the fabric facing out.
(See Photo: The left side is inside out)
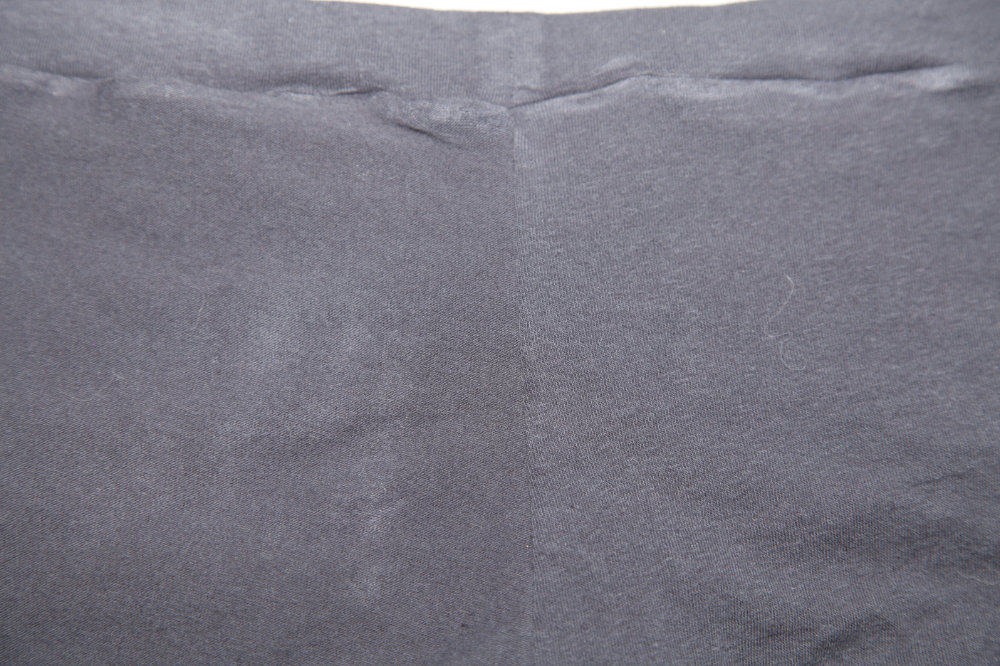
Two Right Sides – Left side fabric is inside out
When cutting the pieces, cut as accurately as possible, and take care not to cut too far away from the cutting line on either side.
My third rule:
Mark Everything
Mark everything before removing the pattern tissue. Double-check that you get all the notches. Sometimes they hide one in an armpit or something.
For notches, just snip at the center of the notch (Or do a double or triple snip) within the seam allowance. You can snip about 1/4″ for a seam allowance of 1/2″ or 5/8″. But for a 1/4″ seam allowance only snip 1/8″. Double-check to make sure both layers of fabric have been snipped.
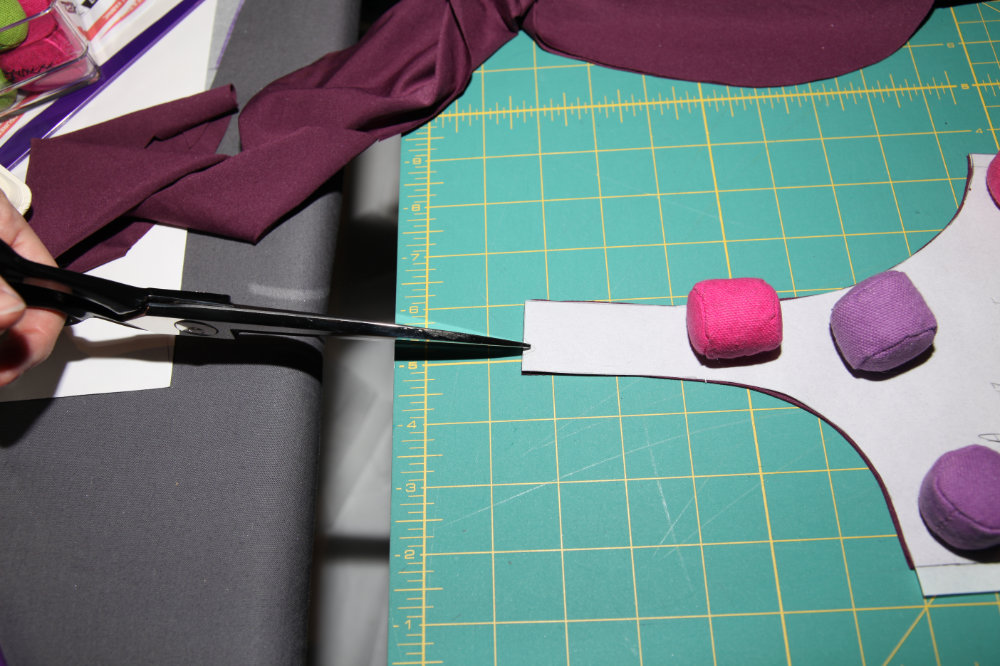
Mark all the circles (I usually use tracing paper and a wheel for these and just mark them with an X), and the dart legs on the wrong side of the fabric. Mark squares or anything else you need to mark (center front, center back, button placement etc)
For the dart point, you can just shove a sewing machine needle through the fabric about 1/4″ above the point marked on the tissue inside what would be the dart seam allowance, so between the two dart legs. this is way faster than marking with tracing paper. But test the fabric first. It should leave a noticeable hole, but not break the fabric. This technique doesn’t work on some fabrics like fleece or wovens with a super loose weave.
When using tracing paper, you can often fold the paper in half and mark both pieces simultaneously, but double-check the bottom layer, sometimes it doesn’t work as well.
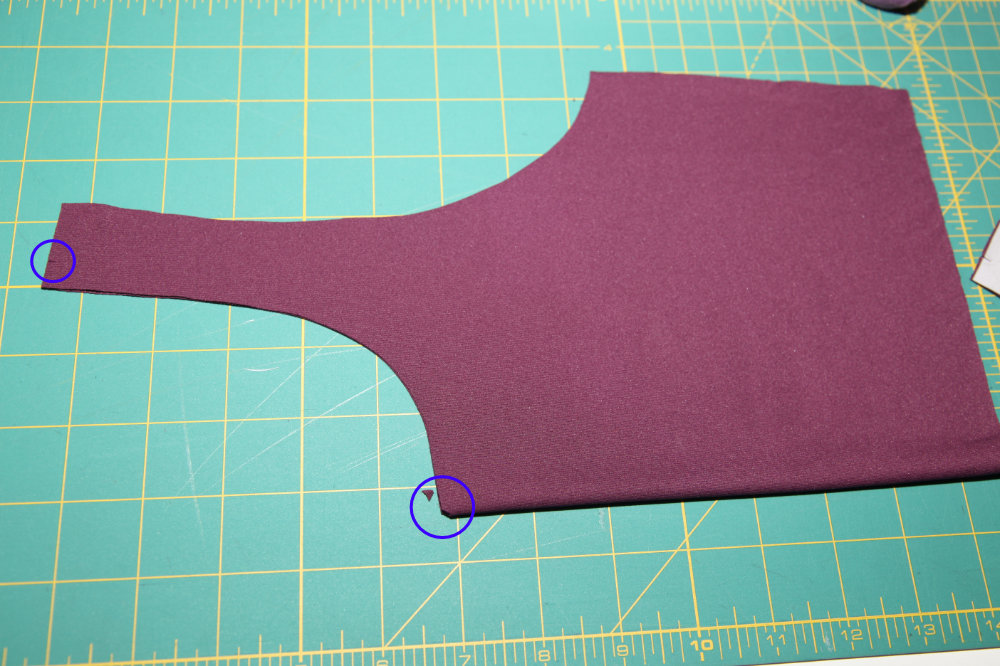
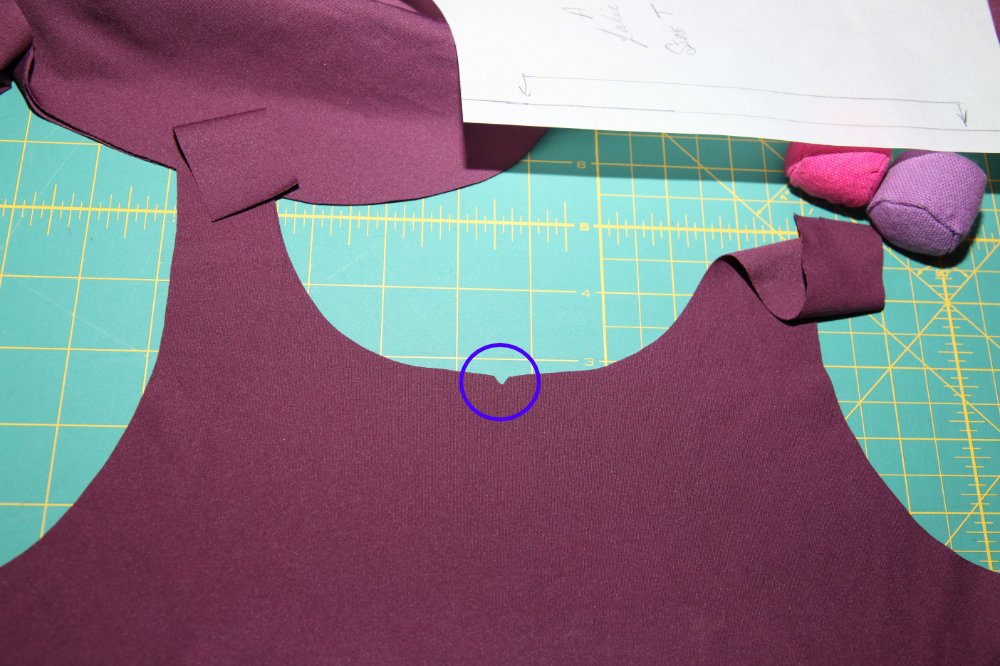
For pieces cut on the fold, sometimes taking a tiny corner snip at the fold line is a good way to mark the center. This isn’t always called out on the pattern tissue, but for necklines it’s a good thing to do. It’s not as critical on a hemline. I usually forget this one.
In Summary
Cutting the pieces for your garment needs to be done correctly or the garment won’t hang well or look good (or function properly). For this reason there are 3 basic rules I have for laying out and cutting fabric.
Layout the fabric correctly, Layout the pieces correctly, and mark everything before removing the pattern tissue. When cutting out fabric pieces, there is so much more to get right than just cutting.
