Getting a new pattern is exciting. But dealing with the massive pieces of tissue can be a pain in the butt.
It's important to have a plan for using these patterns.
The tissue is relatively resilient but with multiple uses, can deteriorate or tear. Or, if you have a cat that likes to chew on paper, it can be eaten.
I prefer to keep my tissue paper in as good of quality as I can, now. I have some older patterns that I've abused and regret. And I have some patterns from my childhood that I hope I didn't do what I don't recommend (should I ever want to make that 80's dress again...😂), and cut off the sizes. I can guarantee I am not the size I was in Jr. High.
Here's some tips for dealing with commercial patterns.
Tackling The Tissue
That being said, regardless if you have a tissue pattern or a PDF pattern that you've taped together, it's way easier to work with the individual pattern pieces rather than the big printout of everything all on one sheet. Though you are absolutely welcome to do that if it suits you and you have a workspace to suit it. If you don't have a workspace to accommodate that, it's ok to separate the individual pieces. Just make sure to cut well outside the cutting lines. More on that in a bit.
Physical Patterns
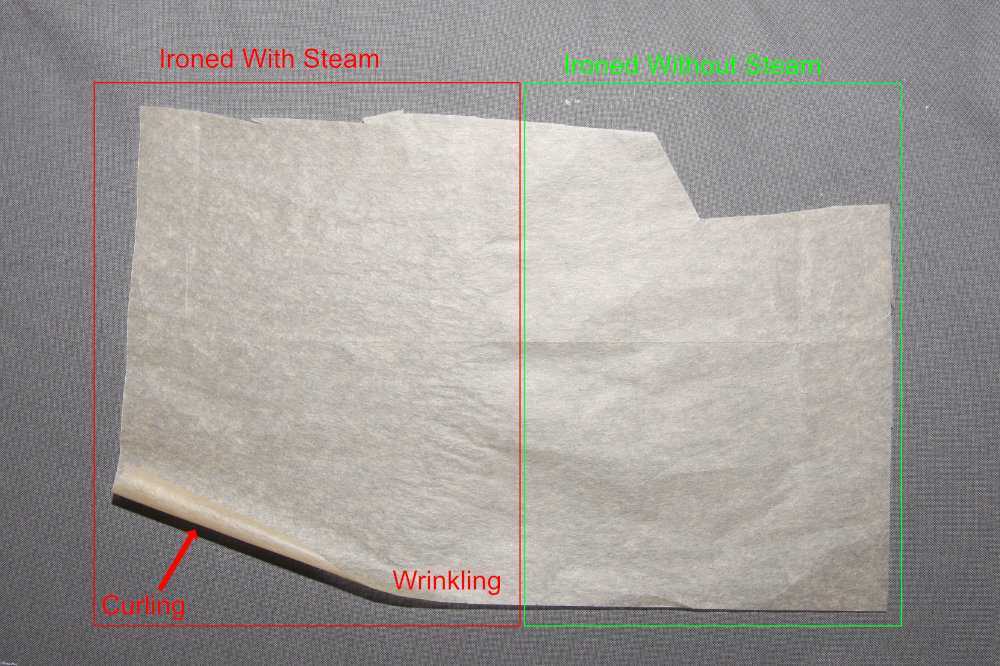
The tissue can be ironed but not with steam. If you steam it, it'll wrinkle as paper is wont to do when getting wet.

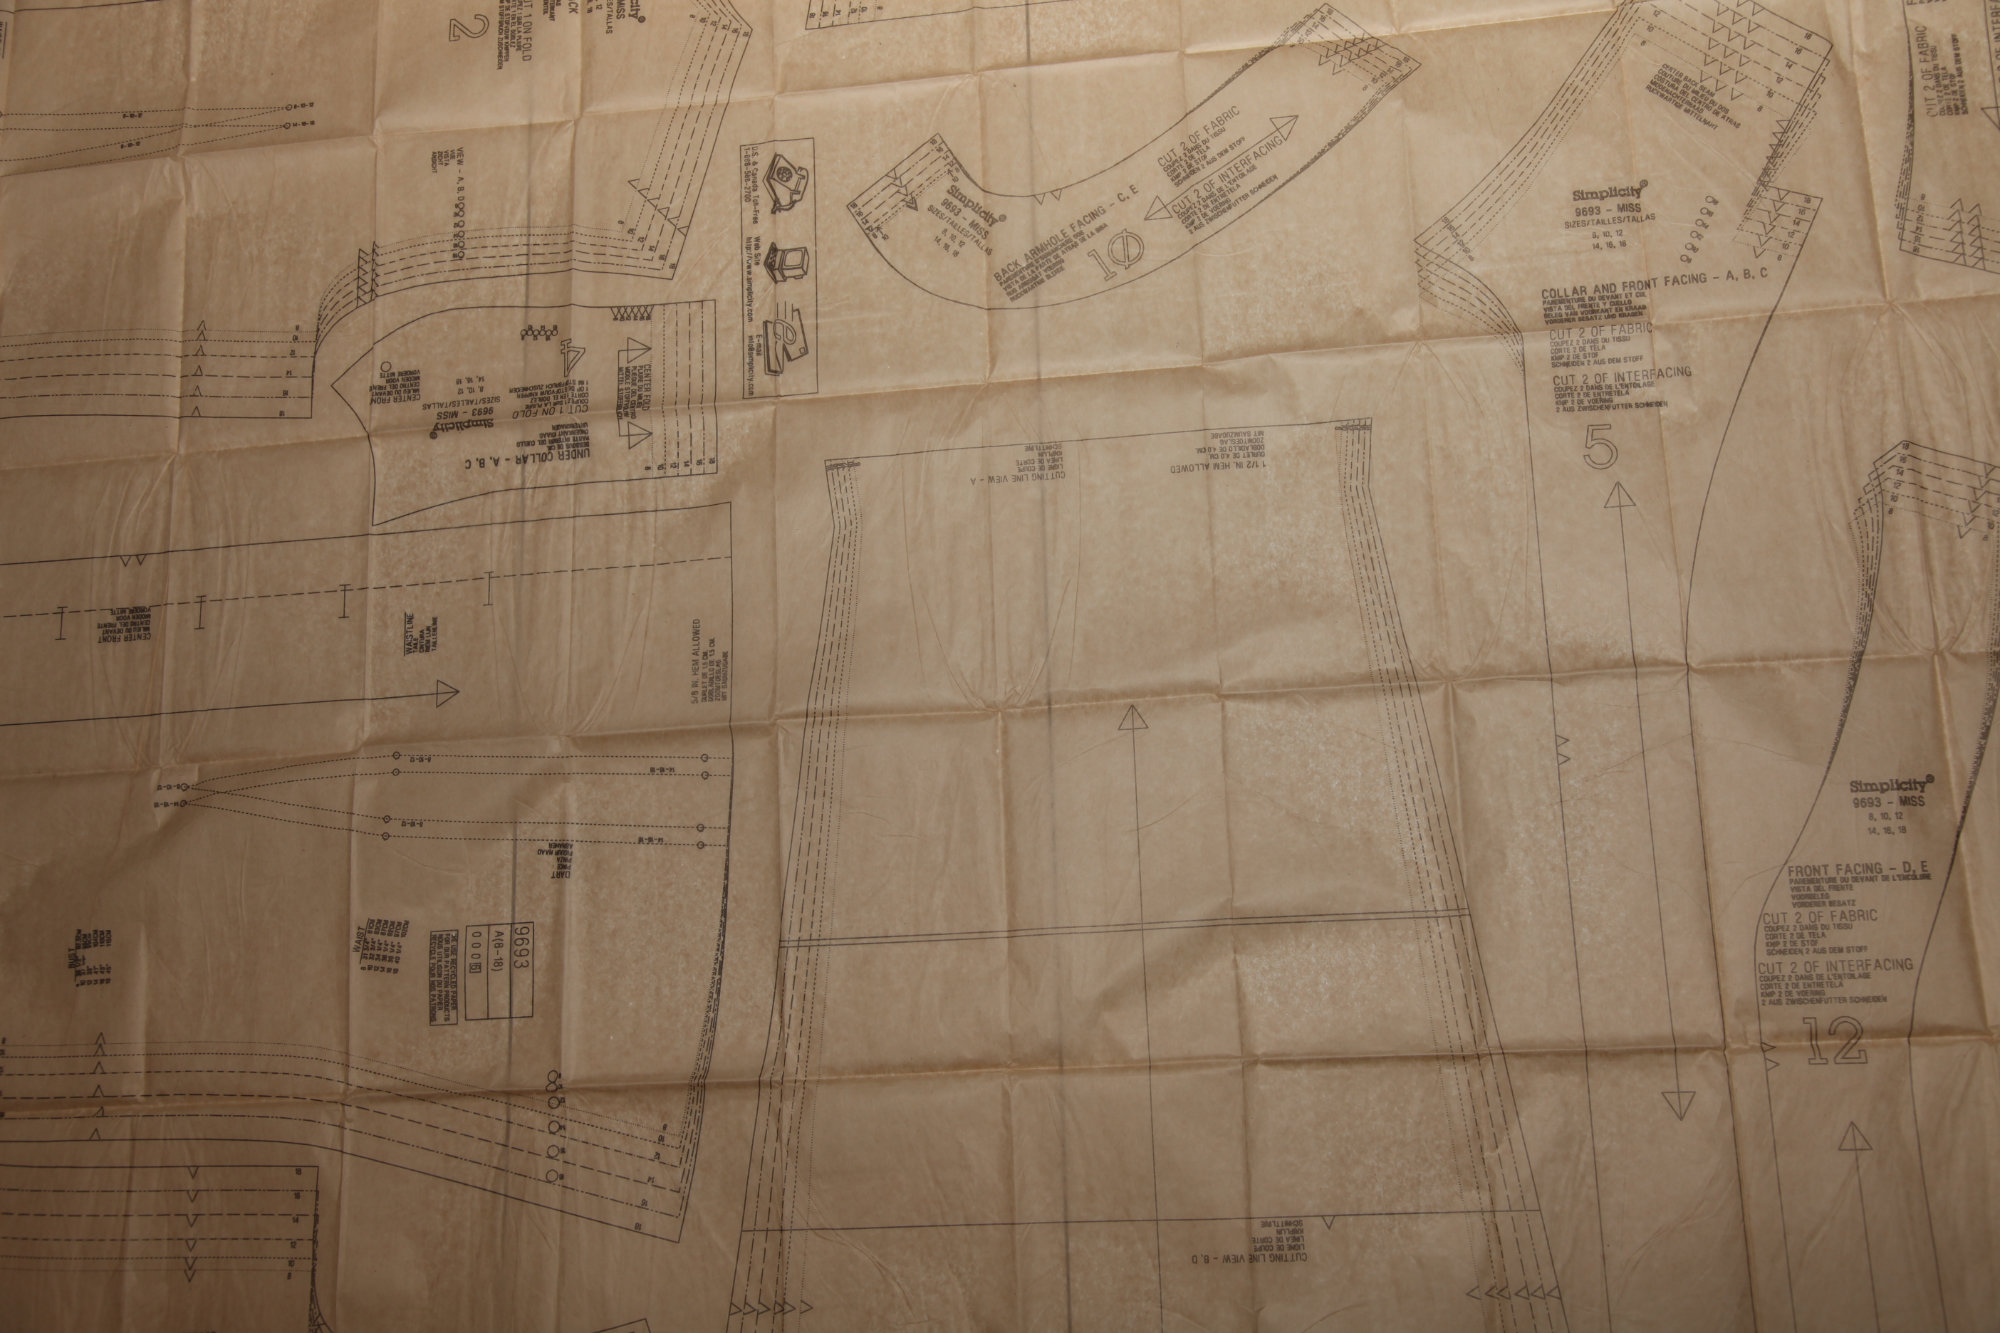
In fact, I recommend separating all the pieces (at least the ones you will be using for the garment you're making, you can keep the others intact for now) and ironing out the fold creases.
When refolding the tissue back into the pattern envelope size, one trick I learned is to iron the paper to get it to press back flat. Some tissue behaves better than others, and sometimes it seems to capture some air in it. Many a pattern envelope of mine are torn from me shoving folded, but not pressed tissue back into it.
We all learn as we go, right? Admittedly, that trick is a very recent one I've learned.
PDF Patterns
More and more, pattern companies are offering downloadable PDF patterns. There are so many benefits to these for me, they far outweigh the cons of a PDF. Let me tackle the cons first.
Cons
- You have to print the pattern
- You have to tape the printouts together (Or go to a printshop which costs money and is subject to delay)
- You have to figure out how to store the pattern since it doesn't come with an envelope.
Ok, So, yes, you have to print the pattern. I suggest printing it at home, on your standard sized printer paper. Most patterns come with options for both Letter/A4 and a copy shop size that can do a 36" wide print on a roll so that there's no taping. I just print at home. I'm all about the instant gratification.
Yup, you have to tape it together. I choose to print on a tracing paper so that I can see the marks that you need to line up through the paper. Otherwise, you may need to cut or fold each of the pieces to line up the marks. And that is a pain in the butt. One thing I found out about the tracing paper I'm using. The laser printer toner actually wants to come off of it so it gets sticky when ironing. So, I try to iron just the back side of the paper. I've not had any REAL issues with this yet.
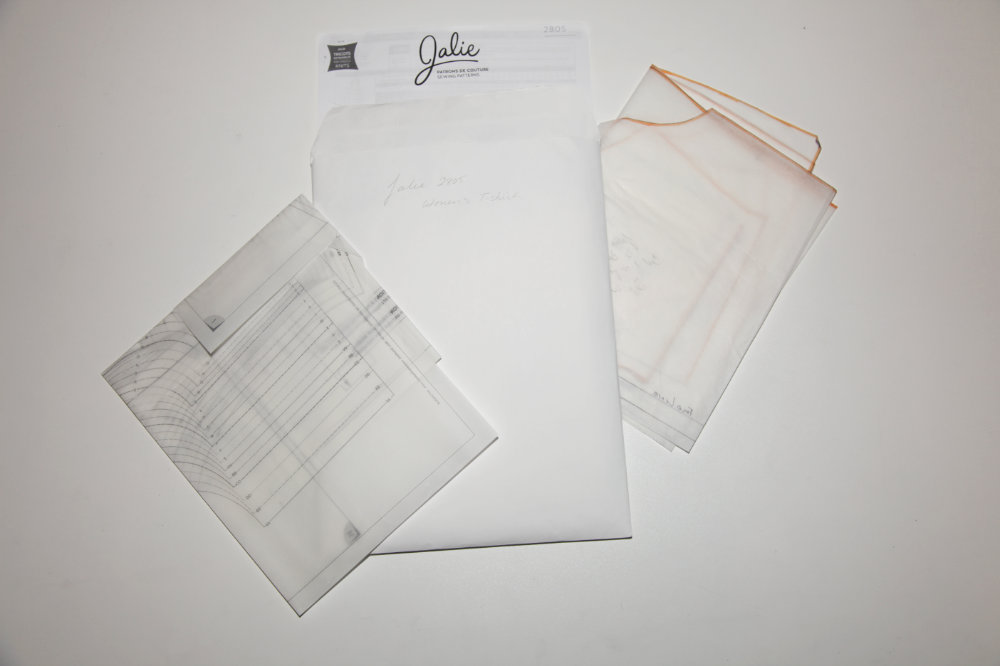
As for storage, I recommend a 9x13 or 9x12 document envelope. I can usually fit a whole pattern plus 2 or so copies of the pattern inside one envelope. I just label the outside with the pattern name and number and whatever other things I want to put on there. Technically, I suppose if your printer can handle it, you could print the first page or picture of the pattern on the front of the envelope.

Pros
- Instant Gratification
- You can print multiple copies.
- Some offer multiple sizes in layers so you can print only the size or size range you need.
- Saves Time (and maybe even money)
I admit, more than once I've scoured the internet for the perfect pattern to make for a thing that I had the urge to make immediately. If I can get it in PDF immediately, sweet! That saves time. I don't have to go to the store. I don't even have to get dressed to buy my pattern.
If you aren't into tracing the pattern, you can print multiple copies. Or, maybe this feature is more awesome of you have that cat that eats paper. Yes, I've had that happen. It doesn't take much to have a cat destroy pattern tissue.
Having the ability to turn on or off layers when printing is super convenient. However not all PDF patterns have this feature.
How does this save time? Well, it takes maybe a 10 min to print the pattern. Maybe 15 to tape it all together. It takes me at least 10 min just to get TO the store where they sell patterns. So, that's at least 20 min travel. Plus searching for the pattern at the store, and standing in line to checkout. And, I cannot walk into a fabric store (where they typically sell the patterns) without walking through MOST of the fabric. Even if I buy no fabric, I have to look.
How could it save money? Well, PDF patterns can be less expensive than the Print ones, but they aren't always. Plus, you do have the in-home cost of printing. However, you save money in gas getting to and from the store. Plus, if you are like me and there is no way you could just go and get a pattern at that fabric store without getting thread, fabric, or some other thing you just NEED there, well, it'll save you that money too.
Ok, and I admit it, I just prefer working with paper. Even though it's tracing paper. I prefer it over the tissue paper.
Tape Tips for PDF Patterns
I feel like I should mention some taping tips beyond printing on the see-through paper.
One thing I have noticed is that my printer is not perfect. So, even though I'll set the printer to print at whatever scale is deemed necessary to get the size square accurate, sometimes the lines on the page just don't completely line up. If you find this to be true, just do the best you can. Perfection is not required. Note the pieces you need to use. You can sometimes line the lines of the pieces up just as well as the corner marks. So, I'll pay just as much attention to those (since that's what I'm really after anyway) as the corner marks.
I always make sure I tape inside the pieces. I don't always tape the sheets together outside the pattern pieces. And I don't usually tape the entire edge down within the piece. I'm lazy. And I like to save tape.
However, if you are planning on using the pattern as-is without tracing, then by all means, tape the entire edge down. Maybe even tape the back side down.
Also, try to not let the ends of the tape get wrinkled or peeled. That can (and likely will) cause issues when tracing the pattern, or when using it on fabric. Plus, it's annoying if the tape sticks to other pieces.
Regardless if you have traditional or PDF patterns, you can mark on the tissues like the line you want to cut on, or any adjustments you want to make. But, I'd recommend the majority of marks be made on a copy of the pattern.
Why make a copy?
The simple answer is to preserve the original. It's frustrating to come back to a pattern years later and have parts, pieces or size lines missing. Also, if you choose to trace size lines that overlap on to the fabric, rather than just cutting the tissue, over time, the tracing wheel perforations will make the pattern fall apart. I have taped these to make them robust again. But note that some tape melts when ironed. 🤦♀️
I often make the same pattern in multiple sizes. Sometimes because I'm making them for multiple people, sometimes because I want to try a different size for me to see if it fits better. This way I get a unique pattern for each size I want to make. It does mean more paper, but it makes it way easier to cut the pieces out of the fabric when each piece is dedicated to the size being made.
Also, if you need to make fit adjustments, it's good to preserve the original pattern just in case you get way out of whack and need to start over. If you have a printed PDF, sure, you can just reprint and tape together. But, if you bought the physical pattern, protect that investment.
And, if you are working with a PDF pattern, you will be dealing with taped together pattern pieces if you don't trace it to a solid piece of paper. If you usually work with robust fabric, this might not be an issue. However if you are working with lightweight satins, chiffons or slinky knits, the edges of the paper pieces can grab onto the fabric. It won't necessarily snag the fabric in a way that ruins the fabric, but it could pick it up and move it. I have had this happen multiple times, and it's frustrating trying to shift the pattern on the fabric and the fabric shifts with it. 🤬
Making a Copy - Tips
Ok, if I've convinced you to make a copy of your patterns before sewing, here are my tips.
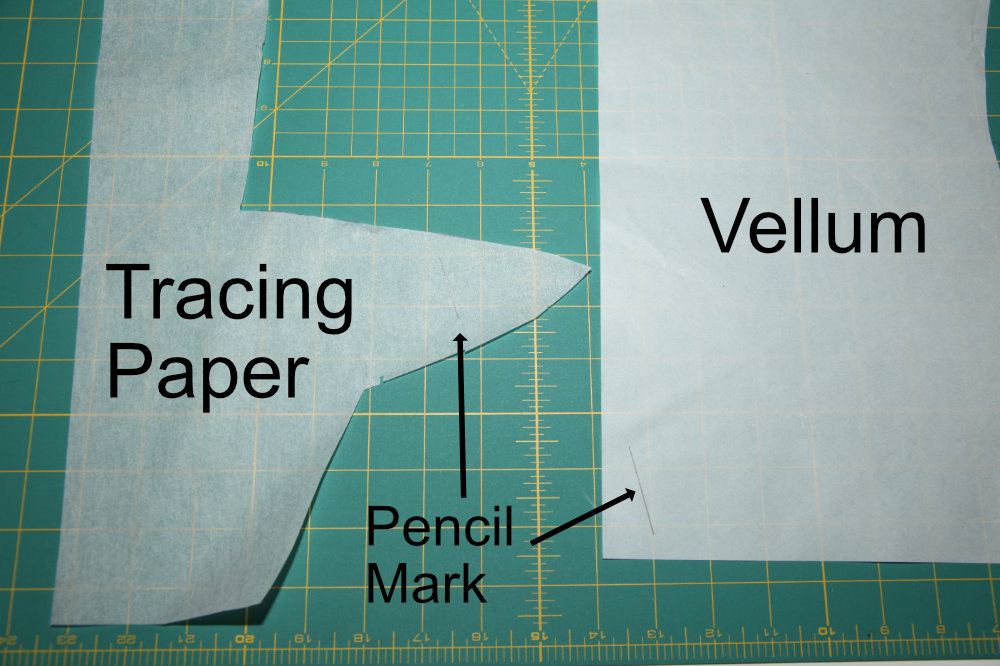
- Choose a light tracing paper (or better yet, vellum, which is more expensive) to trace the pattern.
- Tape the pattern to the table you're working on
- Tape the paper you're tracing onto, to the table you're working on
- Highlight the lines you need to trace on the original copy
- Use a soft lead pencil to trace - I use a .7mm mechanical pencil
- Use a straight edge to trace all grainlines, fold lines, and straight parts of the pattern (shoulder seams, hem lines, dart legs etc)
- Copy ALL critical pattern marks (Notches, sew lines, circles, grainline, etc)
- Label the piece: Pattern brand, Pattern number, size, piece number or label, and piece name (at least)
- If Needed, Ink the lines you just traced.
The paper you choose to trace to will dictate if you need to ink the lines. I've found that vellum doesn't typically need to be inked. However, the lighter tracing paper would prefer to be inked. Especially if cutting out a darker fabric like gray or black. Test the ink you choose to use on your paper before using it. I have had some "permanent" markers smear on vellum and other tracing papers.

If you ink the pattern, try to stay inside the cut line so that it is obvious where the cut line is and you get a good border on the pattern. For other marks, you can choose to trace inside circles or squares exactly, or you can just make your own marks. Also other sew lines should be inked carefully (with a straight edge) so that they are transferred to the fabric accurately.
Tape Tips for Tracing
Ok, so they make drafting tape, or at least they used to so that you could tape your paper to the drafting board and then peel the tape off and the paper would be unmolested. I have found that on vellum, the paper I print to, and even my cheap tracing paper, that regular transparent scotch tape works just fine. It will, however, take some of the pencil marking with it when you tape over it.
And sometimes it will tear the paper. For that reason, I recommend you leave ample space around the original pattern pieces when you separate them. (I mentioned that above). It's mainly to have tape space.
When taping the original to the table, use at least 2 pieces of tape on opposite ends of the piece lengthwise. If you have wrinkles, smooth those out as much as possible. And if you have a part of the pattern that juts out and is subject to moving around, tape that too.
When taping the tracing paper down, you can tape it to the original but be careful where it might rip the original. You can also tape it to the table. Tape in at least 2 places, 3 if it's super slippery.
You can also use weights or something heavy to help hold the papers in place. I like to keep my drawing area as free as possible though, so if I use a weight it might be on the other side of the paper that I'm not working on. Also, take care if you have to move it so that you don't move the paper inadvertently.
Leave space around the pattern to use straight edges where you can. I have in the past, taped the straight edge too close to the edge of the table for me. I am right handed so I prefer tracing straight lines on the right side of a straight edge. So, note what is most comfortable and leave about a 2" space around the edges of the pattern to the edge of the table for your ruler. (Or more or less depending on the width of the ruler, my usual one is 2" wide).
I reuse my tape pieces till I'm done or they are done. They are done if they take so much of the paper with them that they are no longer sticky enough to hold, or if they have torn into pieces that are too small, or just not sticky anymore with the uses.
Practice Proper Pattern Storage
Regardless if you use PDF patterns or traditional patterns, it's important to store your patterns properly. When you are done using the pattern, put the pieces, folded as nicely as you can, back into the envelope. If you are using a traditional pattern and have made a copy, there is a chance that the copy won't also fit into the original pattern envelope. Decide the method of storage that works for you.
Fold your patterns nicely. I admit, though, it can be tempting sometimes to just shove them back in the envelope consequences be damned. But, you might regret having done that the next time you want to use it.
As for storing your patterns, that's totally up to you. My sister uses a dresser drawer, I use plastic totes. Mine aren't that organized I keep them in totes by type of pattern (Pants, tops, skirts, etc). I think my sister has gone through all of hers and made copies of the envelope fronts and organized them in a binder by type as well. But where I need to decide if the pattern with the pants and top on it goes with the pants or the top, she has a copy of the envelope in both sections of her binder. We have a lot of patterns, having taken advantage of the good ol' days when fabric stores used to have $0.99 pattern sales. I do recommend deciding where to store your patterns and how organized you want to be. They need to be kept dry so they last a long time, even if the style doesn't.
Summary
Sewing patterns can be an investment. Some classic styles can be used over and over again as-is and as the basis for future style adaptations as your skills grow. It's important to protect that investment.

