Alright, if you’re going to start sewing clothes with a machine, you’ll need a machine.
There’s a wide variety of machine on the market. Everything from $80 to $15,000. So, you definitely need to decide your price point.
Machine Talk
First, let’s talk about the kinds of machines you might run into while searching for a sewing machine. There used to be just sewing machines available for the home sewist. But today, you can buy industrial machines, sergers, embroidery machines, quilting machine, and sewing machines.
When you are just getting started, you do not need a serger. A well-equipped sewing machine will handle everything you need for making clothes. You won’t be able to do some things as fast. And some stitches won’t look “the same”, but there are definitely passable substitutes for the serger stitches.
While machines built for embroidery and quilting can also be used for making clothes, unless you KNOW you’re going to need one of these in the next few years, you don’t need to make that kind of investment. I mean, some of these cost almost as much as my car.
If you’re just starting out and don’t really have the means to buy “big”, you can get a machine that will do the critical functions for under $100.
That being said, if you can swing a little more, you can get some pretty cool features in the $250-500 price range.
Brands
Just a quick note about brands. I don’t have experience with all the machine brands out there. But here’s what I know.
Brother and Janome have a huge assortment of entry-level sewing machines and are available almost anywhere (internet, Home Depot, fabric stores, Walmart). And both those brands have more top-end models as well.
Singer is a well-known brand, but I haven’t had a lot of interaction with them since I used the old machine my mother had (Over 30 years ago). On preliminary searches, the singers offered less for the same price as a Brother or Janome. Juki has been touted as a good brand, but on preliminary searches, I didn’t find much in the way of good entry-level options.
Pfaff, Bernina, and Husqvarna make excellent machines. Most of the machines I see from them tend to be more on the higher end of the spectrum. I own a Pfaff (we lovingly call it “The F-word”, I mean, look at it! there’s three Fs!) sewing machine. I also have a Bernina serger, and my sister has a Husqvarna embroidery machine. All good machines. Mostly available through dealers.
When I first moved out of the house, I inherited a ’70s Kenmore machine. It’s the epitome of an old basic machine that will do in a pinch. It’s a tank. Ok, not as much of a tank as my industrial or the OLD Singer I’m cleaning up or the OLD Standard I’ve cleaned up. Those machines are BEASTS. Not what I would call “Portable”. I don’t know if Kenmore is still making machines. But I have kept mine as my back-up for times when I either have a friend over to sew (without their own machine) or when my F-word goes into the shop for cleaning.
Anyway, if I was just starting out, I’d probably look at Brother and Janome. They make a lot of machines that cater to the home sewist or hobbyist. And have decent price points. The options might be a bit overwhelming. That’s part of why I wrote this guide, so you know what you absolutely need, and what is nice to have for garment construction.
Where to Buy
As mentioned above, some machines are only available at dealers. And some you can find at Walmart.
The benefit of sewing machine dealers and fabric stores is that you can often use the machine before you buy it there. Some stores even offer free classes if you purchase the machine there. If you are new to sewing, this could be a really good option, especially to learn all the ins and outs of your new machine. (I didn’t take advantage of this – I’m not sure if it was offered to be honest – but you’ll see below, that I’m still learning about my machine.)
Some fabric stores and dealers are only authorized to sell one or two brands. Some sell many brands.
Walmart, Home Depot and other internet options are beneficial for those of you who don’t live anywhere near a dealer. But you won’t get to try the machine first. But there are a lot of places on the internet that offer classes on machines and you can probably find classes or videos on your machine or a very similar machine as well.
Essential Machine Features
There are some machine features that I would consider essential for making clothes. If your machine has these, you can sew almost anything even if you have to manually make certain stitches. (Like a buttonhole).
If you are looking for a machine, these are the must-haves. If you already have a machine, check to make sure these features exist, if not, consider purchasing a new one. (Hint, most modern machines will have these key features unless it’s an industrial machine.)
Stitch Features
These are the critical stitches your machine needs for you to adequately sew clothes.
- It must make a straight stitch.
- It must be able to go in reverse.
- It must be able to make a zig-zag.
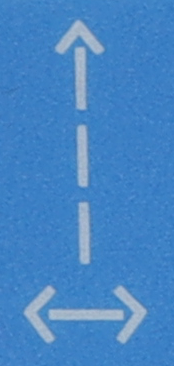
Symbol for Straight Stitch
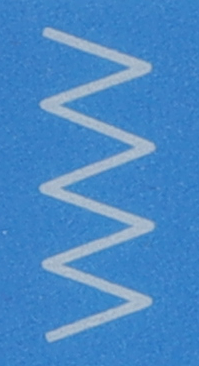
Symbol for Zig-Zag Stitch
The straight stitch is the most used stitch on the machine. You’ll use this in almost every garment you make, even the stretchy fabric garments.
The machine must be able to go in reverse or “backstitch”. This is what will lock your stitches to they are less likely to pull out when wearing the garment.
And a zig-zag stitch will be your go-to stitch for finishing edges on wovens (Non-stretch), and making stretchy stitches for knits (activewear or close-fit bodysuits).
Between the zig-zag and straight stitch, you can do many different types of stitches manually like basting, buttonholes, bar-tacks and satin stitches (like for appliqués).
Adjustment Features
There is a bare minimum of adjustments you’ll need to be able to make on your machine as well.
- Thread Tension Adjustment
- Stitch length Adjustment
- Stitch Width Adjustment
You’ll need to be able to adjust the thread tension to allow for thickness differences in fabrics, and thread. But also, this is an easy way to create a basting stitch. Note that usually, only the top thread has a dial adjustment for tension. The bobbin thread can be adjusted but usually requires a little screwdriver and isn’t a very precise adjustment. In that, there’s no dial or numbering system to know how much bobbin tension you have.
You’ll want to be able to adjust the stitch length. This is how much fabric is pulled through the machine before the needle goes down again. Heavier fabrics often look better with longer stitches. Also, some fabrics don’t hold up too well with a lot of needle punctures, so a longer stitch is good. However, if you are doing a satin stitch or buttonhole, you’ll need a much shorter stitch. Often, topstitching or edge stitching will have a longer stitch than what was used to construct the garment.
Width adjustment applies to zig-zag type stitches (where the needle goes side-to-side). Adjusting the width helps for a variety of stitches. Buttonholes would want a much narrower stitch than something you’d use to finish an edge in the seam allowance.
Machine Features
Another thing to look for is the ability to get a variety of feet for the machine. There are a few feet out there that make life easier.
Your machine will likely come with a standard foot to use with straight and zig-zag stitches.
The next most-common foot would probably be the zipper foot. This foot allows you to get your needle way close to the teeth of the zipper, while still holding the fabric down.
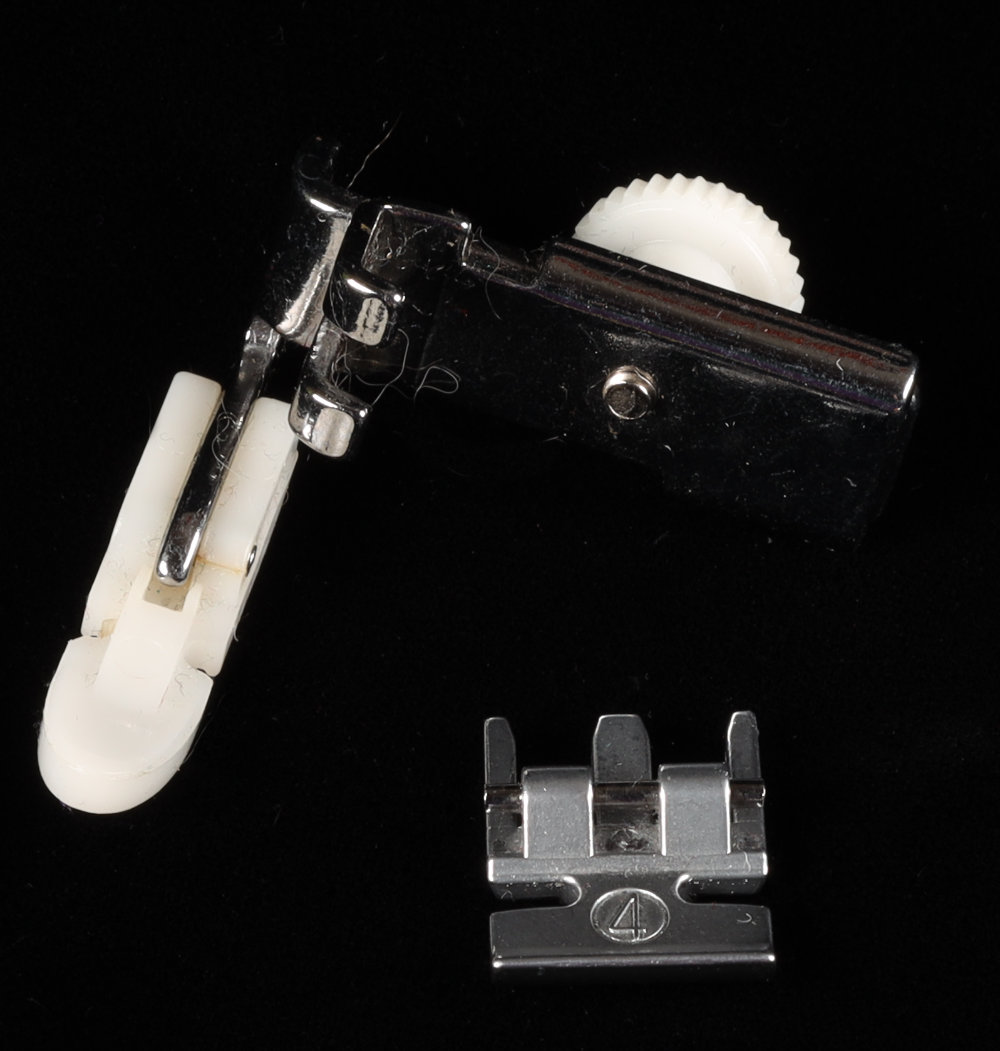
Two versions of a Standard Zipper Foot
Extra Features That are Nice to Have
While you can get by with a very basic machine as indicated above, there are some features that make life sooooo much easier when sewing clothes. These aren’t necessary. Though, some of them I wouldn’t want to sew without. And others I actually don’t have, and kind of regret it. If I ever get a new machine, a few of these features would be on my “must-have” list.
Accessory Extras
Some machines come with a bunch of additional feet or accessories. As you sew more and more, you will come across times you want more than the standard presser foot. Also, you may find the need to swap out other parts like the working table to either be larger (for better control of the garment as you’re sewing it) or smaller (for easier access on small circles like sleeves. Here are some accessory type features you may want to consider.
- Walking foot – Some Machines have an integrated walking foot device that you can engage or disengage, rather than a separate foot that you have to take on and off. A sewing machine has feed dogs that pull the fabric through the machine. Feed dogs are only on the bottom, affecting mostly just the bottom fabric, the top fabric is left to glide under the foot. A walking foot helps pull the top fabric through as well. A walking foot helps, but it will never pull quite as much as the feed dogs.
- Invisible zipper foot – If you think you’ll be sewing a bunch of invisible zippers, you can get one of these. It’s specially designed to fit with the teeth of the invisible zipper so that you can get really close without making the zipper inoperable. Most machines will have an option to buy this as an add-on later, even if it doesn’t come in the box. Honestly, I have one, but hardly use it. I don’t sew a bunch of invisible zippers, yet.
- Stitch in the ditch foot – The stitch-in-the-ditch foot helps you guide your garment under the foot in such a way that sewing a “stitch in the ditch” is way easier. I have one, and don’t use it much yet. But when I need to do this technique, it is nice to have. It’s so not critical.
- Blind Hem foot – The blind hem foot gives a guide for machine stitching blind hems. It’s quite useful since on a blind hem you need to only pick a single thread from the part that would be seen on the front of a garment. (Blind hems are often used to hem pants and skirts.) Note that while I use the blind hem a LOT, I rarely do it well enough for it to really be blind. But you know, if someone is hanging around the hem of my pants, they have issues.
- Straight Stitch Needle Plate (and foot) – This presser plate is used when working with super light fabrics like chiffon and charmeuse satin. It helps prevent the fabric from being pushed down into the bobbin area of the machine especially when starting stitches. It’s useful, not a must-have. And it’s critical that if you are using this, you remember to switch back to the regular needle plate to do wider stitches like a zig-zag stitch.
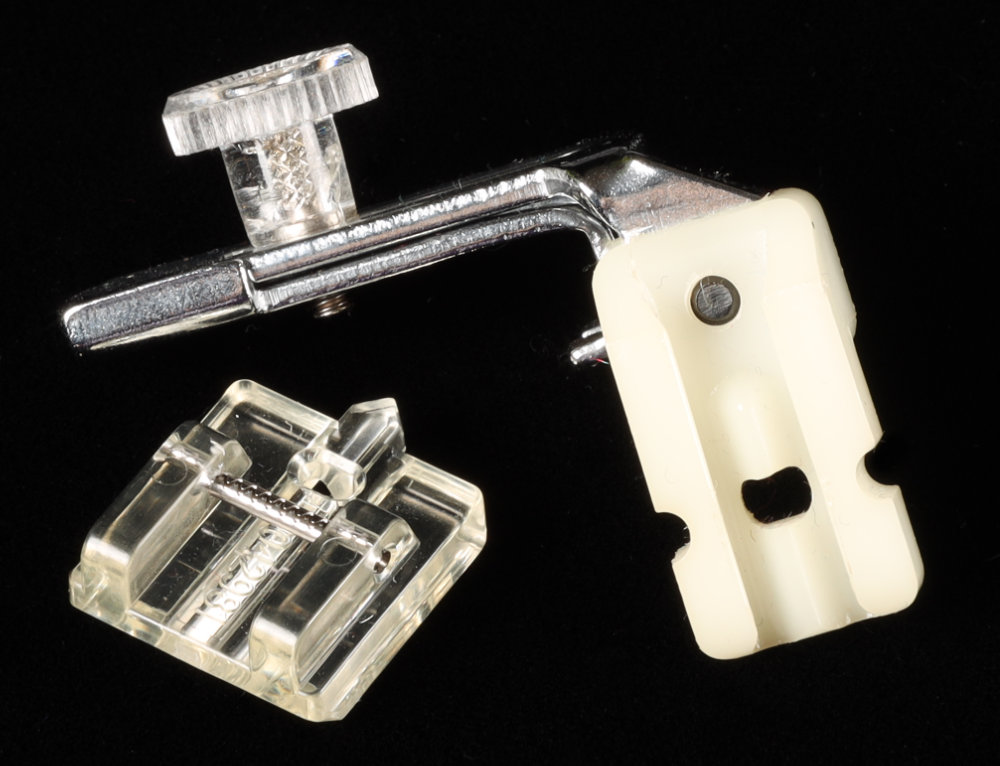
Two versions of Invisible Zipper Foot
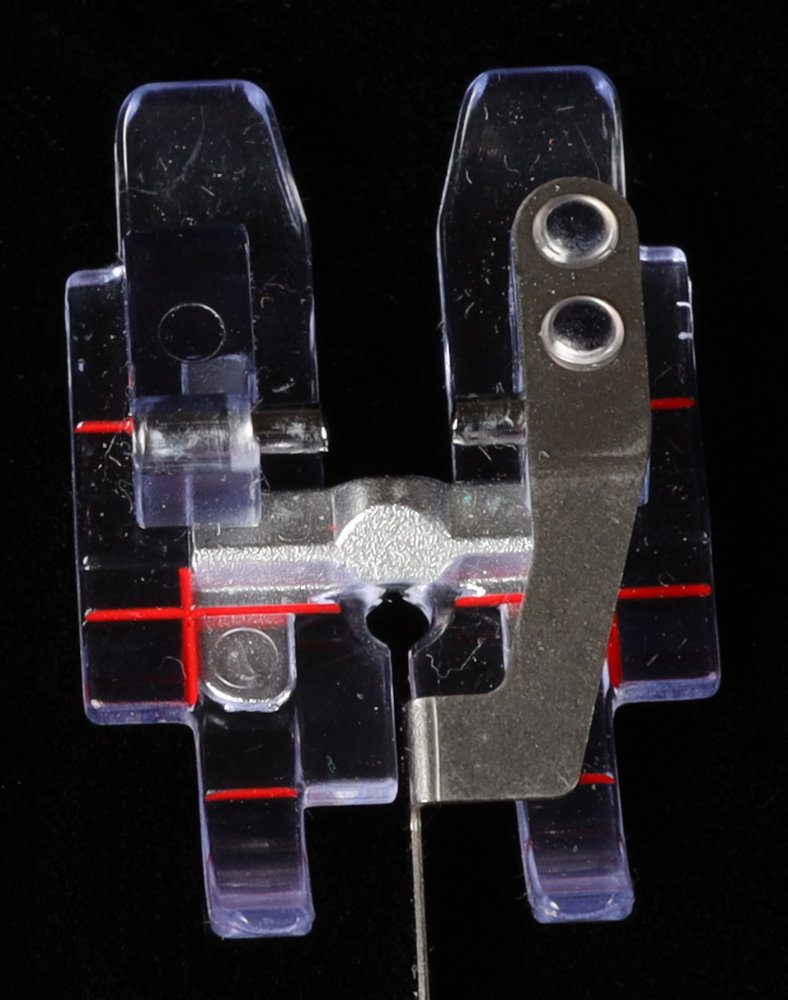
Stitch in the Ditch Foot
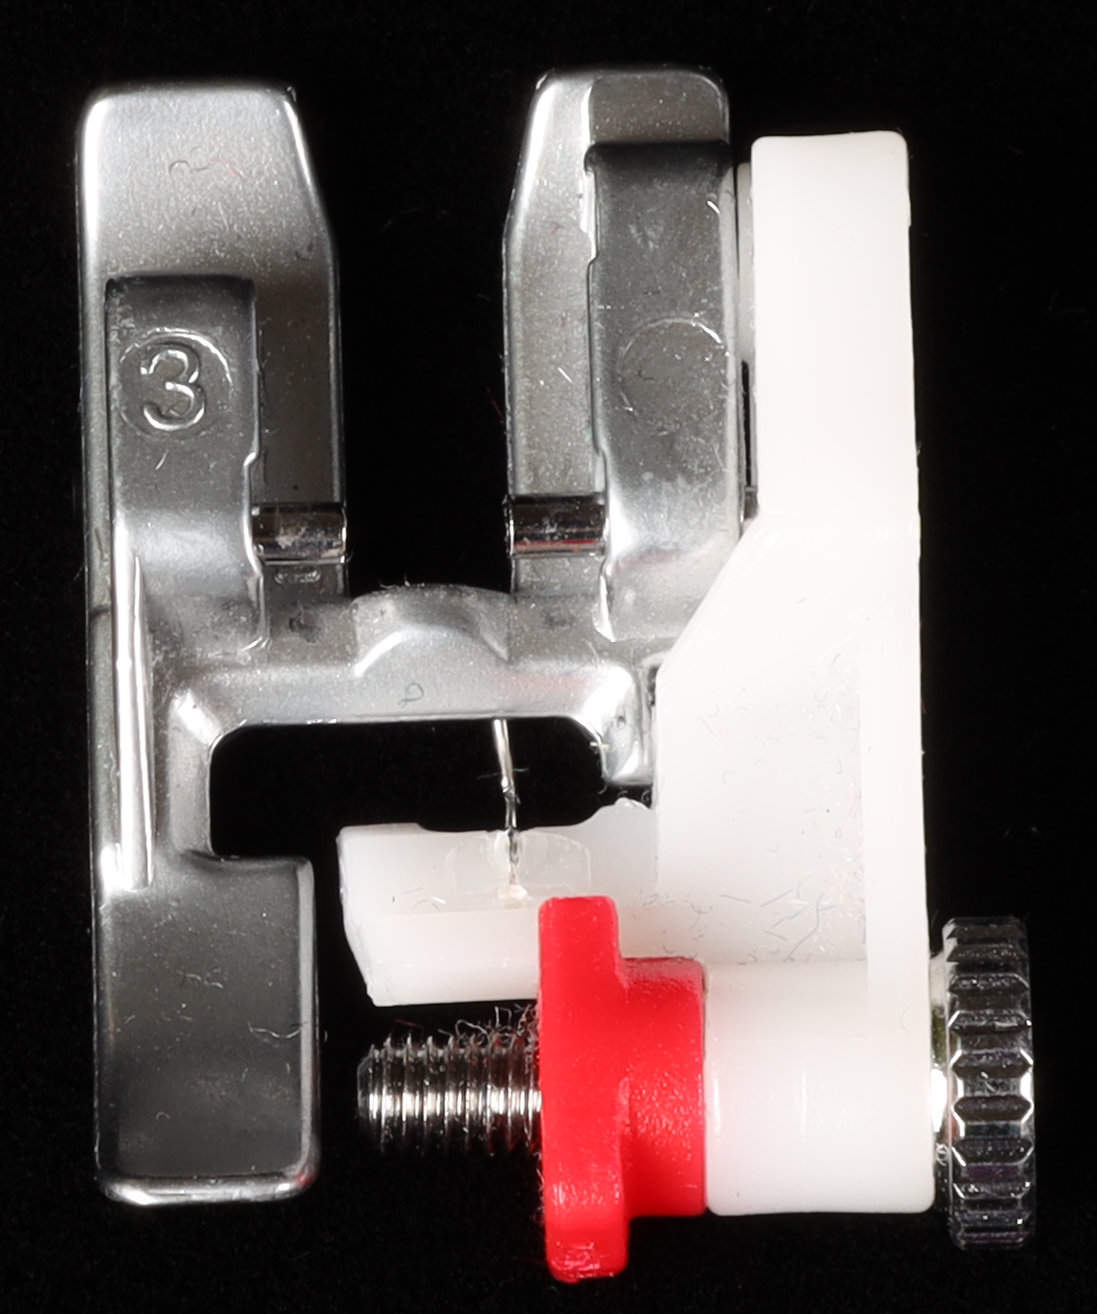
Blind Hem Foot
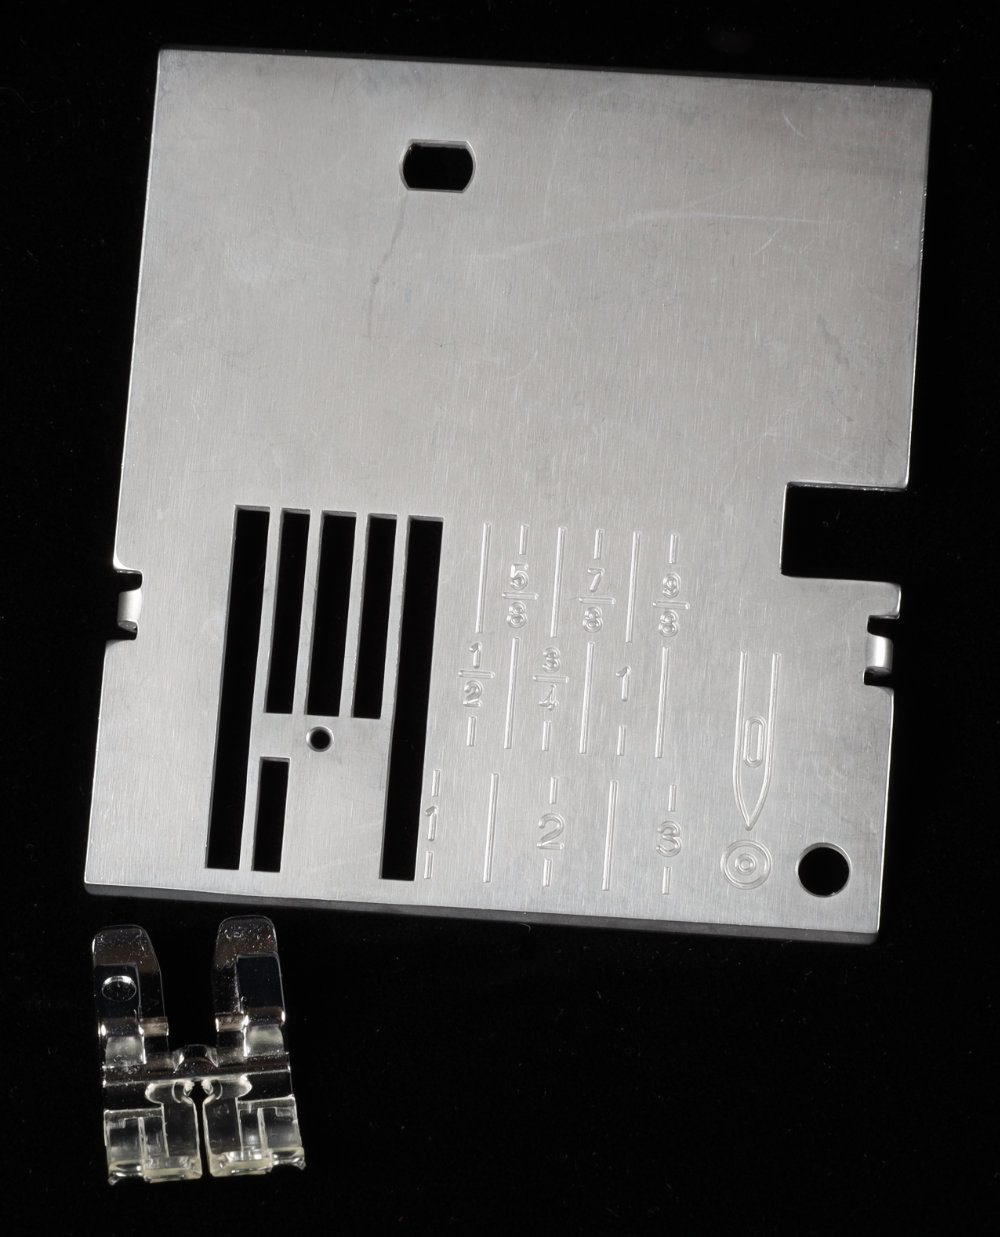
Straight Stitch Needle Plate (and Foot)
- Free-Arm Option – Most machines have the option to remove part of the work table to give you a smaller free-arm. This is useful for sleeves. And I use the machine in this configuration when doing leg holes on leotards. I know it’s technically not essential. But not having it could be super frustrating when you are just starting out sewing.
- Large Work Table (or add-on option) – When sewing garments, you really want to be able to feed the fabric through your machine in a nice even and controlled way. Some machines come built into a table (especially the older ones) where the needle plate is level with the table surface. The thing is, most modern machines aren’t set up to be furniture. And lots of home sewists don’t really have a space dedicated to sewing that could have a piece of furniture with an embedded sewing machine. Some machines come with a large work table or work surface. Some have options to buy an additional extension for your machine. And actually, you can find them online to fit any machine (so they say). I don’t have one. I would like one, it’s actually on my wish list.
Function Extras
Some of these features I don’t have on my machine. One feature I do have, and couldn’t live without is the “Stop with needle down” feature. You might see it listed as a Needle Up/Down button. Older machines don’t all have this feature, and in fact, mechanical machines (not computerized/computer-controlled machines) couldn’t do this. Back then, the machine would stop when the momentum dictated. Then, you’d have to turn the handwheel to put the needle down into the fabric. On the surface, this looks like a pretty unimportant feature. But it really helps increase efficiency.
Here are some cool functions that you may want to consider springing for.
- Stop with Needle Down – For my sewing needs, this is pretty much a must-have feature. Now, you can get away without it, so if it’s not in your budget, you don’t NEED it. But it’s really nice. Here’s the thing, when you’re sewing long sleeves, you have to stop and reposition your hands and such every so often. When you do this, you don’t want the fabric to shift under the presser foot. So, if you stop with the needle down, you can guarantee that part won’t slip. Also, if you are making corners, you need to stop with the needle down and pivot. If you can get a machine with this (if it’s in your budget), I highly recommend it.
- Automatic Tie-on/Tie-off – When starting and stopping a stitch, the recommendation is to backstitch one or two stitches to “lock” the stitch. Some machines now come with a button you can press that will basically do this for you. I literally just discovered that mine has it (I’ve probably had my machine for 10 years?). I’m still trying to get into the habit of using the feature. I’ve been sewing for 30+ years without the feature, and backstitching is a habit. (In fact, I have to really think about not doing it when making basting stitches that I need to pull out later.)
- Automatic thread cut – some machines come with the ability to cut the thread off for you. I imagine it would be a nice feature. I don’t have it on my machine. And, I don’t really consider it something I need. I mean, it would technically reduce the amount of thread you use because you wouldn’t have to pull as much to get at the threads to cut. Plus the tails would be shorter when starting. I’ve lived without this feature for well, over 30 years, but if you see it now you know what it is.
- Manual or automatic needle threader – This one is an interesting feature. My machine has a manual needle threader. It’s really neat. But it doesn’t work really good on tiny needles like size 8. I’ve also broken mine, twice. That being said, I love it and when it doesn’t work (or when I break it… don’t ask) I miss it.
- Knee lever for presser foot lift – this is a function for the hard-core sewist. My next machine will likely need to have this, my current one doesn’t have the option. In order to sew, you much lift and lower the presser foot. Lifted allows you to put the fabric in and take it out. But you can’t sew so well with the foot lifted, so you have to lower it to start sewing. Having the option to lift the foot with my knee would make some of the things I’ve had to do so much easier. There have been times that whatever I was sewing needed both hands on it to get it into the machine and hold it in position. Being able to clamp down on it with my knee while still holding the project would have been nice. However, this would require a more dedicated sewing space. The lever would have to go through the table your machine is on. So, not an option if you sew at your dining table. Also, in my case, I use an exercise ball to sit on when sewing. I could see me losing my balance and falling on my side while trying to use the knee lift. It’s still on my list of things to look for if I ever get a new machine.
- Presser foot tension adjustment – I’m tossing this in here because some machines call out that they automatically adjust the tension of the presser foot according to what you are sewing. This is good. If not, make sure there is a way to adjust the pressure. Too light of tension means your fabric will slip around more and not feed through very well. Too much tension will prevent the fabric from feeding well, and on some fabrics could cause the presser foot to mar the surface of the fabric.
Stitch Extras
I remember way back in the day as I was JUST starting to learn to sew. My mother had an old machine (I don’t even know what brand). And it was all mechanical and manual. I don’t actually have any memory of using it, but I do remember playing with the boxes of cams that the machine came with so it could do some of the stitches. Nowadays, we can just poke a button or turn a dial and the machine electronically changes the stitch. And lots of stitches are quite complicated. Imagine needing to install a set of cams in the right order and placement just to get a specific stitch. My mother’s replacement machine had a stitch that formed a little train, just the engine and coal car. How cute. The machine I have today does letters. Truthfully, I bought the machine for the buttonhole. Too many machines I found at the time were focused on quilting. I don’t quilt. I need an automatic buttonhole stitch.
Here’s a list of cool stitches that I’ve used quite a bit in my garment construction. This isn’t an order of importance. Note that there aren’t that many. Some machines offer 70 or 100 built-in sewing stitches. Most of them are likely decorative. Which you may, or may not, really need.
- 1-step automatic button hole – If you are going to sew clothes, I HIGHLY recommend that you buy a machine that does this. Yes, most machines will at least do a buttonhole that requires your involvement. But It is so much more efficient, and fun, to set up your machine and fabric, then just hold the foot down and let it go. If you are making a button-down shirt, you will have to do a LOT of buttonholes. Making them in 2 to 4 steps would be a pain in the ass. But do you NEED 7 different button holes? No… I mean, you could get away with just the standard rectangular one. But, if more is in your budget, go for it. Here’s another use I have for buttonholes. I use them for the opening on waistbands for drawstrings.
- Button Attachment Stitch – This stitch can be used to attach buttons (the flat 2 or 4-hole kind, not the shank kind). But it also can be used to do a small tack stitch to hold something in place. I used this a few times to hide a small tack stitch when sewing my Firey dance costume. I may have mentioned somewhere on this blog that I don’t like to hand sew. And using this stitch to do permanent tacks is great!
- Stretch Straight Stitch – This stitch looks like a really thick straight stitch. But, it’s formed in a way that it stretches after sewn.
- Elastic Stitch – This is a straight stitch made into a zig-zag pattern. It’s super useful for sewing all kinds of stretchy stuff, elastic, hems on shirts, and even some seams.
- Invisible Hem Stitch – This stitch is used to automatically create an invisible hem. You can use it along with your invisible hem foot, but you don’t need the foot. Again, this is super helpful to replace hand stitching. 🙂
- Automatic Bartack stitch – This is a great stitch to use for creating a bar-tack. You’ll find bar-tacks on jeans pockets and such. They reinforce areas of garments that can be under more stress like the tops of pockets. You can also use it for reinforcing the attachment of accessories like swivel hooks, d-rings, key chains and such. You can make one of these manually, so if the machine in your budget doesn’t do this, it’s probably the least important of all the stitches on this list. (Well, the button attachment stitch isn’t as critical either… but I can manually make a bar-tack with my machine. I probably could make a button attachment stitch with my machine if the stitch length can be brought to zero… Anyway, I digress.
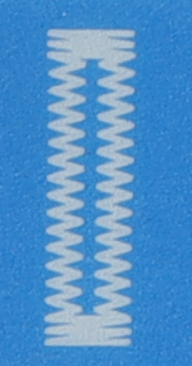
Buttonhole Stitch Symbol
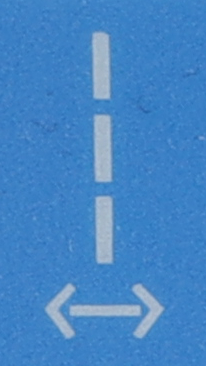
Stretch Straight Stitch Symbol
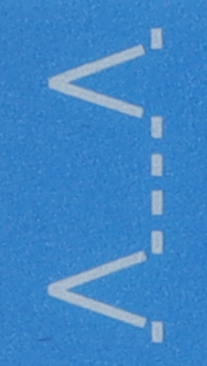
Invisible Hem Stitch Symbol
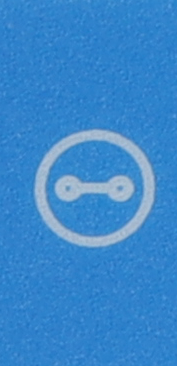
Button Attach Stitch Symbol
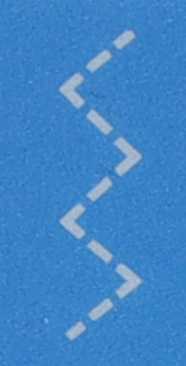
Elastic Stitch Symbol
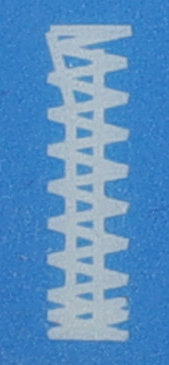
Bartack Stitch Symbol
- Overlock stitch(es) – My machine has at least 3 stitches that I can use to replace an overlock stitch that would require a serger to create. While your sewing machine won’t trim the seam allowance, these faux overlock stitch options are great to use, especially on 1/4″ seam allowances which are becoming more common on patterns for activewear or stretch fabrics. I made 4 pairs of “ruffle pants” for bellydance without ever having touched my serger. I used one of the overlock stitches on my sewing machine. It’s not as fast as a serger, but at the time, it was more reliable which meant it was faster.
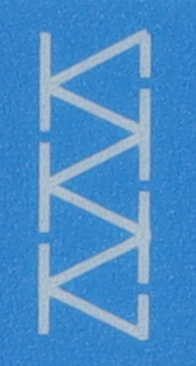
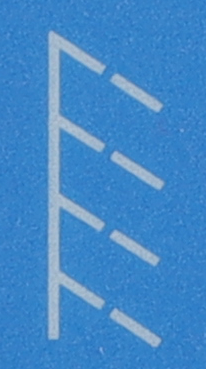
Overlock Stitch Symbols
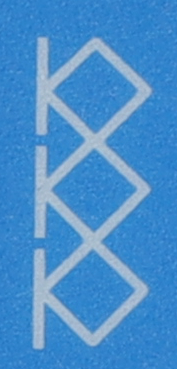
Overlock Stitch Symbols
Let Me Sum Up
Buying a sewing machine can be a pretty overwhelming decision if you have never sewn before. There’s technically only a handful of essential features to get started. But there are a few extra things you can spring for if it’s in your budget that will make sewing more enjoyable. People used to sew because they had to. They sewed for utility. Now, there are things that are far less expensive to just buy than to make. So, people are sewing for other reasons, and one of them is enjoyment. In fact, one should always find some level of enjoyment when sewing. Yeah, it’ll be frustrating at times. But overall, the experience should be a pleasant one. And some of the extra features mentioned above reduce the frustration.
Have I forgotten anything? Have a question about a feature? Leave me a comment below.
Explore Sewing Projects at Your Own Pace
Learn helpful techniques and tips to make sewing more enjoyable.

