Every now and then I have to make something that isn't clothing or accessories. Sometimes I have to make houseware items.
Since I started focusing on sewing as a business, I realized I was going to have to do some video recording in my sewing room.
If any of you out there are like me, and sewing is a hobby, and the space you do it in shares space with other functions, you might begin to understand some of the problems filming in such a space could present.
I found myself wanting to make some things to "hide" stuff from the camera.
The Closet Curtain Cover-Up
In my case, my room is mostly dedicated to sewing. But the closet is shared space.
Early when we moved to this house, I actually removed the headers and doors of two of the bedroom closets to give me access to add another shelf and be able to store more stuff in it. In one room, I built doors and hung them. In the sewing room? I always intended for there to be a curtain there. And indeed, for a while there was. Though, at some point, I took it down. (Actually, I ended up using the original black fabric as these covers to hide two people on stage for a dance we did at Tribal Revolution. (Everything is Awesome!).
But I kept the lining. And therefore, when it came time to make a curtain for the closet, I re-used the lining pieces.
I also wanted to make the curtain out of silver bridal satin. But. I didn't have silver bridal satin.
I had a weird green-gray crushed panne velvet fabric.
And, I had just enough of it to make two almost floor to ceiling panels.
I've made quite a lot of curtains in my time.
In theory, they are easy. They are rectangles.
The issue with them is that they are SO BIG. Making sure you are cutting everything on grain and hemming straight and everything is what makes curtains challenging.
Fortunately, for these, they need to be "good enough" rather than "perfect".
And I think they are "good enough".
They hide the mess that is in the closet away from the room, which gives a more tidy appearance. Even if the closet is tidy, there's still a LOT of stuff in it, clothes, patterns, wrapping paper, interfacing, and much much more. So, not having to look at that is calming.
But also the curtains protect what is in the closet from the sunlight that comes in through the window.
I have had a few fabric things get sun damaged from having the sun beat down on it through that window. It's a south-facing window so I get a LOT of sun in through it.
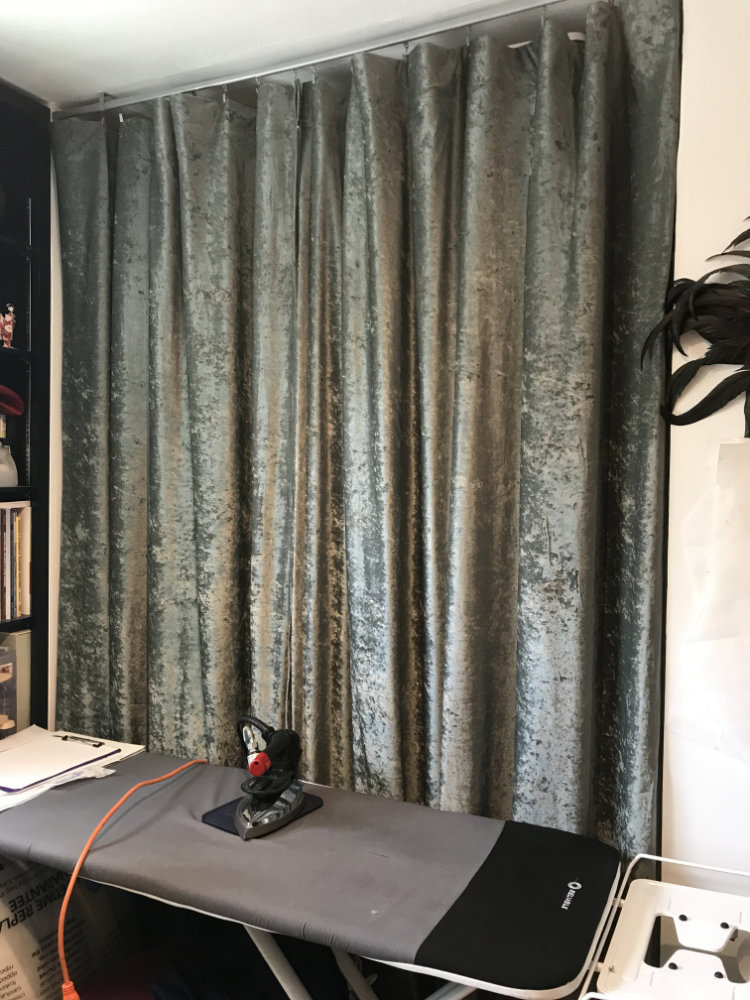
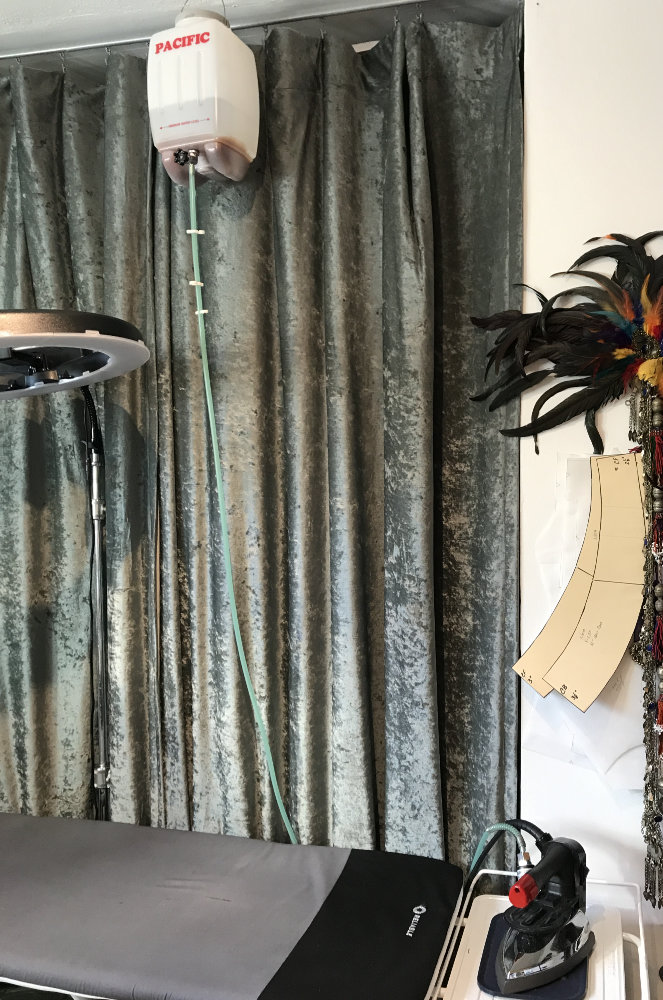
I did have to move my iron water reservoir outside the closet. So, I had to put a hook in my ceiling.
But it actually is in a much better place now that it's not in my closet blocking access to some of my shelves.
As for the choice of fabric. Well, it's what I had on hand.
It works. It looks fine.
Since the panne velvet (sometimes listed as panne velour) is only a 2-way stretch, it only stretches in the width. Therefore it works for curtains without interfacing. At least, it doesn't stretch too much from hanging.
Also, I use buckram in the header as a standard curtain construction, Between that and the lining fabric, it should keep its shape cross-wise.
Curtains are typically made with a 4" Header and a 2" bottom hem. The lining is typically hemmed with a 1" rolled hem and the finished length is usually about 1" shorter than the finished length of the curtains.
The sides are hemmed with a 1" rolled hem with the lining being the finished width of the curtain panel which keeps the bulk to a minimum at the sides.
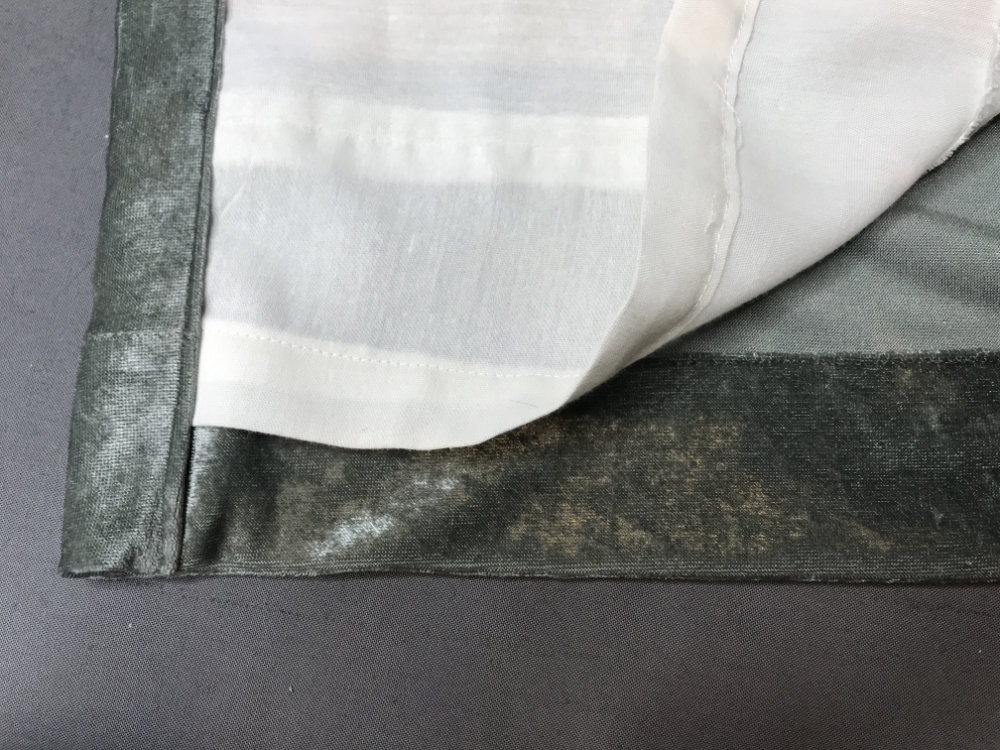
This is a detail look at the hem of the curtain. Ignore my pieced-together lining. I used what I had on hand. 😂
This curtain is hung with little clips from the curtain track that is mounted to the ceiling.
The Computer Monitor Cover-Up
One day while setting up to film, I realized that the iMac monitor that I have in the room is quite reflective. And in the camera, I could see things behind the camera, as well as the camera itself, reflected in the monitor. I found it distracting.
So, even though I have sworn never to make appliance covers, I found myself making a cover for my iMac.
I used the same cotton twill that I used for my mother's gardening apron.
I have it on hand, it's not reflective, it's plain, and it's washable.
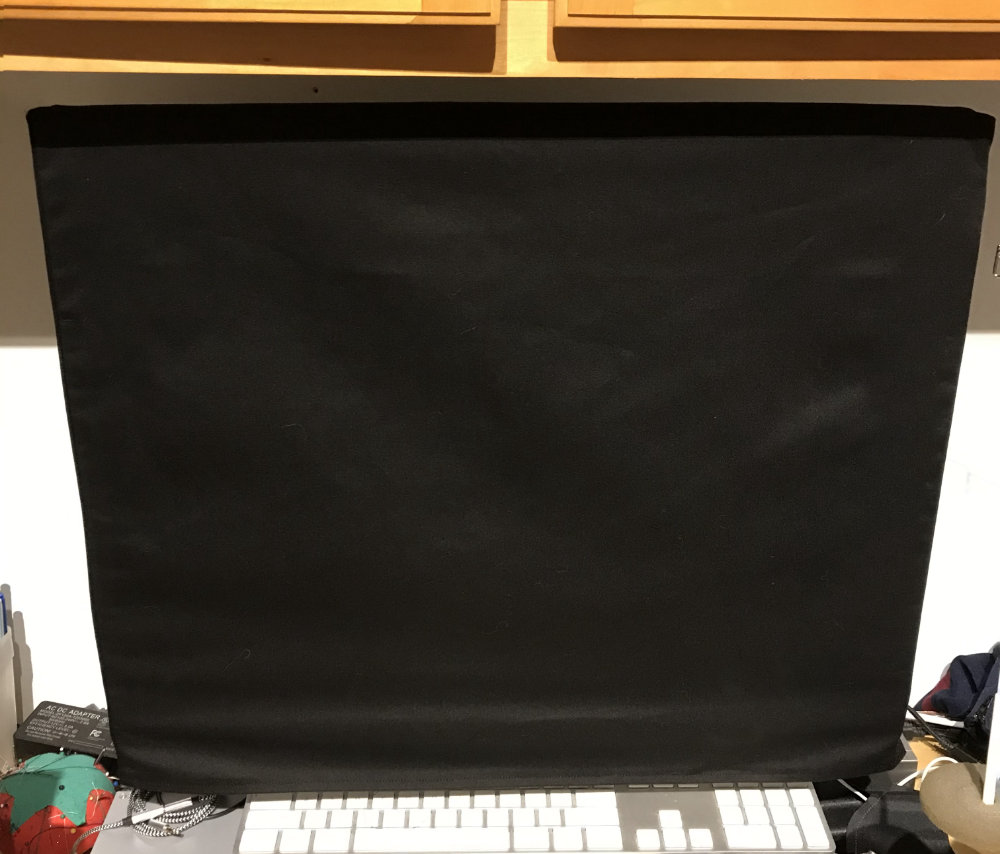
Basically, the cover is a face that is a little longer than the mac. And a frame that covers the top and both sides of the monitor.
But I only made a little lip in the back on the top, and a single band across the bottom to keep the cover attached to the monitor.
I needed something small enough that I could easily store it when not filming because I actually do use that computer in the sewing room often.
And I needed it easy to put on and take off.
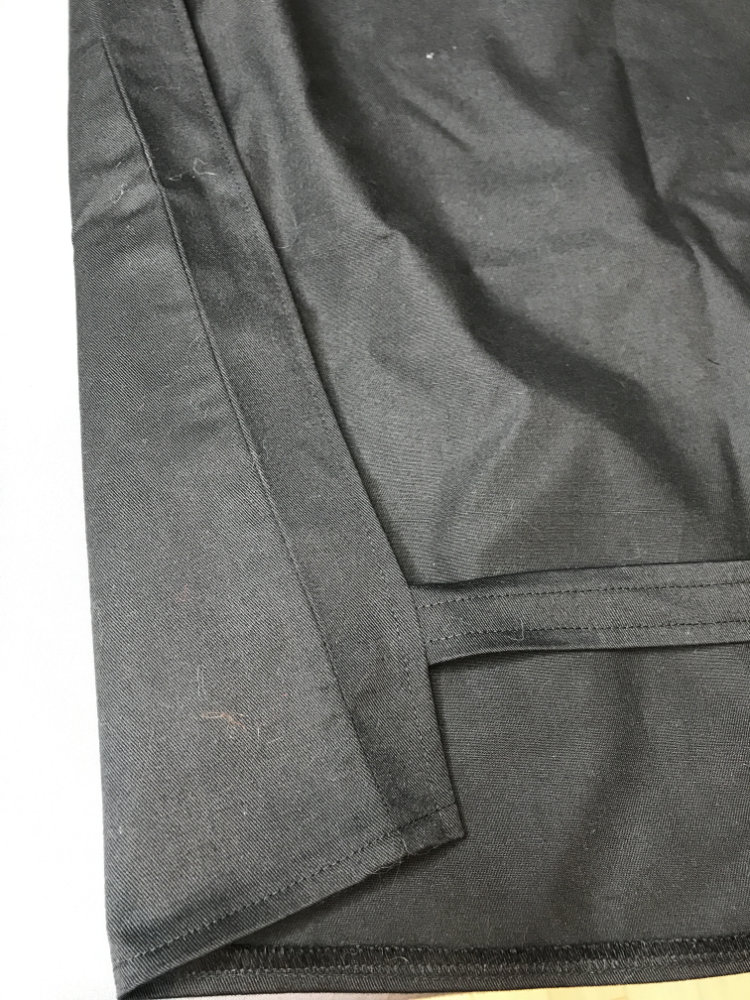
Bottom Band Attachment to keep the cover on.
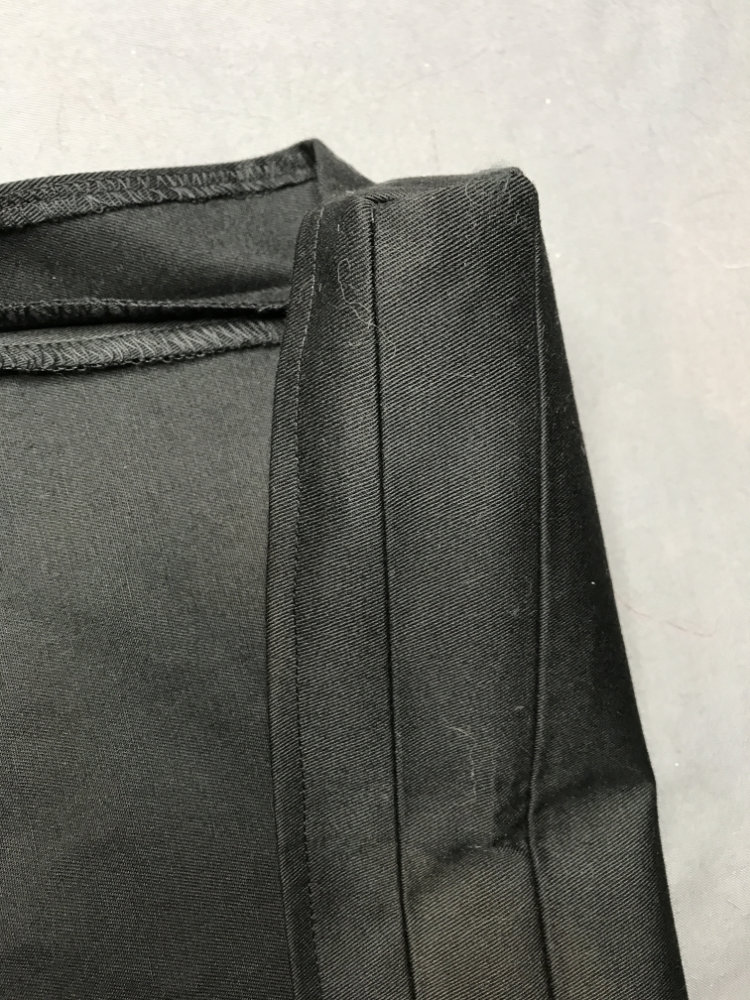
Close-up of the top lip of the cover.
There was some struggle getting all of the corners that meet on the top lip to play nice together.
It's not much. But it does the job.
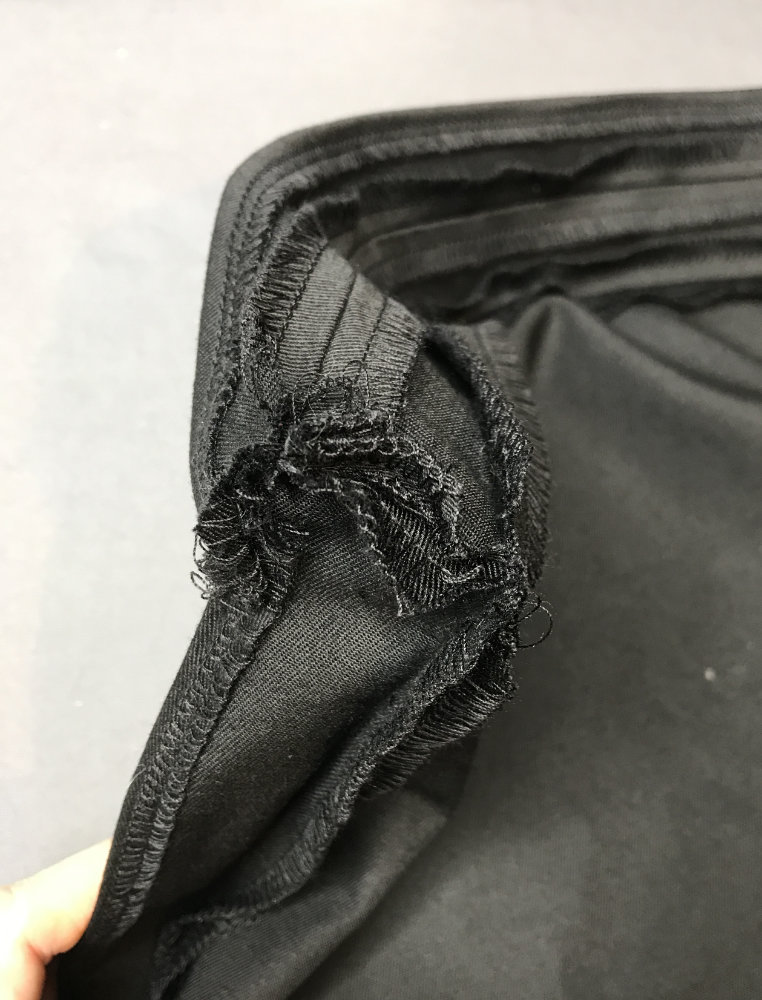
An inside look at the corners meeting at the top.
You can find fabric like this and more at Fabric.com
Especially drapery lining.
I bought the cotton Twill at SYFabrics.
