I use a lot of products for my DIY. As such I may recommend products or companies. In some cases, I may get a small commission when you click on the links or use the provided coupons (at no cost to you). As an Amazon Affiliate, I earn from qualifying purchases. You can read the full disclaimer here.
Sewing can be incredibly relaxing.
It can also be super frustrating. Especially when you don’t have the right tools for the job. Or, in some cases, you just don’t have a tool that would make that tedious task so much easier.
Imagine trying to cut a watermelon with a paring knife. Gah! (Or garlic with a machete).
Yeah, you can do it, but it’s inefficient and frustrating.
Over the years, many tools (notions) have been developed for sewists to make life easier. So, after you have acquired the essentials, here’s 7 super cool notions that should be next on your list to get.
7 Cool Notions
Seam Gauge
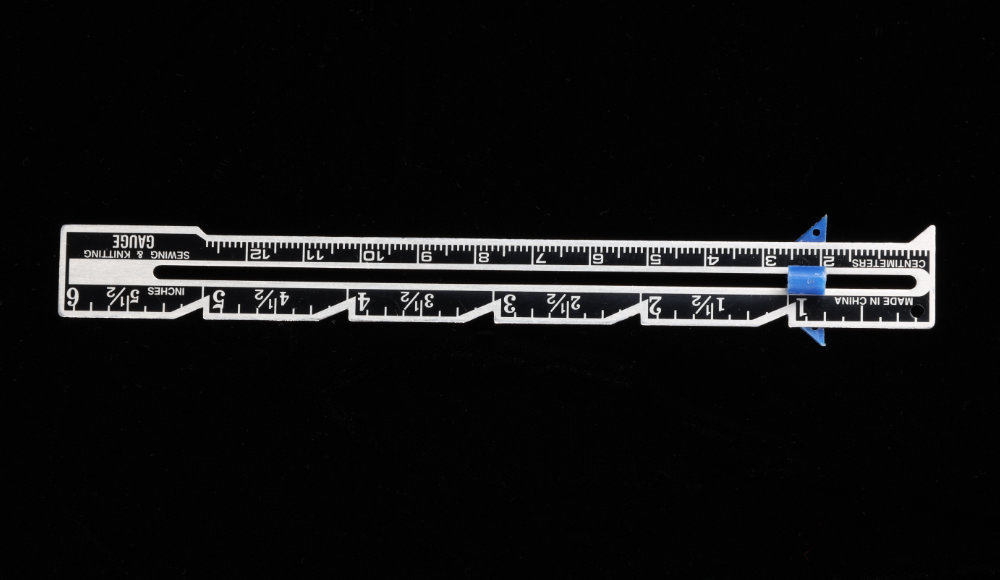
The Seam Gauge is a little 6″ ruler, typically metal, with an adjustable slider on it. It’s typically used for measuring distances of things like the fold on hems, or placement of needles. It could also be used to mark the placement of buttons or buttonholes from the edge of a front placket of a shirt.
How it works
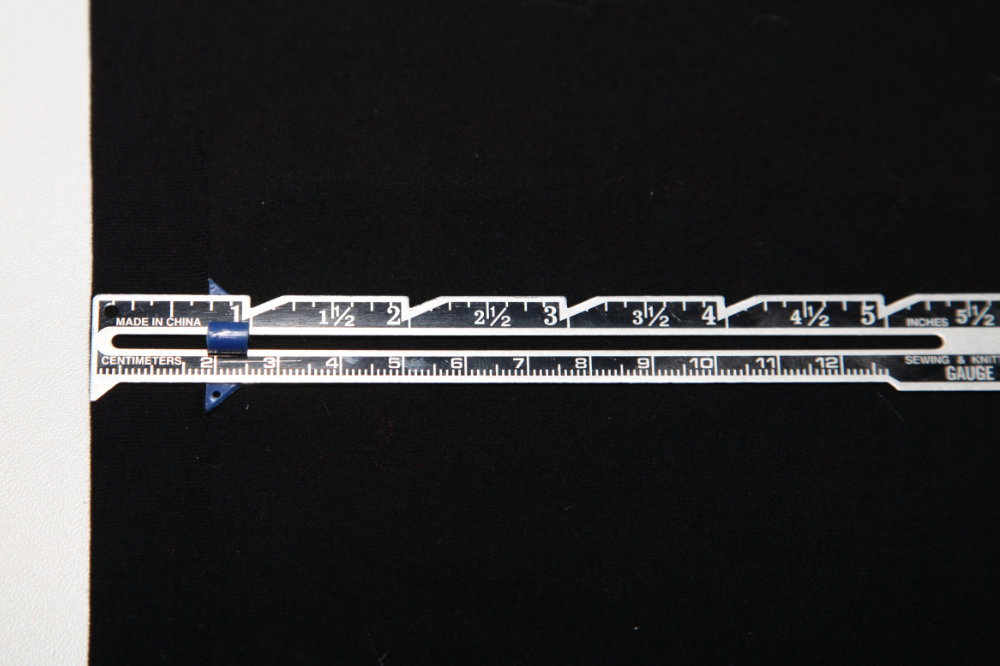
The slider has a little ridge on it and you adjust that to be at the distance you want to measure. Let’s say you have a 3/4″ hem you need to turn up. You can adjust the slider on the gage to 3/4″ and then place the ridge either against the fold or against the cut edge, adjust the fold to the right distance and pin or press into place.
Benefits
The seam gauge is pretty small and lightweight so for measuring something in multiple locations like a hem, it is super easy to maneuver around. Plus, you can set the adjustment so you don’t have to constantly find the mark on your ruler.
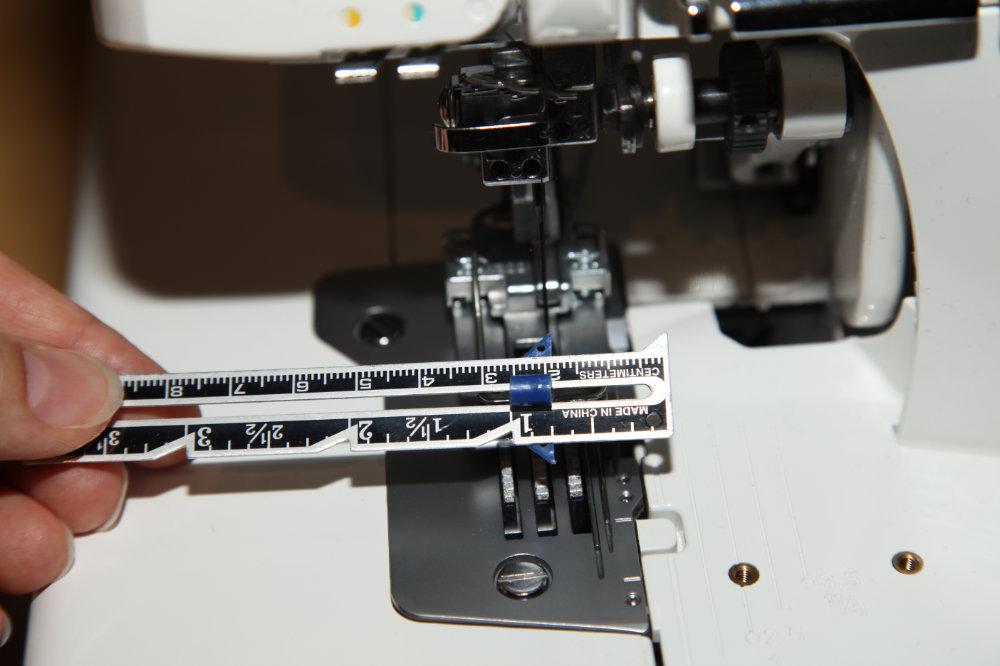
It’s also great for measuring the seam allowance you will be sewing from the needle placement to whatever mark you are using for reference. This comes in handy when you can move the placement of your needle left or right. And also on sergers where there may be several needles that you could use for a stitch and the markings on the machine are only “correct” for one.
Seam Gauge
Seam Gauge Measuring a Hem
Seam Gauge Measuring for Seam Allowance on a Serger
This is the Dritz brand seam gauge I have. There is an off-brand available at Amazon, but I can’t speak to the quality. Though, for about the same price, you get three. And occasionally having 2 or 3 is helpful.
Chalk Wheel
A chalk wheel is a little plastic device with a metal disk on the end. It’s used for marking things mostly in a straight line.
How it works
The plastic holds a cartridge of powdered chalk and as you run the wheel over the fabric, it deposits a fine line of chalk onto the fabric. You have to make sure you press hard enough on the fabric with the wheel to make it spin, this is how it deposits the chalk.
Benefits
The marking of the chalk wheel is notably smaller (thinner) than a pencil. That makes it more precise for placing things. And it doesn’t require a tracing wheel and paper to create. Therefore, you can see exactly what mark you’re making and where.
Also, chalk typically comes off of the fabric easier than whatever is used on the tracing paper.
Here is the one I have. There is another brand available but I can’t speak to the quality. I’ve only needed the blue and white chalk (and I do have 2).
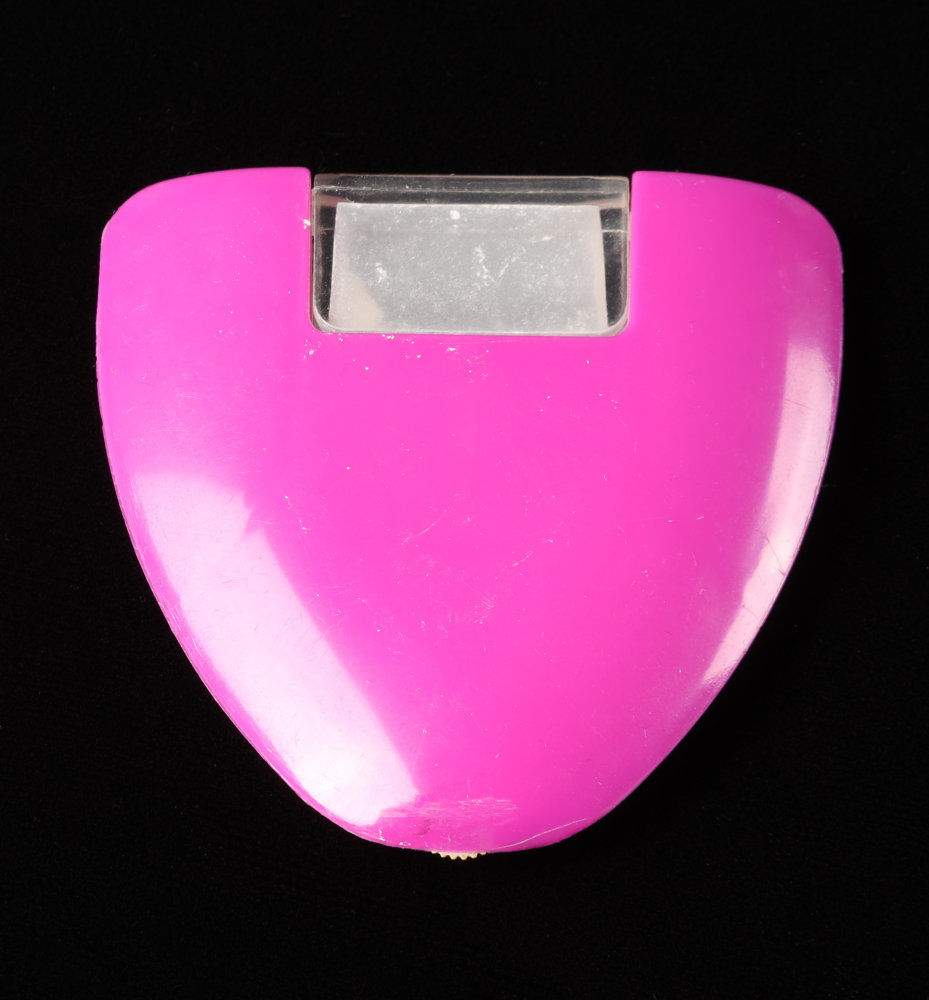
Chalk Wheel with White Chalk Cartridge
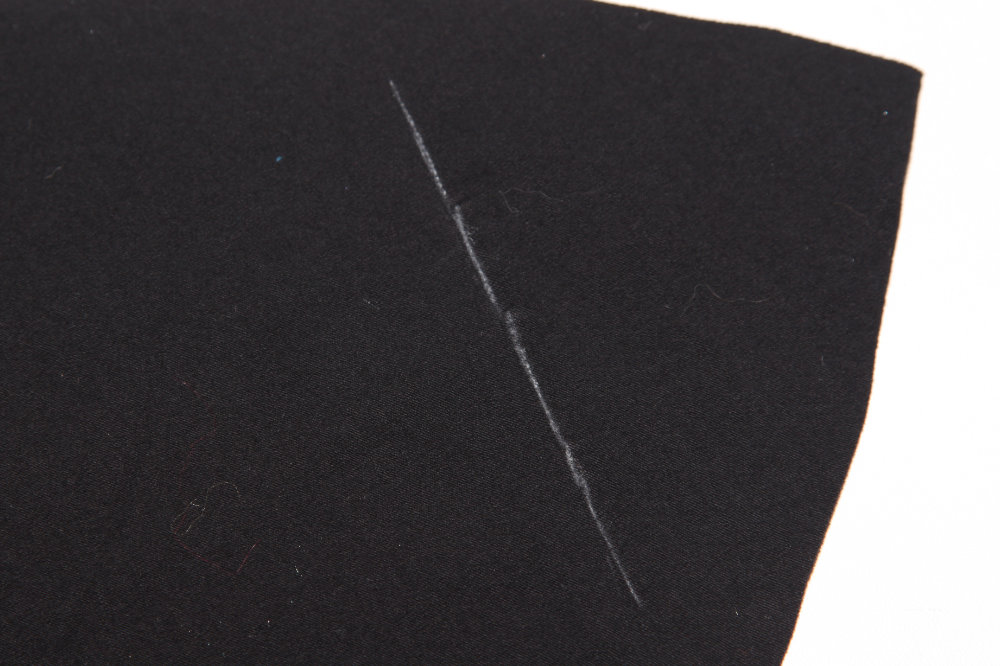
The Mark a Chalk Wheel Line Makes on a Knit Fabric
Chalk Pencil
There are many types of pencils for marking fabric. My favorite is a mechanical type chalk pencil.
How it works
Much like tailor’s chalk, it marks on the fabric with chalk. The mechanical pencil works like an old drafter’s mechanical pencil. So, you do have to be careful not to push the top and let the chalk drop on the floor it could break.
Benefits
It comes with several colors of chalk so you can use it on a variety of fabric colors. it can also be sharpened. It’s not as precise as the chalk wheel, but it’s really good for marking dots and general locations. It also comes with more colors available than the chalk wheel does.
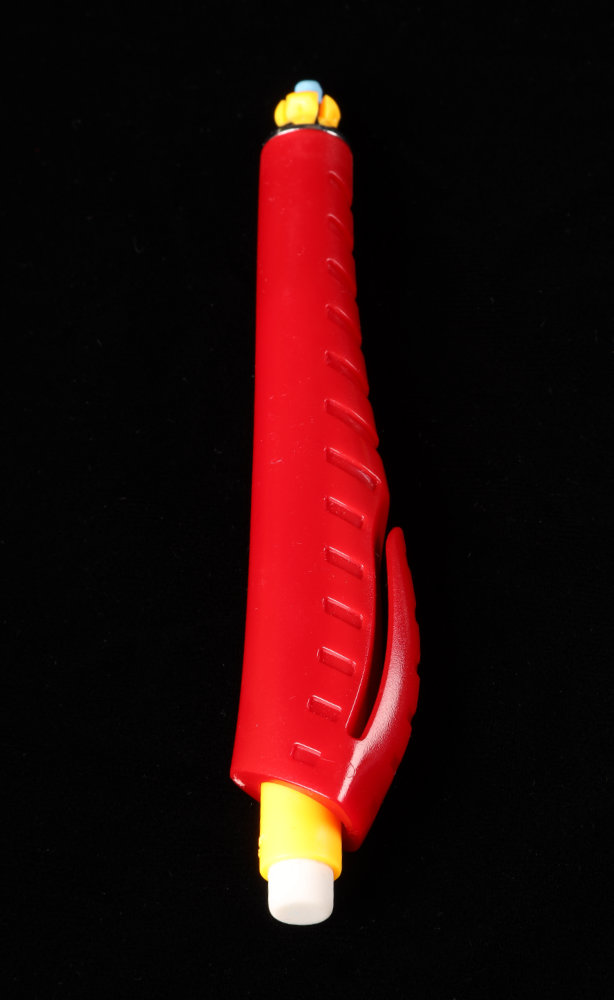
Mechanical Chalk Pencil
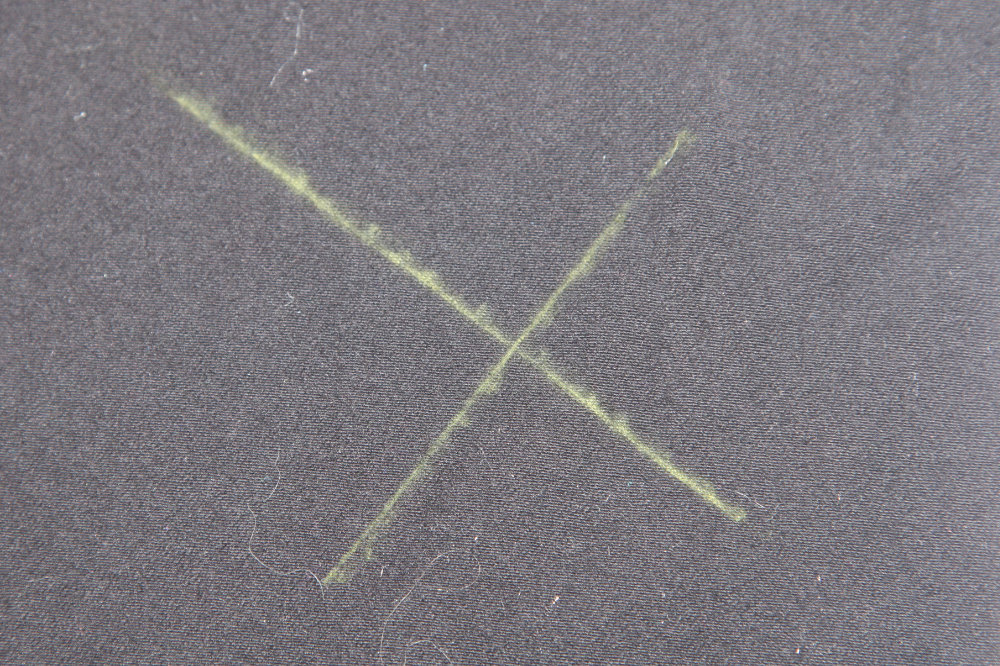
The Mark a Chalk Pencil Line Makes on a Knit Fabric
Clear Rulers
Clear rulers are exactly that, rulers that are clear. One of the most common is a 2″ wide ruler that is 18″ long. You can also find them wider. I have a 6″ by 24″ wide one that is super handy when drafting patterns and cutting strips of fabric. Quilters also use 6 x 6 and other square ones.
They are typically some sort of plastic. and are super handy for a variety of sewing tasks.
How it works
Well, it’s a ruler. So, it works like a ruler. BUT, it’s clear. So, you can see through it to the whatever below. I use mine a LOT for marking zipper installations on the face of bags or clothing.
Benefits
This is incredibly helpful for adding seam allowances to drafted patterns or when chalking out parallel lines to sew on a garment.
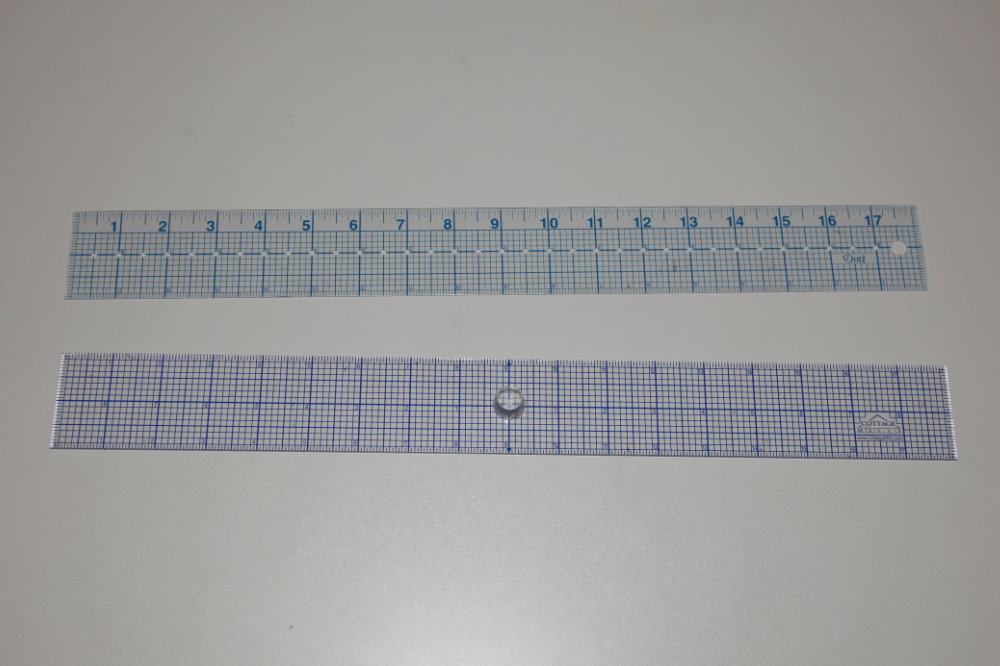
2-inch Wide Clear Rulers Each 18 Inches Long
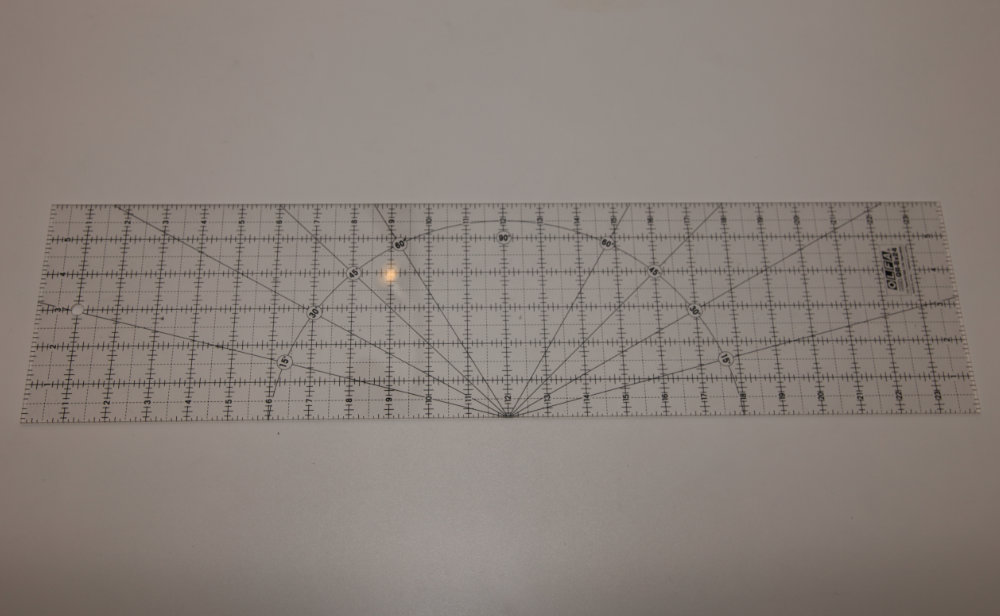
6 Inch Wide Clear Ruler 24 Inches Long
Needle Threader
A needle threader is a little loop of wire set into a handle of some sort. I’ve seen plastic and metal handles.
How it works
The idea is that the little loop of metal can more easily be poked through the eye of a needle (or hole in a looper on a serger), and then it expands to bigger than the needle hole so it’s easier to put the thread through the loop of the threader. Then, you can pull the thread through the needle.
Benefits
For those of us who need “special glasses” to see up close or, for those of us who work with belligerent thread (like wooly nylon in the loopers), this is an indispensable tool. It really makes threading needles or loopers so much easier. Admittedly, in my 20’s and before I didn’t really need it. But, now I do.
The only real catch is that you need to push the needle threader from the back side through to the front side to pull the thread through from the front side to the back side (of the needle). I have not actually tried using this tool to push the thread through the needle.
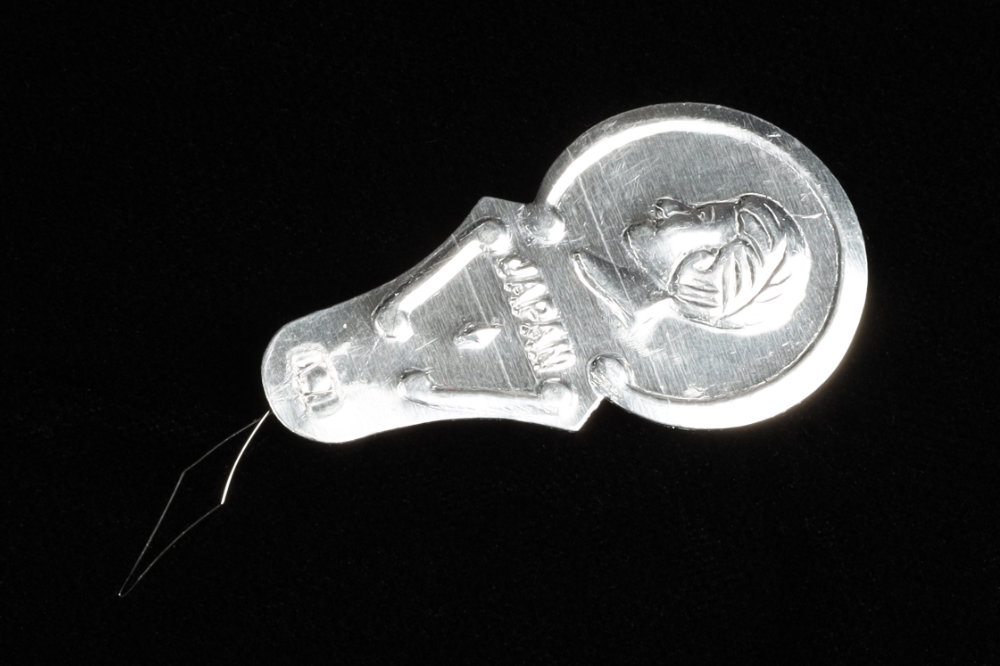
Needle Threader
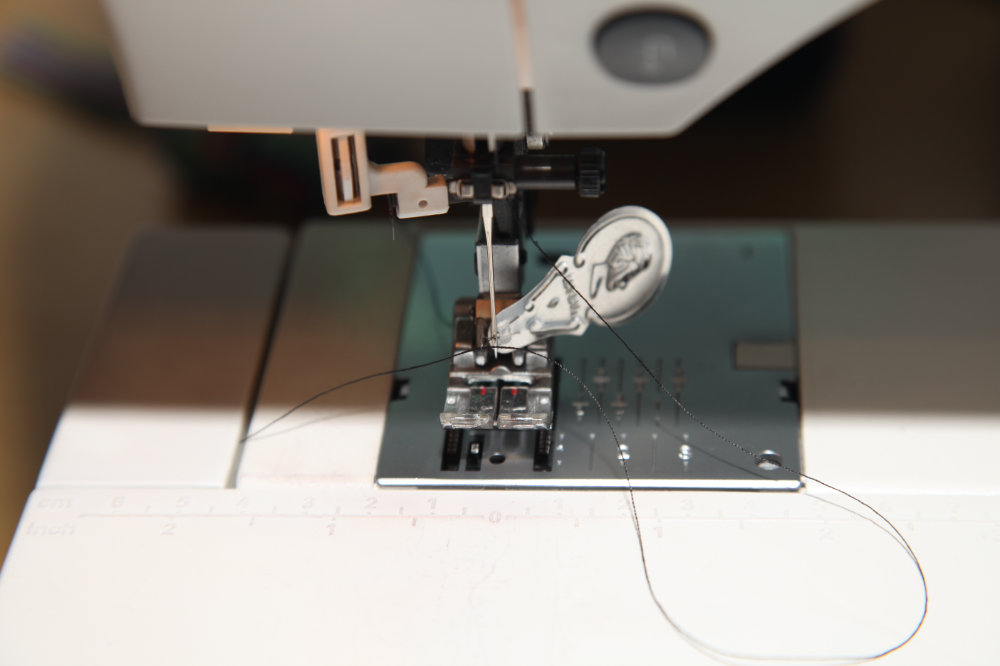
Needle Threader in Use on Sewing Machine
Double Tracing Wheel
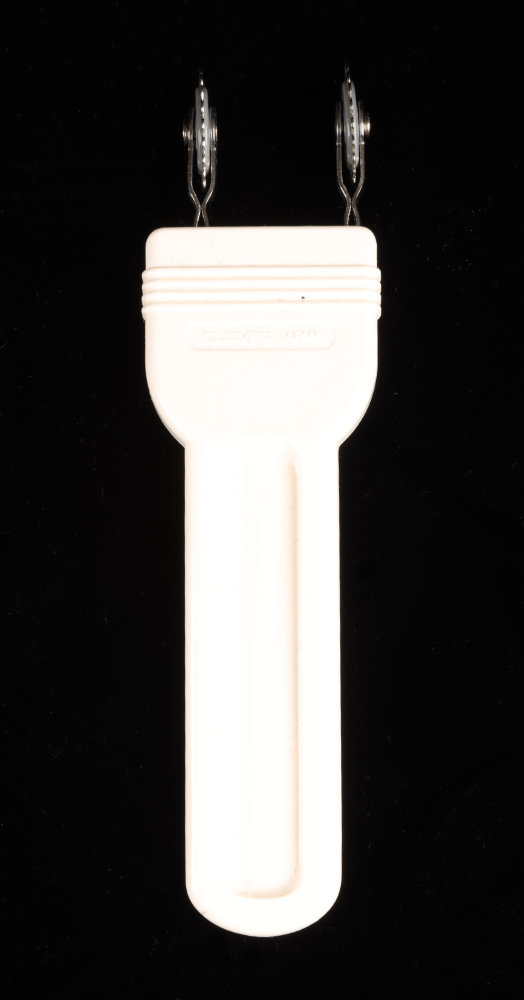
A double tracing wheel is what it sounds like. it’s a handle with two parallel tracing wheels on it. The distance between the wheels is actually adjustable.
How it works
To adjust the wheels, you just pull it out and put it in a different hole. They are preset distances and, unfortunately, are metric. But, that doesn’t mean it’s not useful.
Benefits
One of the biggest benefits is using it to mark seam allowances. You can use it with or without tracing paper. If you don’t use tracing paper, it could be more difficult to see, depending on the paper and surface you’re using. The wheels aren’t as pointy as some of the tracing wheels out there.
You could also use it to create parallel lines on a pattern. The marks would likely need to be re-traced, but it’s a quick and dirty way to transfer something to a piece of paper below. Especially if the paper you want to transfer to isn’t transparent.
Third Hand
This is a strange gadget. Admittedly I haven’t used it much, but when I have, it’s been a godsend. It’s a device consisting of a clamp that you can attach to the edge of a table or something, and another spring-loaded pincher-type clamp that is attached to the table clamp by a cord.
How it works
You attach one end to something that doesn’t move, like a table or counter. And then you clamp the piece you’re working on in the spring-loaded clamp. This, in turn, holds your fabric that you’re working on in such a way that you can use both of your own hands to do whatever you wanted to do.
Benefits
This is especially beneficial for hand sewing parts where you what that extra helping hand. I used it extensively trimming a faux rolled hem in chiffon flounces once. Without that device, I would have sworn even more during that project.
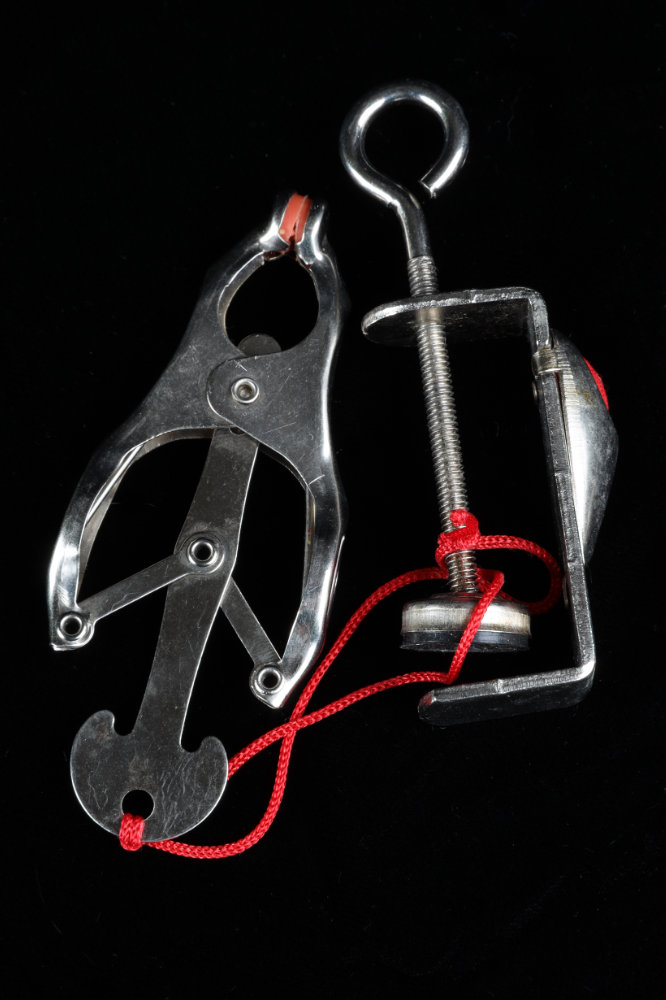
Third Hand for Hand Sewing
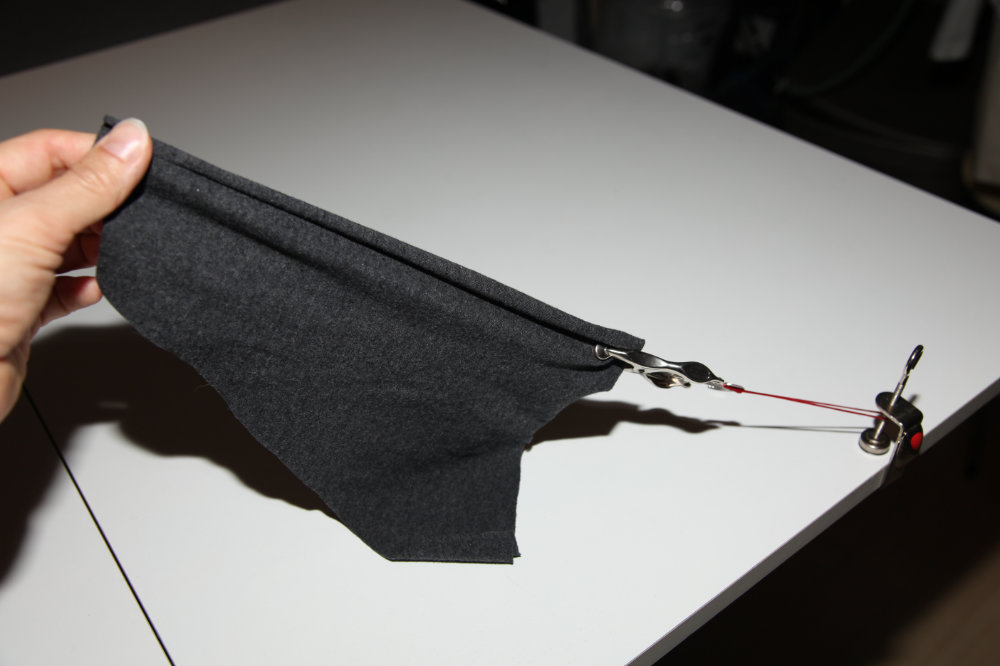
Third Hand for Hand Sewing in Use
Conclusion
You won’t need all of these all of the time. In fact, you might not need some of these any of the time. Probably best to not go out and buy everything. However now you know that there’s a tool that can make your task just a little bit easier when the time comes that you do need it.
Maybe you want one or two of these things right now. Great!
If you don’t even have the basics, here’s my list of essential tools to get started sewing: Essential notions for garment construction
Level up with the 5 cool sewing notions to make your hobby easier found here: 5 Cool Sewing Notions
Take your Sewing Toolbox one step further with these 4 Unexpected Sewing Tools You Haven’t Considered

