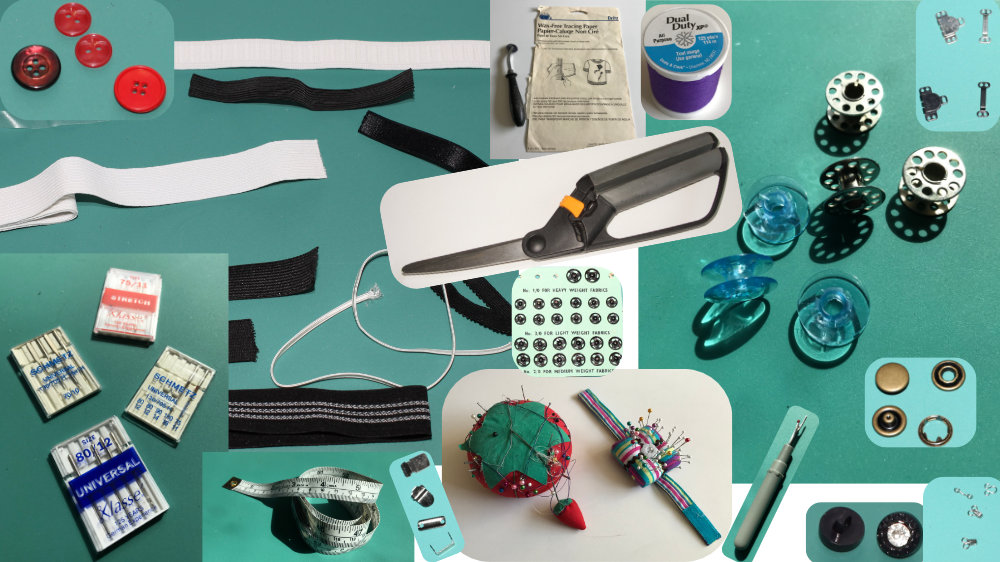
If you are just starting out sewing, it can be overwhelming. What all do you really need to get started?
I have an article regarding the tools you need to get started sewing. I wanted to dive a little deeper into some of the notions for sewing clothes.
There are some essential tools. These are tools I wouldn't want to sew without.
Then there are some tools you probably want, But depending on what you sew, you might be able to get by without.
And then there are other notions that are used in garment construction that will likely be required depending on your pattern.
The term "notion" is a general term that refers to all the things like closures or consumables that go into the thing you are making. But the term also applies to small tools or accessories used during the construction of your item.
I'm going to split out the difference in this article between tools and notions that actually get sewn into the garment. But, if you go into a store or look online, most of these items will all be found in the Notions section. Sometimes, online stores do have entire sections devoted to a single type of notion.
So, here we go!
My list of Essential Tools (and Notions) for Sewing Clothes
So, there are a few things you should have on hand when making clothes. Some of these are "consumables" but most are just tools that can last a while if you don't break them. For those items that are consumables (meaning they will wear out or be used up), I recommend having extras on hand when starting a project.
Basic Tools
For the sake of the discussion here, these tools are generally not consumable. They will last if you take care of them. I consider these absolutely necessary to have in order to sew clothes.
- Seam Ripper
- Scissors (for Fabric)
- Tape Measure
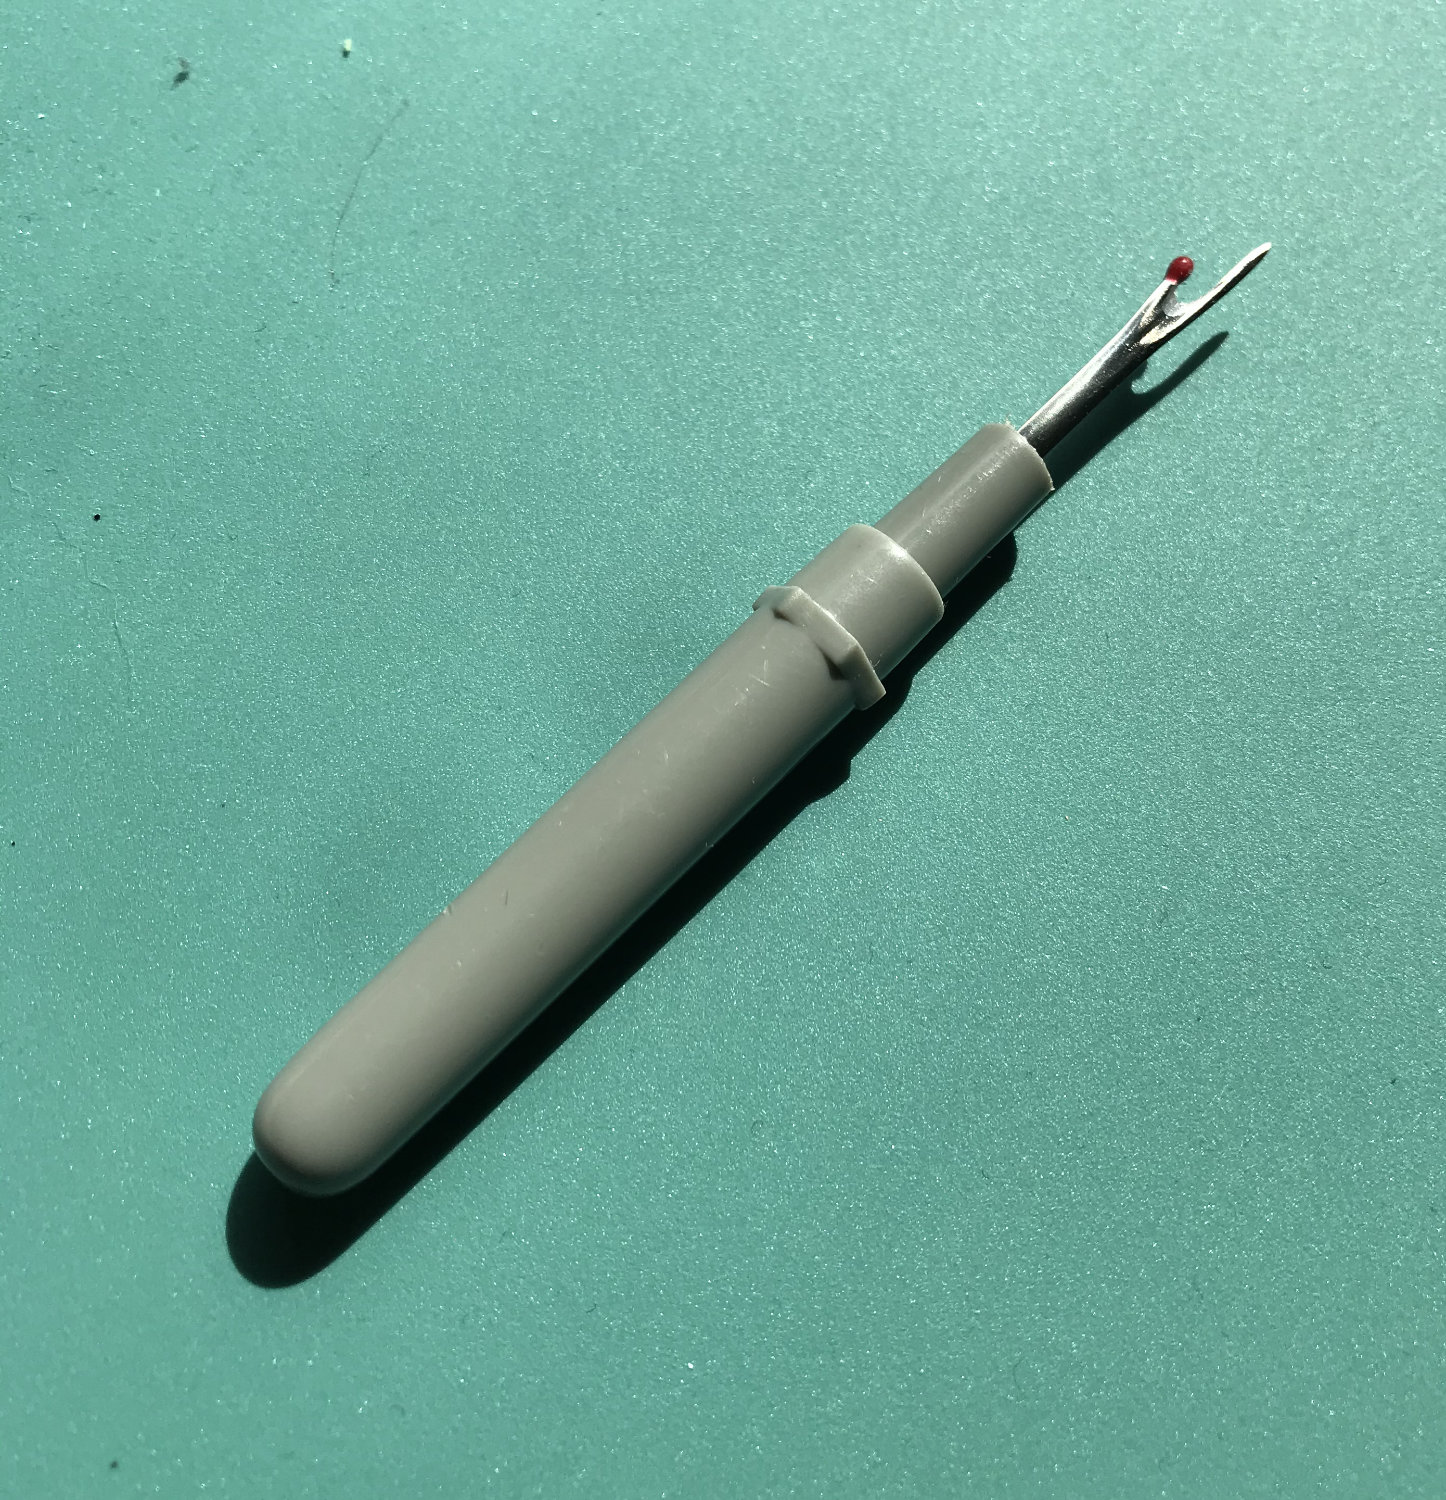
Seam Ripper
A good seam ripper is actually a multitasker. Yes, it is used to remove erroneous stitches. But it can also be used to start the slit of a button hole, and is my preferred tool to rip out basting stitches.
A seam ripper is a small tool, typically with a plastic handle and metal "business" end. It has a point that is wedged in shape so you can get in under stitches and slide the tool in to cut. It's formed in such a way to minimize the damage to the fabric.
You can break them, so be careful to use them as they are meant to be used. If you use them to pry open things or try to pry out a pile of stitches or a jam in your machine, there is a chance you will snap the tip off. I'm sure there are other ways to snap the tip off.
Back in the day, when I was a wee one, I didn't even know what a proper seam ripper looked like because all of my mother's were broken. I hated using the tool because it was hard to get it to work well. Little did I know that was because the pointy tips were all snapped off, removing the part of the tool that makes it so wonderful to use.
Scissors
You'll need some way to cut your fabric. In general, I prefer using a rotary cutter for cutting patterns. But you don't need a rotary cutter. You will, however, need scissors. You'll likely want something to trim threads, you'll need them to cut notches, and sharp inside corners are really hard to do with a rotary cutter. A good pair of scissors is essential.
I really like my Mundial brand scissors. I believe they are considered dressmaker shears. They are overkill for the beginner sewist.
My recommendation would be to get a good quality spring-loaded pair of fabric scissors. You can pick these up at pretty much any craft store or online. Spring-loaded scissors open back up automatically when you release the pressure on them. This will help reduce fatigue in your hand when cutting out your fabric.

A good pair of scissors should last a long time. Eventually, they will wear out, but you can get a good decade out of them if you take care of them. Here are 3 tips to keep your scissors sharp:
- Don't drop them! For goodness sake, don't drop your scissors. It's unsafe. You could stab your foot. But also, when they land, the blades will hit together and could cause gouging of the blade. Small nicks or chunks missing from the blade results in spots that won't cut through fabric.
- Don't Cut Metal! Be careful when cutting out your patterns, if you've pinned the pattern to the fabric, take extra care to make sure the pins don't extend over the cut line. Also, if you are sewing a zipper with metal teeth, and you need to cut the length of it, be mindful of where you are cutting. Try to cut between the teeth. Or, be safe, and only cut the tape with your good fabric scissors and then use an expendable pair of scissors or kitchen shears to do the metal part.
- Be Mindful of what they are used for. Yes, you can cut paper with your fabric scissors. You likely will have to, when cutting out your fabric pieces if you are using a pattern. But don't use them excessively for things outside sewing. Don't use them as kitchen shears, don't cut your cardboard boxes and packing tape with them. Don't cut carpet... And if you are going to be using really thick paper like tag board, consider using other more expendable scissors. Keep your fabric scissors clean and in your sewing room (or basket or whatever you keep your sewing stuff in.
It looks like Amazon has an updated version of the pair I featured in the photo above. You can find it at this link.
Tape Measure
A good flexible tape measure is important to have for garment construction. First, you will need to measure your body, and that's hard to do with a ruler or straight edge. But, also, you'll need something light and easy to read for laying out your pattern, or measuring garment parts like seams or edges (especially for elastic).
Tape measures should last a while. But they are flexible, and with that feature comes the possibility that they will stretch over time. Older models were made of cloth and would deform faster. But even the newer ones could stretch a bit so be mindful of how you use it.
When you measure your body, you want firm tension on it, but only enough to take out the slack. You don't want to pull on it so much you cause it to stretch.
A standard dressmaker or sewing tape measure is 60" long (In the US, I'm not sure if it's different in metric speaking countries). MOST of the time, this is perfectly adequate.
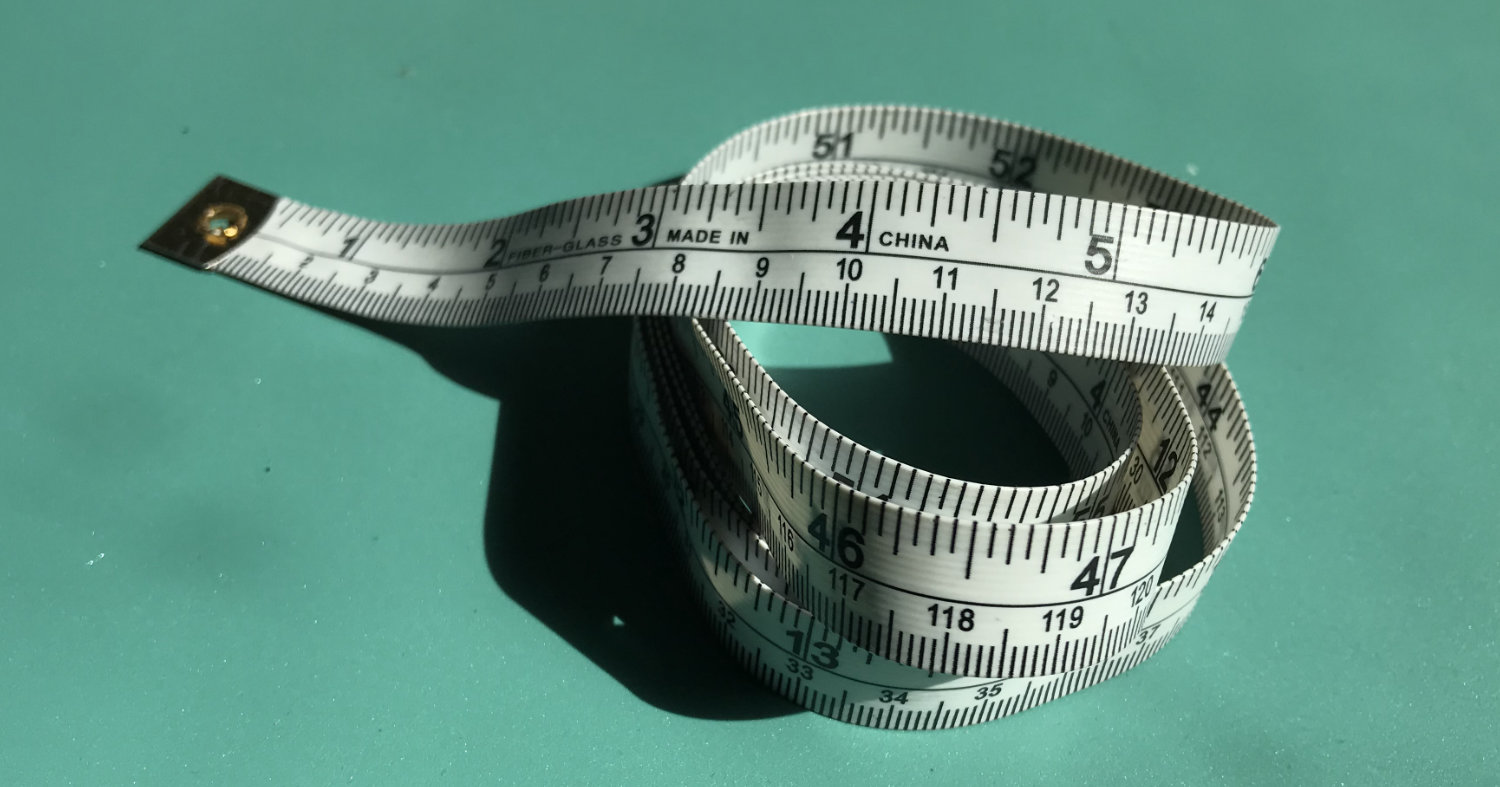
There are a few models of tape measure out there. My favorite one currently has inches and centimeters on both sides. This means I can grab either end and start measuring from it. I do have to be careful when measuring myself because if I get the wrong side I can record a very wrong number.
I've seen a couple of other tape measures out there. One has a paper or plastic thing attached to one end for some reason. I never use it. I have another that has bra band sizes marked on it. I only use it when I lose my favorite one.
Basic Consumables
There are certain tools and notions for sewing clothes that are required and are used up over time. These are consumables. Thread might be the most obvious. But some of the other sewing staples also wear out or need to be replaced.
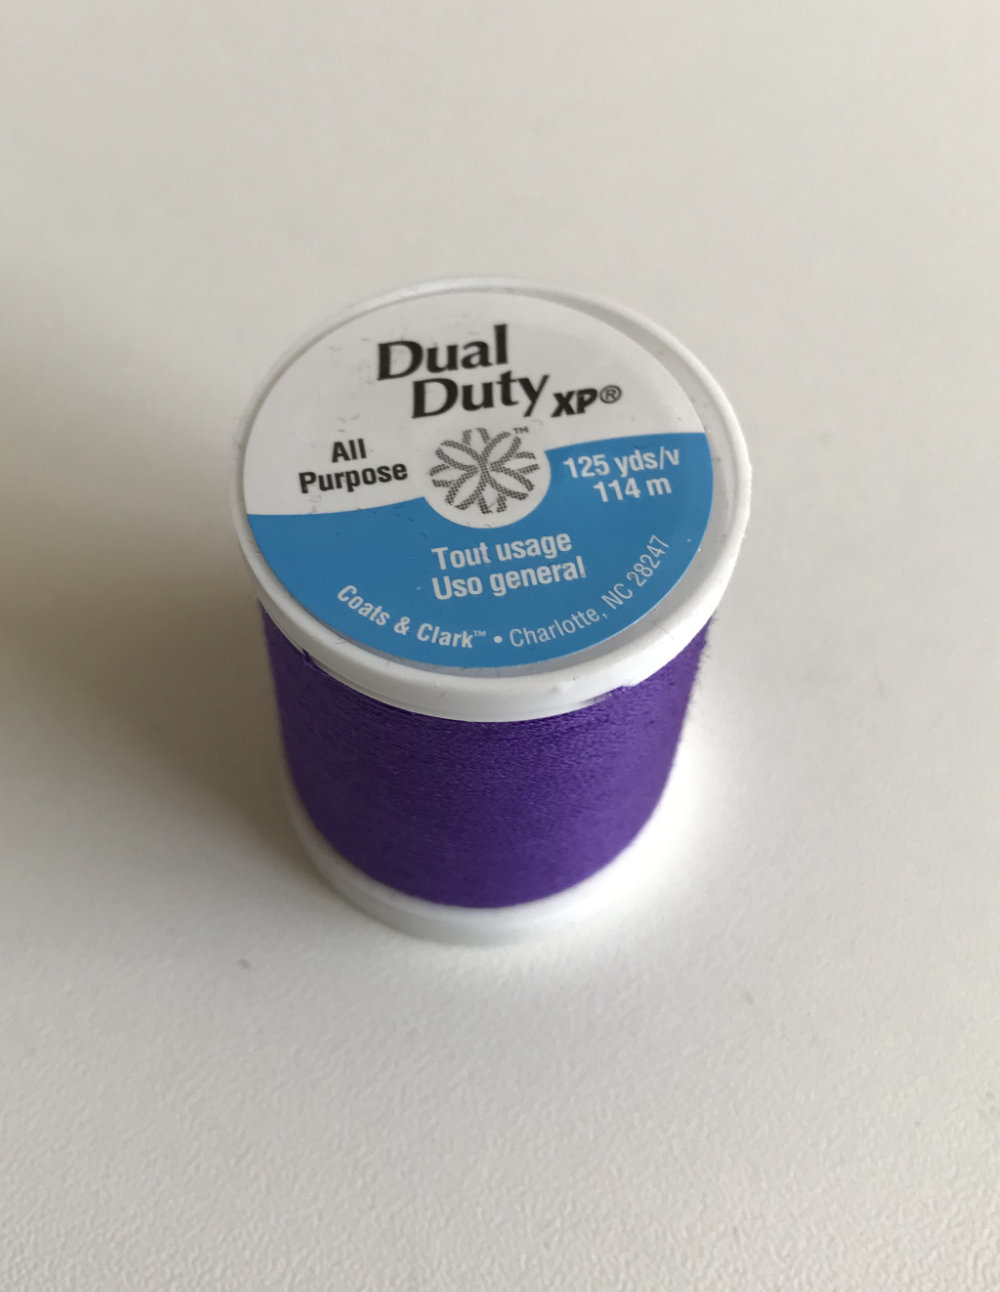
Thread
Thread is required to sew. It's a consumable. You will use it up. 🙂
I like to keep a stockpile of black all-purpose thread on hand. But I have a lot of other colors as well.
When you match your thread to your fabric, if an exact match isn't available (and it rarely is), choose a color that is slightly darker. Darker thread won't show up as much as a lighter color would. If your fabric is printed, you can match the most dominant color, or take a step back and see if there's a color that just blends in.
Not all thread is created equal. For general machine sewing, all-purpose polyester thread is fine. Avoid serger thread. It looks like a good deal because there is a lot of it on a spool. But the thread is actually thinner than regular thread and will require a bunch of different things in your machine to be changed (tension settings mostly) in order to use it properly.
I hand sew with regular thread. That way when I have to do some hand stitching on a few things I can use the same color I used for the bulk of the garment. Note though, I try to hand sew as little as possible. 😉
Machine Needles
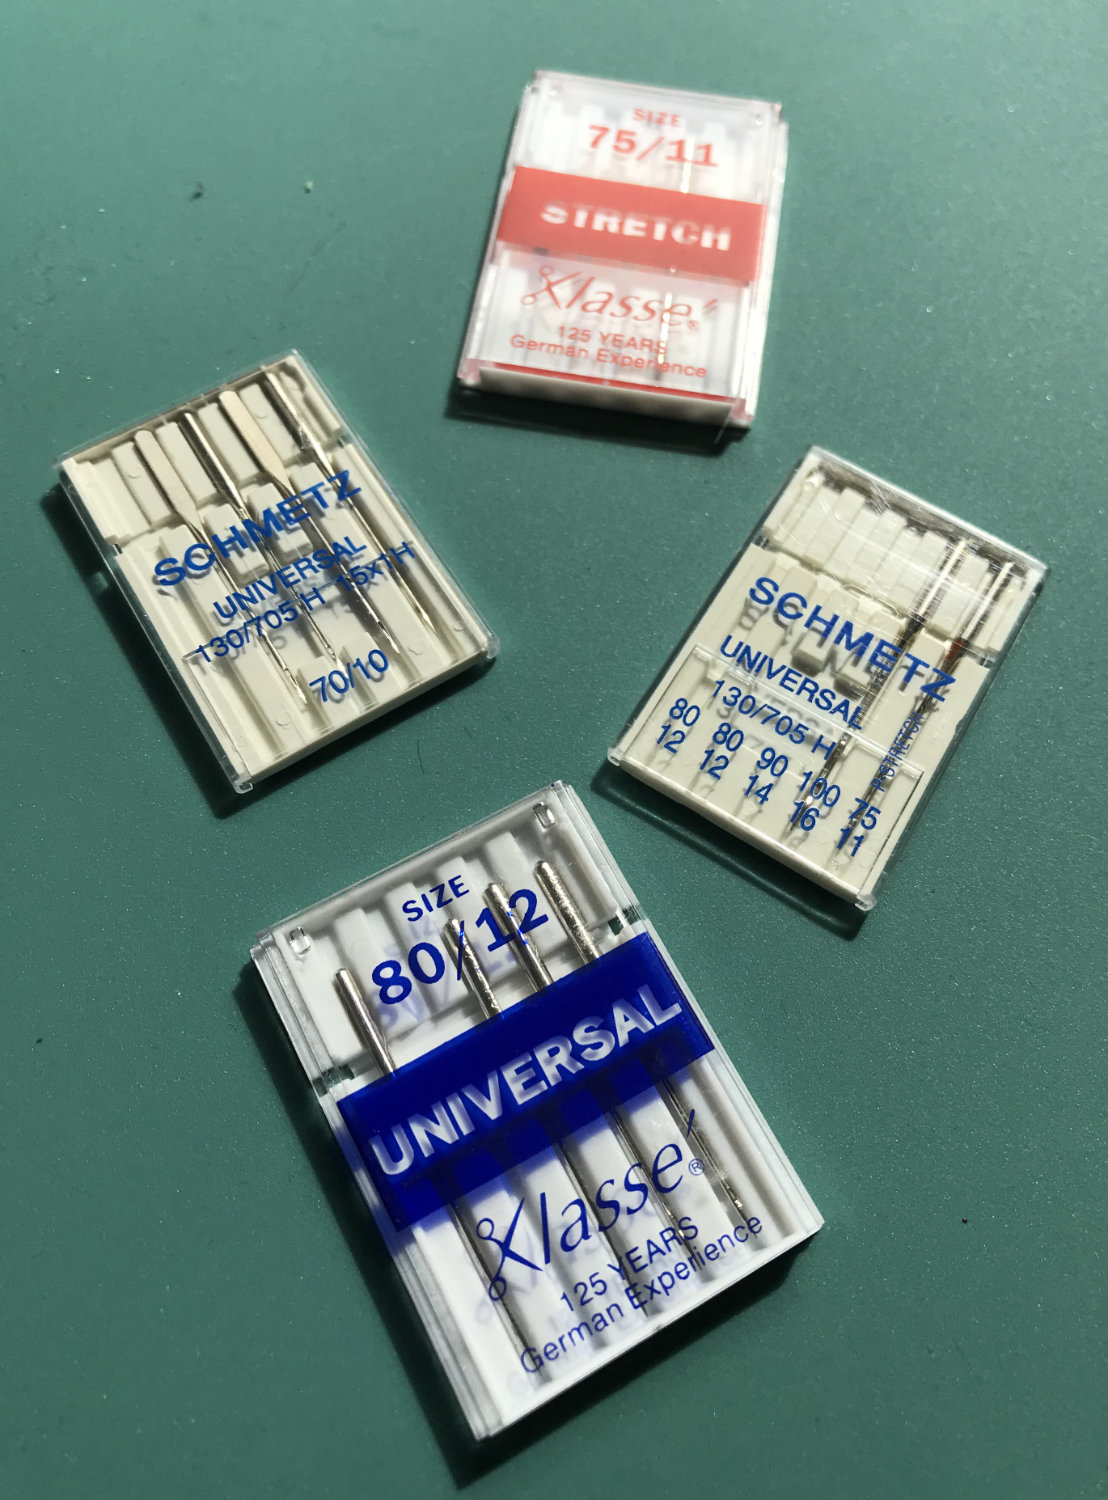
Machine needles wear out. It's always good to have extras on hand. I like to keep both regular (Universal) needles in size 80/12, and stretch needles in size 75/11 on hand. Those are by far the most common sizes I use. I do go smaller (size 8 or 10) for lightweight fabrics like chiffon or charmeuse satin.
I rarely go heavier, but some fabrics like denim or corduroy may want a 14 or 16.
Your serger will take a different needle.
Some needle tips:
- Match the type of needle to the type of fabric. (universal for wovens, stretch for fabrics with lots of stretch or lycra, ballpoint for loose knits)
- Match the size of the needle to the weight of the fabric. (lighter weight fabrics get smaller needles. just keep in mind that the smaller the needle, the smaller the hole in the needle)
- You don't always have to start with a new needle, but after sewing with a needle for some time (think hours of work) you will need to replace it. The frequency of replacement depends on the type of fabric you sew. Sewing elastic and lycra fabrics seem to wear the needle out faster than cotton or even some heavier fabrics.
- Don't try to save money by overusing a needle. If you fail to replace your needle "on time", it can result in fabric damage or machine jams.
- And for godsake, if you nick a needle or zipper tooth or whatever, replace your needle.
Replace your needles...
I'm going to say this again. Needles wear out. Replace them. It's better to err on the side of caution and spend a little extra for the new needle than to fight with all the problems a worn-out needle can cause.
Pins
Pins.... oh how I ... hate pins.
For one, I stab myself all the freaking time when I use pins. I stab my self, and I've pinned my garment to my fingers more than once.
But, I kind of think of pins as a necessary evil when sewing.
First, you will need them to pin your pattern to your fabric if you are using scissors to cut your garment.
Second, I haven't really found a better way to mark quarters on circles of elastic (Used for arm, leg and neck holes in garments like leotards and swimsuits).
All that being said, there are really good techniques to learn in order to use pins less. But, you will still likely need pins for some things.
What pins to use? Well, I like standard pearl head pins and I also really like a fine glass head pin. I bought ballpoint pins a while ago and have never used them.
When using pins, if you feel like the pin is snagging the fabric, it likely is. Toss it, get a new one.
This might go without saying but I'm going to say it. If you sew into your pin, throw the pin (and the needle) away.
Pins, like needles, wear out and get damaged. Damaged pins can damage your fabric, especially if you are using satins. It's not worth it to save the few pennies. I do reuse bent pins, but sometimes I toss those too (depending on how bent they are). They are annoying when bent or bowed and you want to use them for marking parts of a garment or something.
Tip: when sewing with pins, stop sewing with the needle in the fabric before you get to the pin, and remove the pin. Then start sewing again till you get to the next pin. Stop with the needle down and repeat.
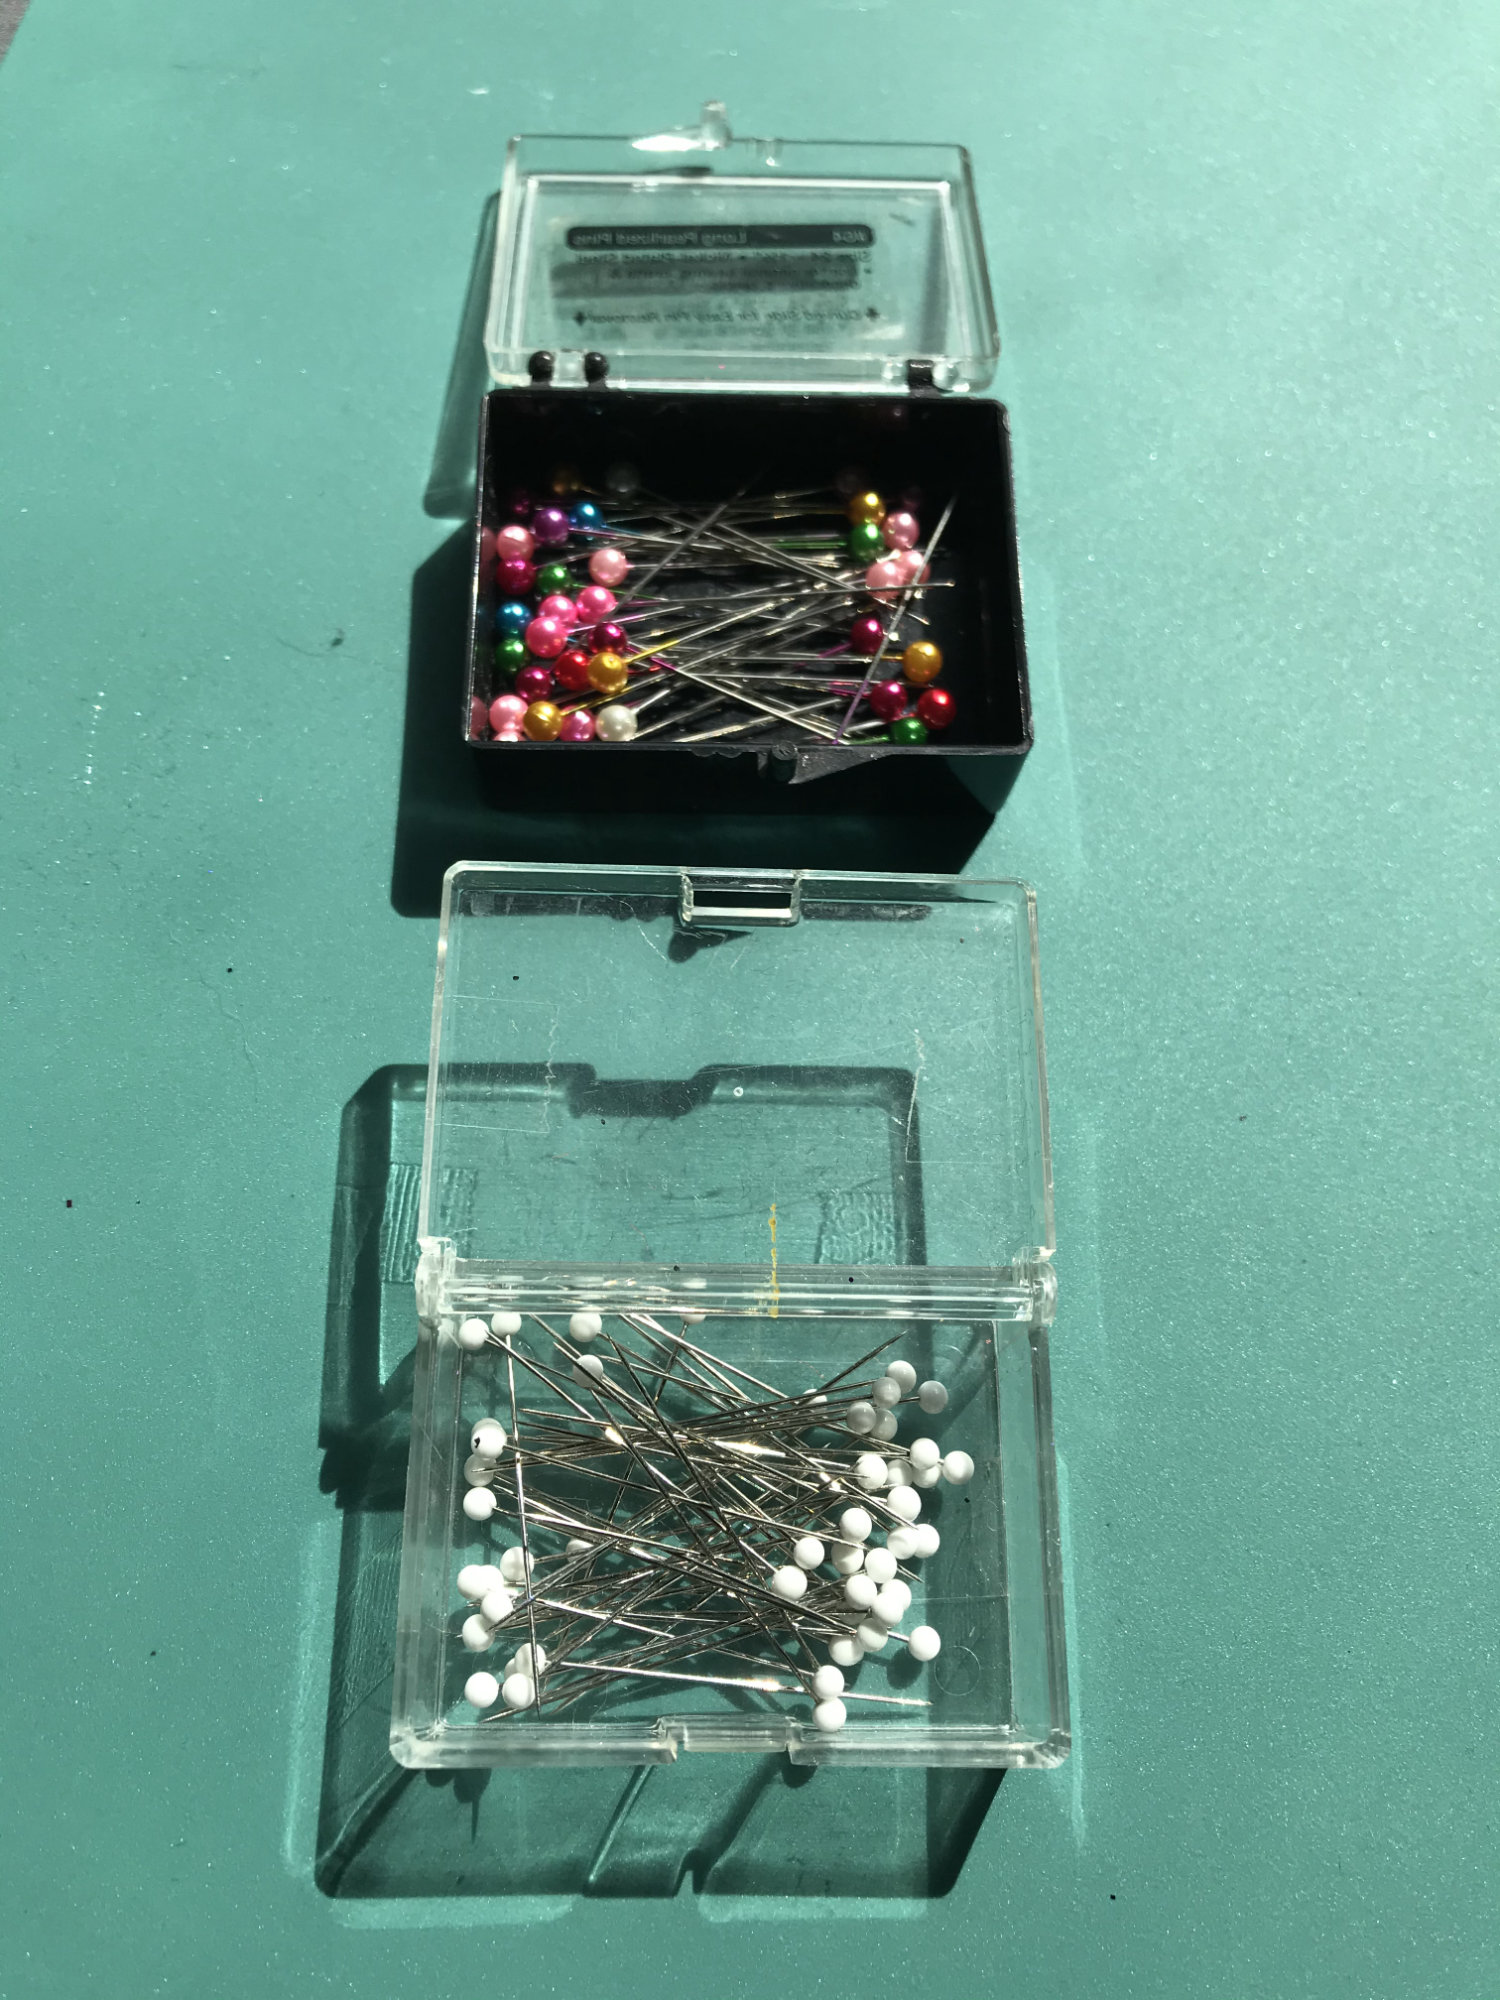
You'll probably want these tools also
These tools are less essential but quite useful when starting out.
Pin Cushions
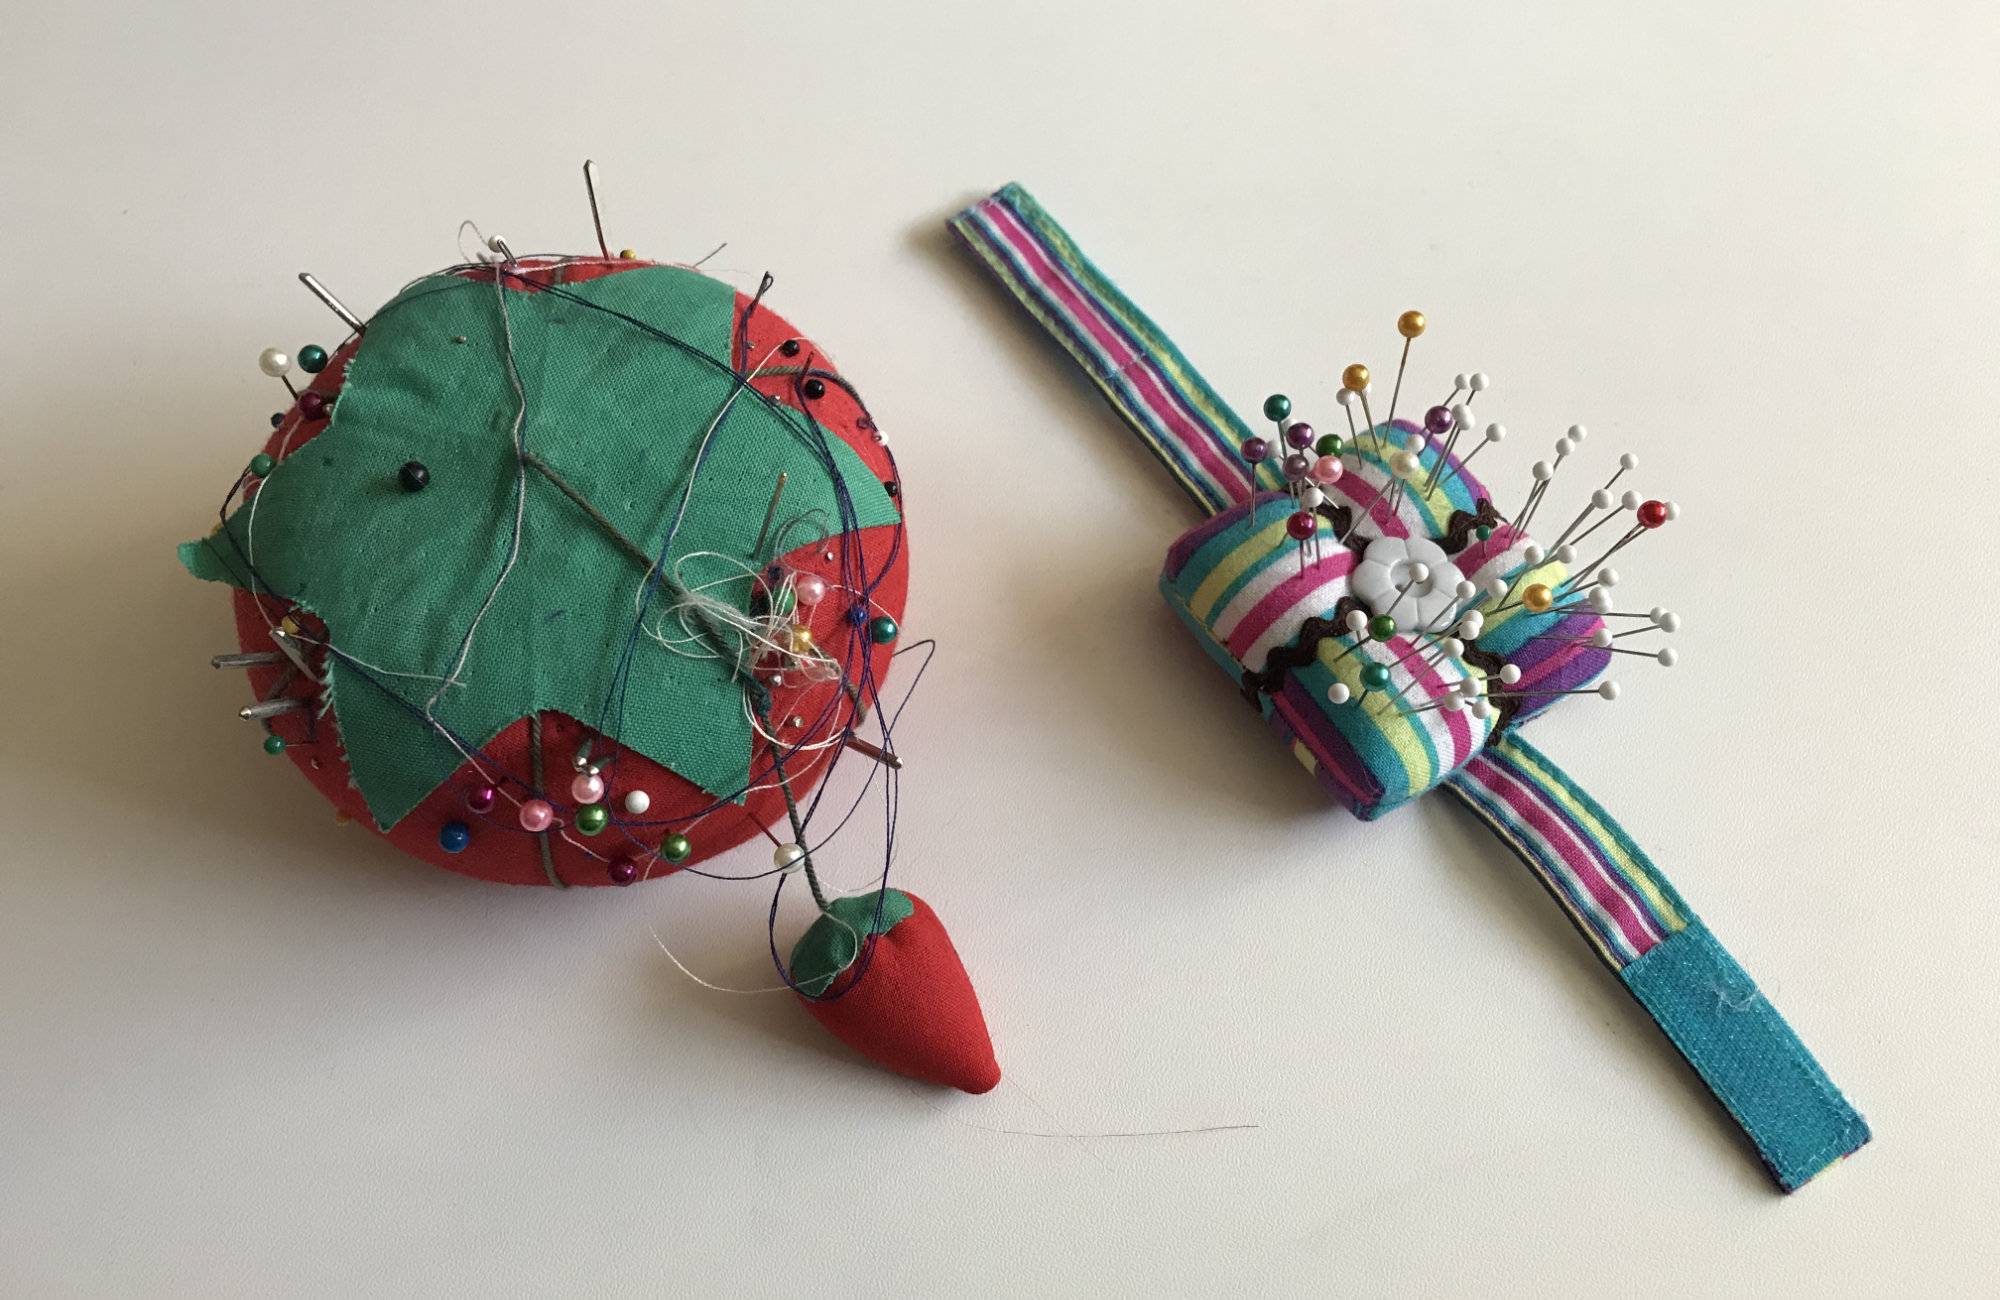
Pin Cushions are useful for storing pins (and needles) when not in use. If I had to pick just one pin cushion to start with, I'd probably go with the wrist band one. This is the most recent addition to my sewing paraphernalia, but it has proven very useful. It conveniently sits on your wrist so it's right there to put pins back in when sewing. However, it's good to remember to take it off when you are going to try to turn sleeves or pant legs right side out (or inside out).
The little tomato pin cushions are fine too. Theoretically, the little strawberry that hangs off the side is a sharpener. I have used it, but I have no real way to know if it really works. Perhaps it takes some small burrs off.
I avoid magnetic pin cushions. They magnetize all of the pins or needles and that makes it a pain in the butt to separate them from each other to use.
Tracing Paper and Wheel
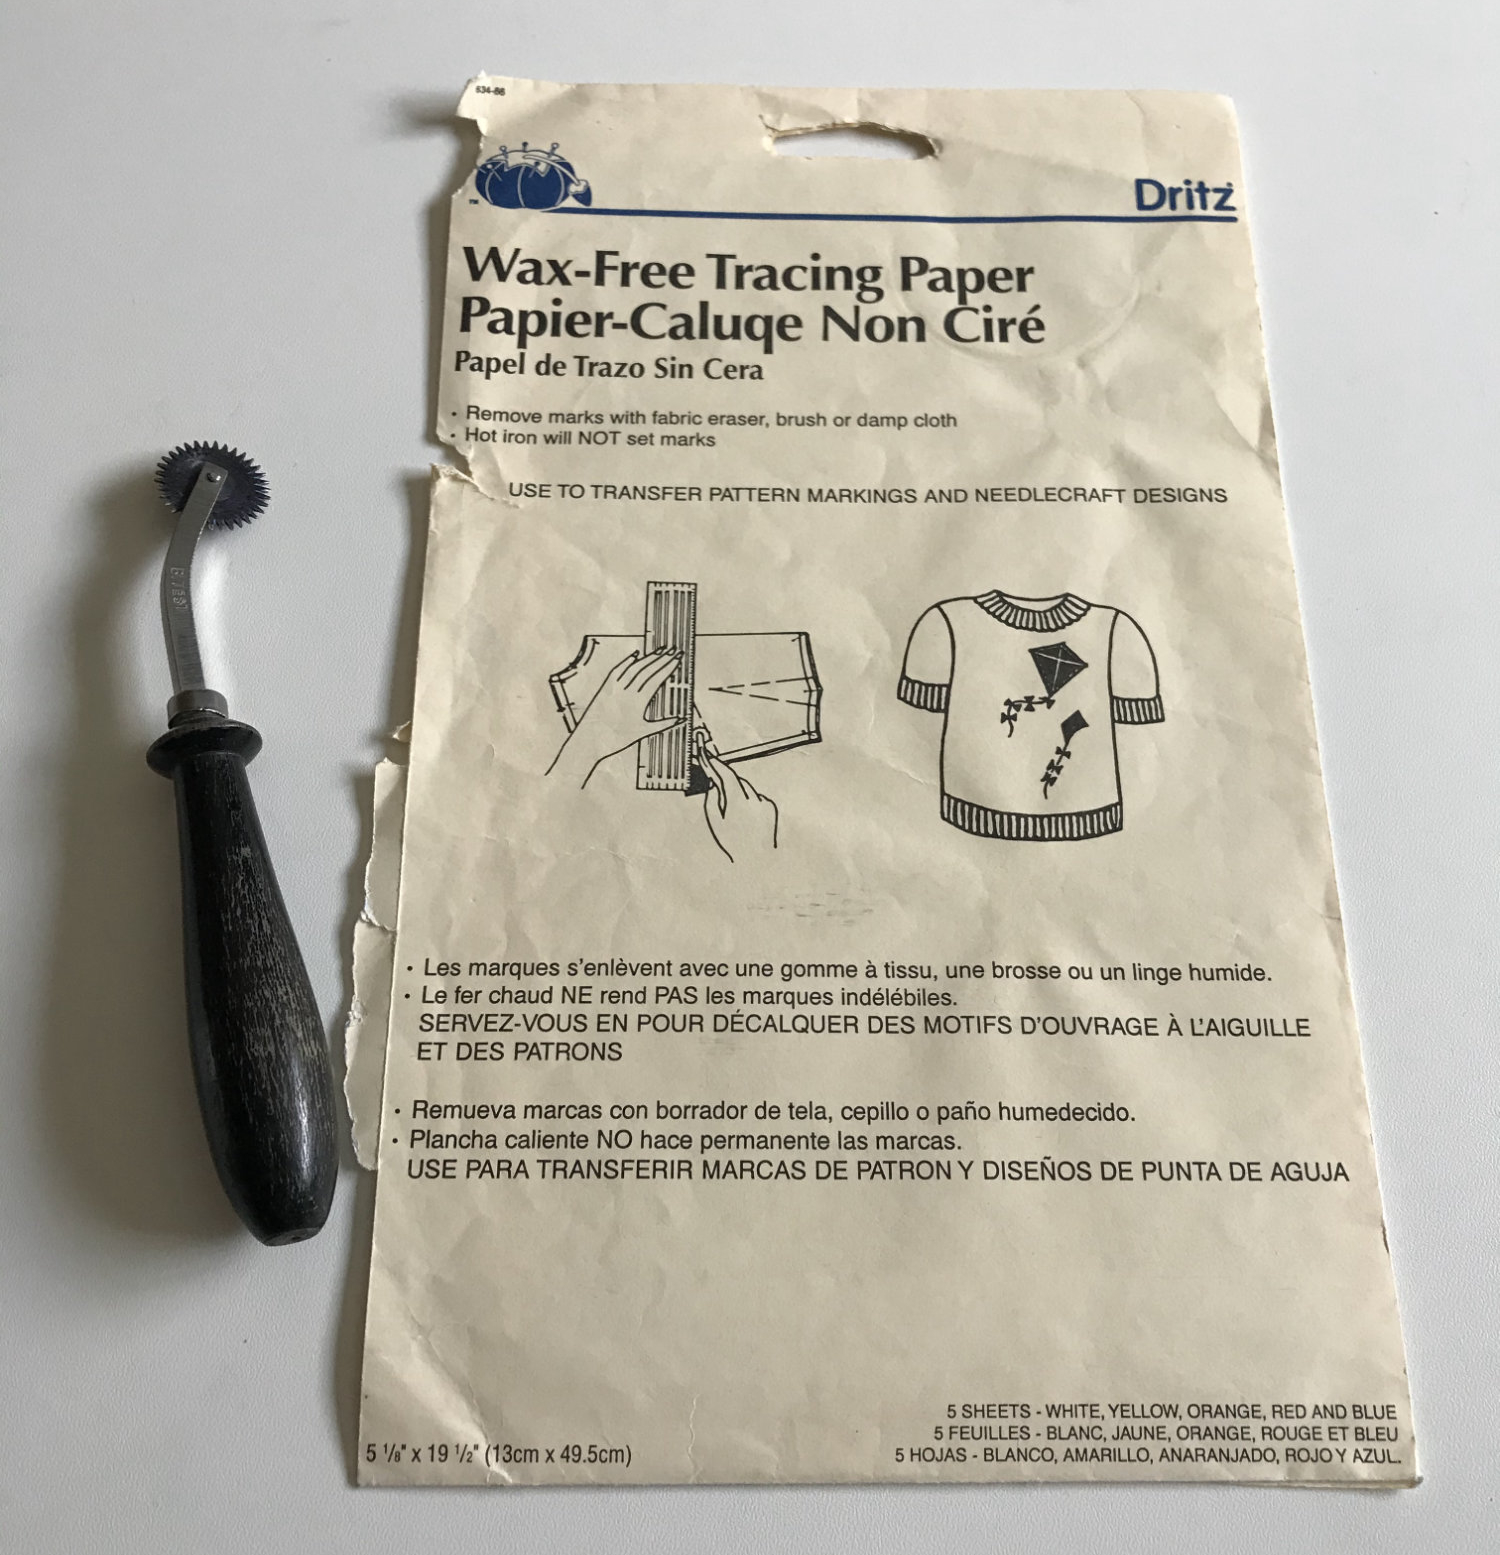
Tracing paper is a consumable. It will eventually wear out so much from the perforations of the wheel that it'll need to be thrown away and replaced. The wheel, though, should last a very long time.
The wheel is also useful for marking paper for pattern drafting (even without the tracing paper).
There are other methods of marking pieces (tailor's chalk, pens, pencils, fabric markers, thread) but the tracing wheel and paper are pretty universal and super easy to use.
Hand Sewing Needle
I try really hard to avoid hand sewing. However, having a hand needle around for some things is quite useful.
When putting a hand needle into a pin cushion, keep a little bit of thread in the eye otherwise you can push the needle all the way into the cushion. I suspect my cushion has about 3 needles in it. Yeah, it makes the pincushion very messy. But at least I can see my needles. 🙂
Common Notions for Sewing Clothes:
If you are just starting out sewing garments, you'll likely need additional notions to make the pattern of your choice. These are things that need to be added to the garment in addition to the thread and fabric. It's highly unlikely that you'll need to use all of these in a single garment, at least, starting out. Here are the most common notions you will run into:
- Elastic
- Buttons
- Hook and Eyes
- Snaps
- Zippers
- Interfacing
Elastic
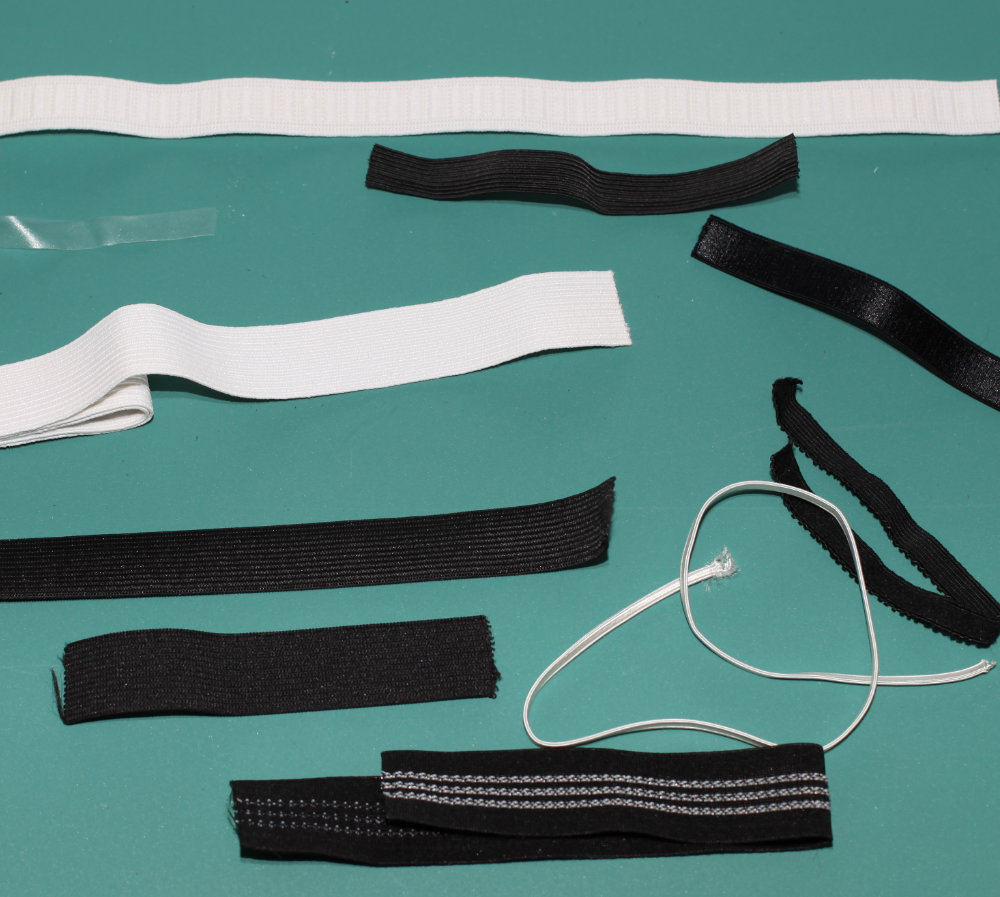
Elastic is a notion that stretches. It's usually some kind of fiber wrapped rubber. There are different kinds of elastic though, and it's important to get the right kind and right size for the project.
Elastic is sold either by the package or by the yard. (Sometimes, if you make a LOT of stuff using one size, you can benefit by buying a spool of elastic).
It is specified by the dimension of the width. Your pattern will call for a specific width of elastic. Sometimes, the pattern may even call out the kind of elastic needed.
Some specific types of elastic you might run into are Foldover Elastic (FOE), braided, non-roll, knit, clear or transparent and swimwear.
Some elastic gets thinner when you stretch it. Some does not. For some applications, this might matter, for others not as much.
Swimwear elastic is made to withstand chlorine. You can use non-swimwear elastic for swimwear, but it might not last as long.
I like non-roll elastic for waistbands sometimes. But it doesn't stretch as much, and can't get as much of a cinch as braided or knit elastic.
Also, since elastic does have a rubber component, it will eventually wear out. The rubber can harden or degrade and may need to be replaced. Most of the time, the garment will wear out before the elastic does, but if the elastic was old, to begin with, or if it's a garment you keep for years (decades) you might run into this.
Buttons
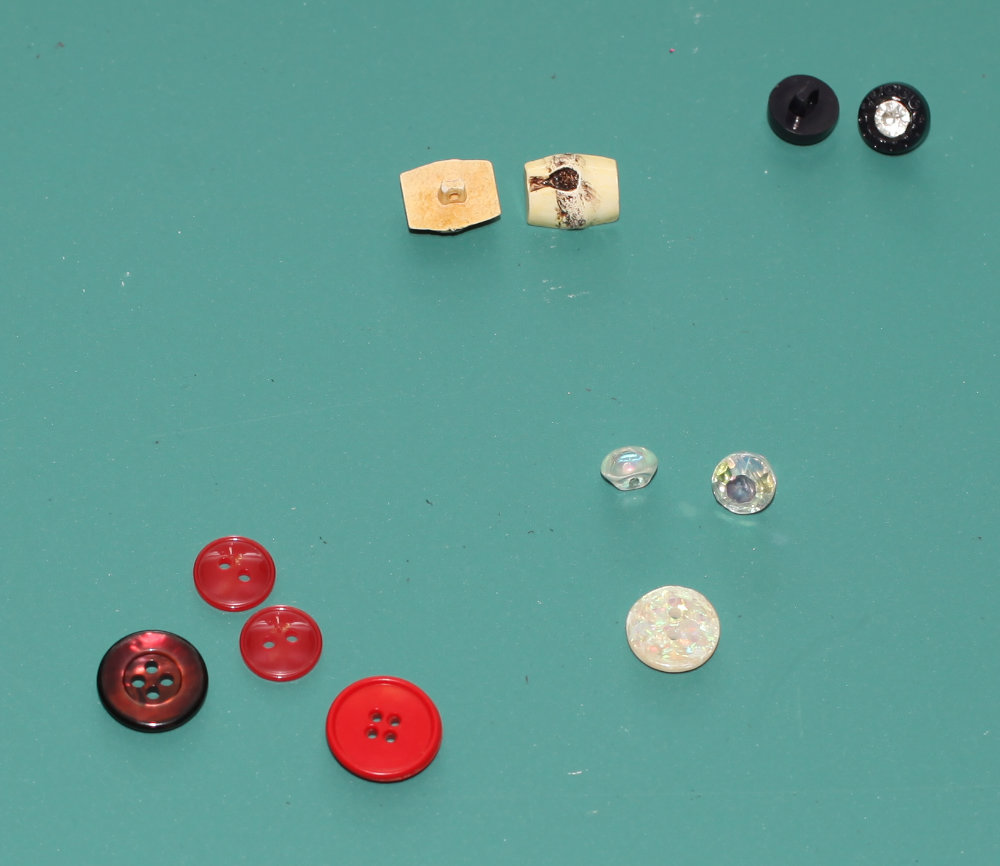
Buttons are common closures on shirts. They also are often used in pants. There are two main styles of buttons. Flat buttons with holes all the way through it and shank buttons that have a stem of some sort with a hole in it.
Buttons are sized by diameter (the largest measurement across the button). Your pattern will specify the size of the button. But not always the style. Little shank buttons are often used for neck closures in the back, where the flat style button is often used for button-up dress shirts.
Buttons that are shaped (like a butterfly or something) will also have a dimension. Typically when buying buttons the placard the buttons are fastened to will have the dimension.
Hook and Eyes
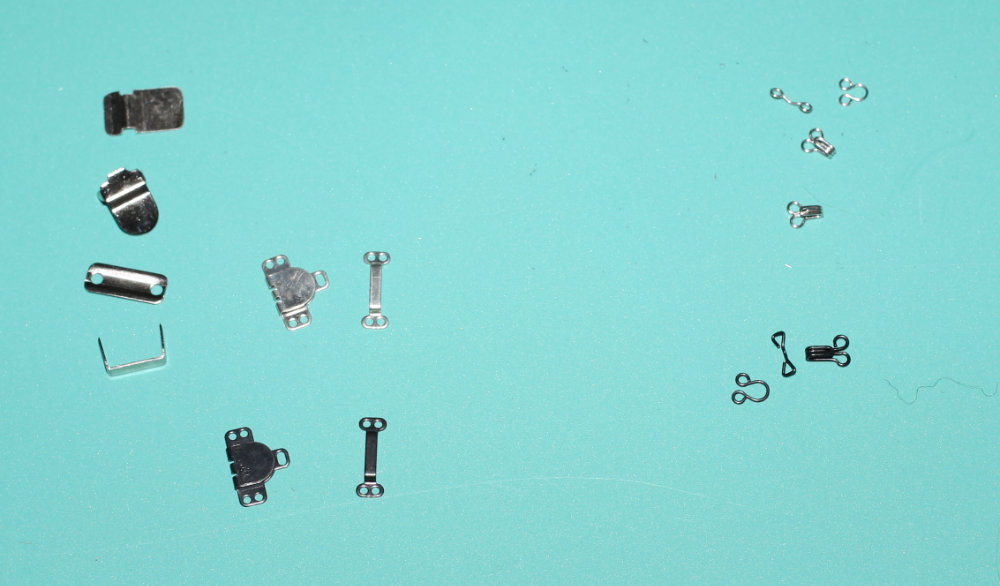
Hooks and Eyes are often used at the top of side-zip skirts or pants. Typically they are small and require hand sewing for attachment. They also come in different colors so you can pick a color that is less likely to be seen on the garment you're sewing. But, admittedly they really are only usually available in black, gold, white and silver. They are also available in a few different sizes. Your pattern may specify the size. If not, I'd pick the largest one you can that won't be too obvious. It'll make it easier to sew, and easier to use when you're putting the garment on.
There's another type of hook and eye which is a flat hook and bar-style "eye". These are often used on the waistband of trousers. They are a hidden closure (Unlike buttons). These can be found in both sew-in styles, and a no-sew style. The no-sew style will require pliers to install in your garment. These aren't as secure as the smaller hook and eye closure since the hook part is flat and doesn't have the little lip that the smaller wire eye has that latches onto the eye.
All hook and eyes have two main parts, the hook and the eye. Though, with the smaller hook and eye, one could technically get away with just the hook if the eye got lost somehow.
Snaps
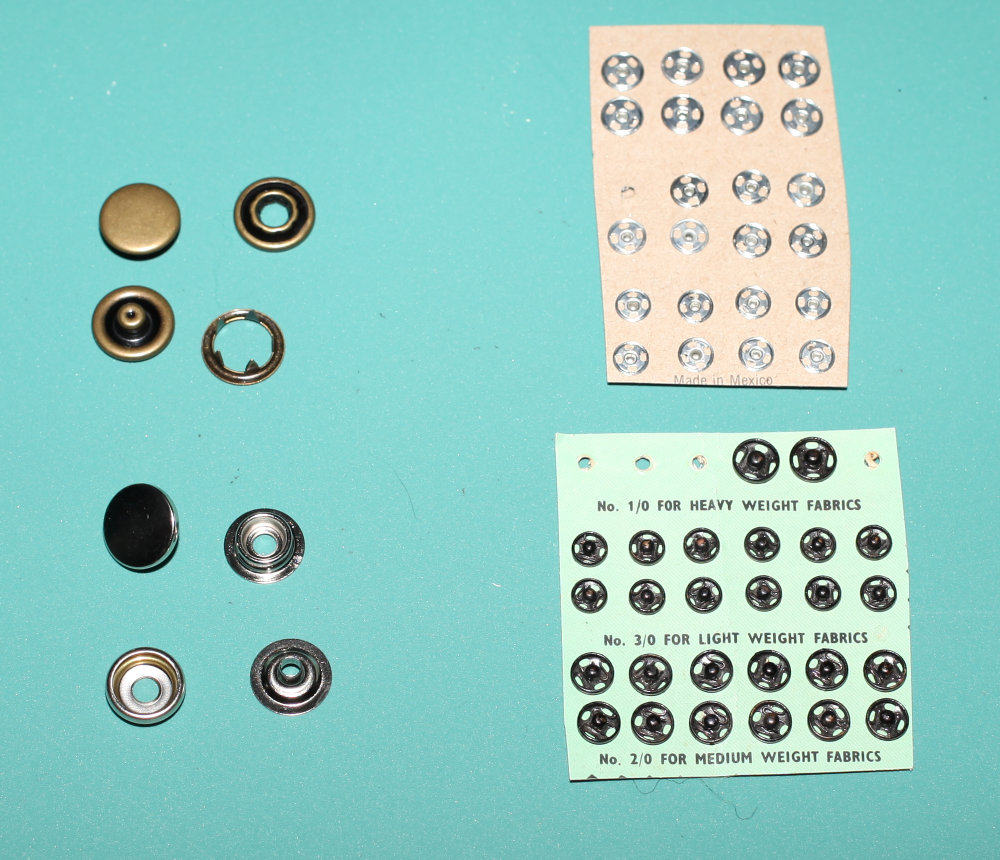
I rarely see snaps listed on patterns for closures. But I use snaps a lot in my costuming. There are a bunch of different snaps.
The standard garment snap is a sew-in snap. It's two pieces and comes in many sizes and a few colors. I find them fussy to deal with, even more so than hook and eye closures which ... well, I don't like hand sewing.
There are also some no-sew snaps. These will need tools to install. Some require a plier style tool, and some require a die and hammer. Snaps that aren't sew-in will typically have a decorative head and be seen on the outside of the garment. Some have just a ring that shows, but others have full metal or pearl button-like heads.
Zippers
Oh, zippers. 🙂 They are the bane of many sewist's existence. They aren't that difficult to install. So, I encourage you to try them. They are pretty much critical for pants and skirts (unless you go with a button fly or elastic waistband).
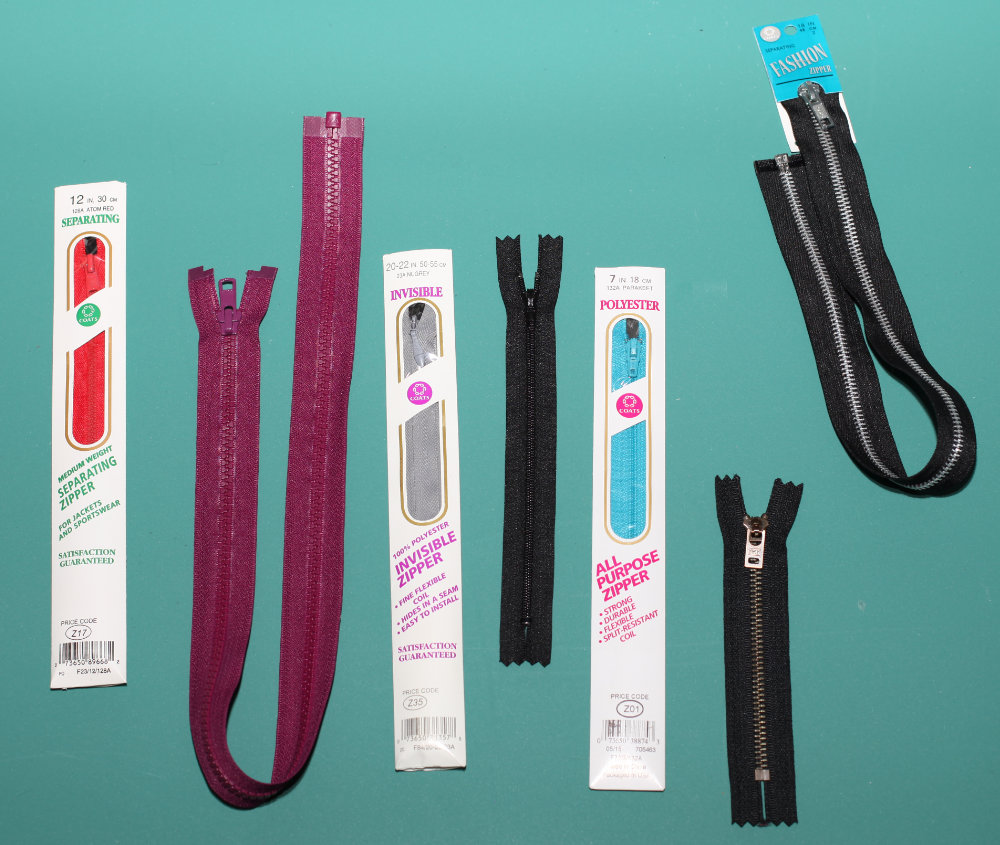
There are several kinds of zippers: Standard, invisible, separating, reversible, and two-way (just to name a few).
They come in several different types of material: metal (aluminum or brass), nylon and plastic coil (to name the most common).
Typically, the zipper tape (the fabric that the teeth of the zipper is embedded in) is a polyester or nylon blend. Most zippers come in a variety of colors and you should match the zipper to the garment you are making (or pick a contrasting color if you want it to stand out). I mention the zipper tape fiber because polyester or nylon fiber won't dye well, and will require a special type of dye for it to take at all. You can find some cotton tape zippers that will take a dye. In most cases, this isn't necessary.
You can also find rolls of zipper tape that you can buy the zipper pulls separate and then cut the tape to length as needed. Some of these options are quite fun. 🙂
If you are going to sew a zipper, you may want a zipper foot for your sewing machine. Most sewing machines will come with one or have one available for purchase.
Interfacing
Most shirts, pants, and skirts that have a non-elastic waistband and are made out of woven fabric will have at least one piece that needs to be interfaced.
There are two major kinds of interfacing, woven and non-woven. Non-woven doesn't mean knit (though there is a tricot interfacing).
Most of the interfacing can also be found in iron-on or sew-in. You can probably guess by now that I'd opt for the iron-on. Now, there are some fabrics where the iron-on just won't work. Some satins and other couture fabrics will actually show the glue dots through the fabric.
I used to make everything with non-woven fabric. That was before I learned.
Now, I'm much more likely to use a woven.
If you want to do a very stiff collar or waistband, you can do a non-woven. I use non-woven for my belly dance belts.
But for other pieces, I might choose a woven fabric.
Non-woven interfacing can get a bit crispy. And make a crinkling sound when moved around. Whereas the woven will flow more like a fabric. It can still have drape as well, and that is nice to give the garment piece a bit more body without too much stiffness.
Some sewists will interface entire garments to help prevent wrinkling.
Here's something to keep in mind for iron-on anything - the stuff in dryer sheets will unglue iron-on glue. That's helpful if you accidentally iron the wrong side of your fusible interfacing... just iron a dryer sheet. Cleans it right up. It's unhelpful when you're relying on the fusible tape to hold a hem in place because you're too lazy to actually sew it with thread (I would never... ... yes... I would and I have, and I tacked it with staples too... don't judge).
Anyway, making a garment will likely require you to use interfacing. Sometimes the pattern will specify the type or weight of the interfacing. But often you can choose your own weight. Interfacing does add bulk. Often, the piece needs the stabilization or stiffness provided by the interfacing, not the bulk.
Let me Sum Up
As a beginning sewist, there are a few essential tools and common notions you'll need to start sewing garments. These are the things I really can't see sewing without.
Notions such as closures, elastic or interfacing are essential to making a good garment. If your pattern calls for it you need it.
Just a side note, these are the tools I believe you can't sew without. However, there are many other tools I wouldn't want to sew without. But I've been collecting tools for over 20 years. These are the essentials to start with.
Leave me a comment if you have a question or an opinion on any of the tools or notions listed above.
Want more Tool Ideas?

